Recent Posts

Monday, February 21, 2011

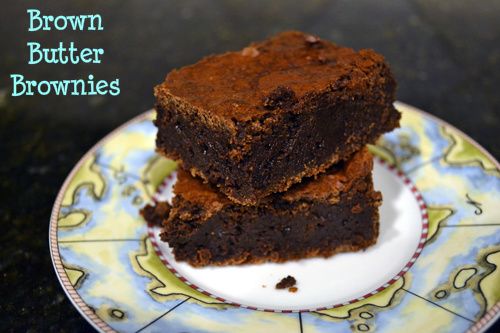
Brown Butter Brownies

Photobucket


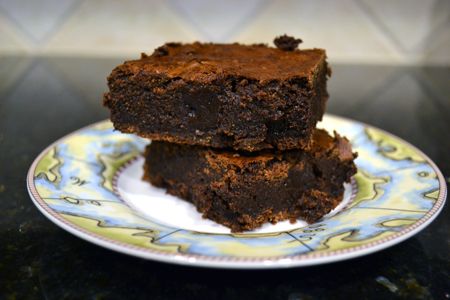
When the Brown Butter Brownies from Bon Appetit were the talk of the food bloggin' world not too long ago, I couldn't resist and just like almost everyone else I baked up a batch.  It seems they are all over everyone's blog because they really are all that they are cracked up to be.  I'm not sure I could really taste the Brown-Butteriness, but what I DID taste was a perfectly chocolately fudgey brownie with a slightly crackly top.  I will definitely be making these again... and you should too.  To get nice and thick brownies, double the recipe and still bake it in a 9 x 9 inch pan.  


Brown Butter Brownies from Bon Appetit, adapted slightly from The Parsley Thief
Ingredients:
2 1/2 sticks butter
2 1/2 cups sugar
1 1/2 cups unsweetened cocoa powder
2 teaspoons vanilla extract
4 teaspoons water
1/2 teaspoon sea salt
4 large eggs, room temp, lightly beaten
2/3 cup ap flour


Preheat to 325.  Grease a 9 x 9 pan and line with a parchment sling.  Melt the butter in a saucepan over medium heat, until the butter begins to turn golden brown {about 5-10 minutes}. Stir the butter occasionally & keep a close eye on it, as it will go from fine to burnt quickly.  
Remove the pan from the heat & stir in the sugar, cocoa powder, vanilla extract, water & salt. Let the mixture cool for 5 minutes. Add the eggs, whisking constantly as you add them & beat until the mixture is shiny & smooth. Stir in the flour & beat for 1 minute. Pour the mixture into your prepared pan.
Bake for about 30-35 minutes, or until a toothpick inserted into the center comes out with a few crumbs attached. Transfer the pan to a cooling rack. When cooled, remove from the pan by lifting the parchment sling.  Enjoy.

Photobucket


Sunday, February 20, 2011

Cupcake Plunger Review

Photobucket


My blogging has been a bit slow lately because I've been busy getting used to the new job.  I'm teaching art to grades K-6 and it has been going very well - I'm very grateful!  I'm also very tired so my blogging has suffered a bit.  I'm sure not before long I'll be back in the swing of things baking up all kinds of goodies.  For now, I'll post the product review I promised a few weeks ago - the Cupcake Plunger.


I've made filled cupcakes before - a bunch of different kinds.  I've always done it using a knife and cutting a little cone out of the top of the cupcake, putting in the filling, and then replacing the cone.  It worked just fine, but it was a little time consuming and the size of the cone I cut out was never consistent.  Not too long ago, my mother in law got me one of these Cupcake Plungers by Chicago Metallic.  Pretty soon after getting it, I tried it out.  


Photobucket
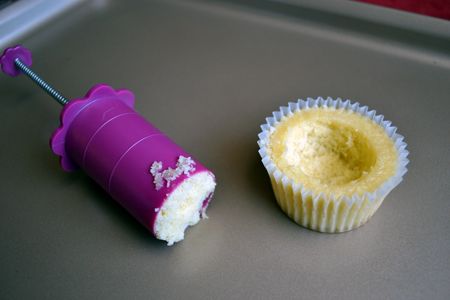
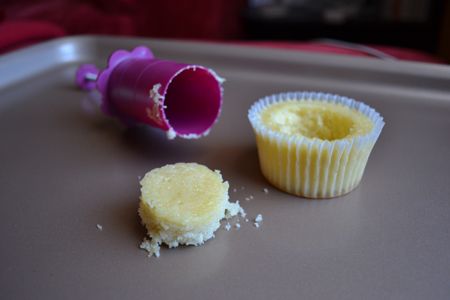
The plunger gets pushed down into the top of the cupcake.  Then, with a twisting motion you pull the plunger back out and pop out the cupcake core with the spring.  Very simple!  It worked flawlessly for me.


Photobucket
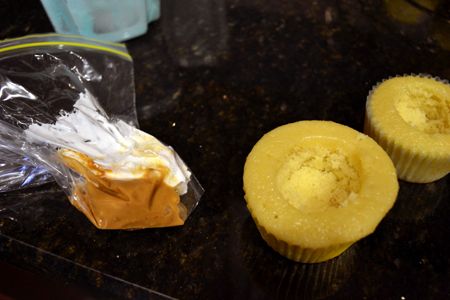
I filled my cupcakes with peanut butter and fluff side-by-side.  I just put them both a zippy bag next to each other and piped it out as evenly as I could.  


Photobucket
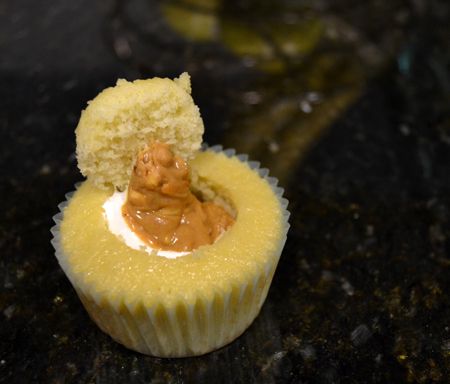
Replace the cupcake core (cutting away some of it if necessary to get it to fit)

Photobucket

Photobucket
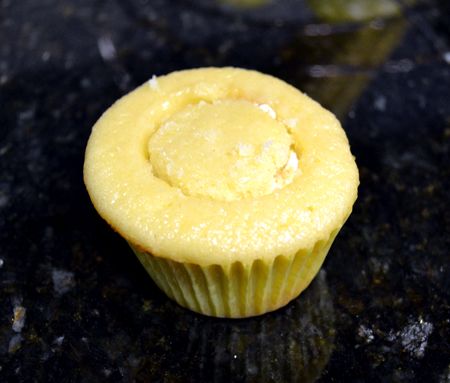
And then frost as usual.  It could be a nice surprise for a taste tester - they'd never know there was a filling inside!

Photobucket
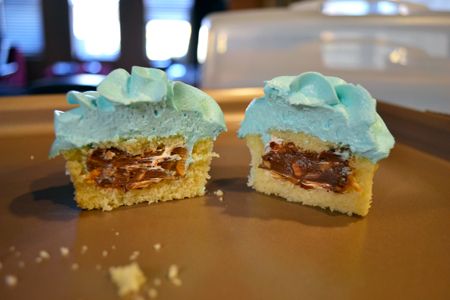
Cross-section!  The plunger makes a nice even hole in the center of the cupcake.  

I'm very happy with this little gadget.  It makes it much easier to make cupcakes with a filling - and I'd probably be a lot more willing to do so now that I have this little thing.  This makes the task much quicker and more uniform.  I'd definitely recommend this product to a Cupcake-lovin' friend!

Sunday, February 13, 2011

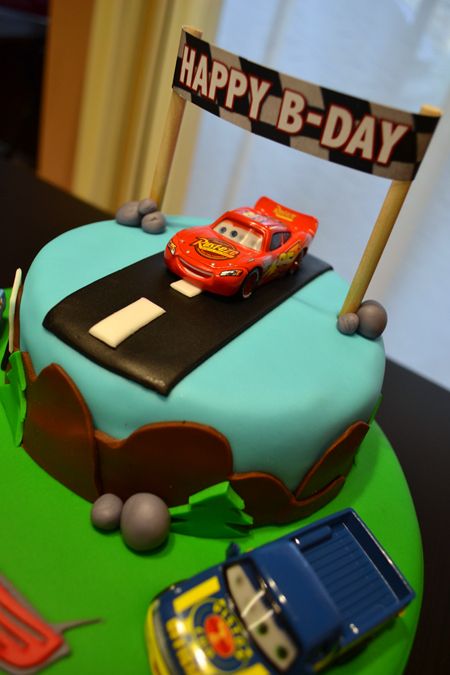
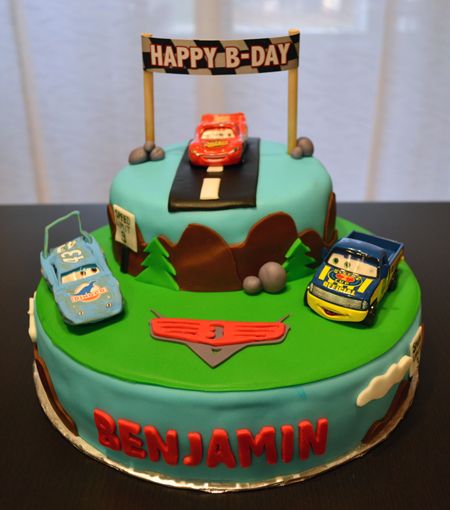
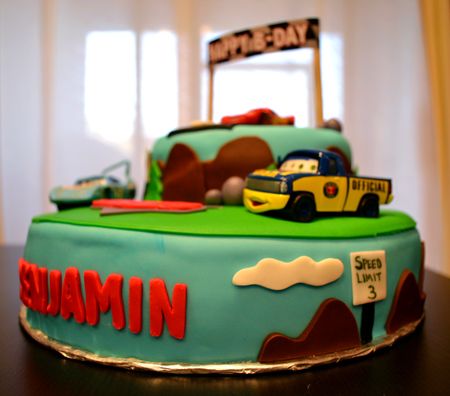
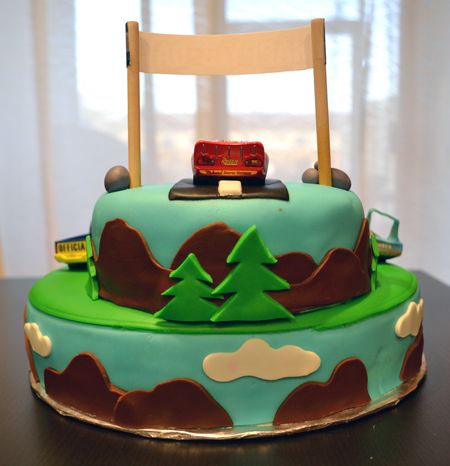
CARS Lightning McQueen Cake

Photobucket

On Friday, we celebrated our cousin's son's 3rd birthday.  The birthday boy is loving anything and everything CARS right now, so we made him a Lightning McQueen CARS cake.  I'm very pleased with the results!  It is a 10 inch Two-layer Vanilla cake on the bottom and a two layer 6 inch round Chocolate cake on top.  

Photobucket

Photobucket

Photobucket

Photobucket
 
In other news, I was hired as a full-time elementary school Art teacher! 
Photobucket
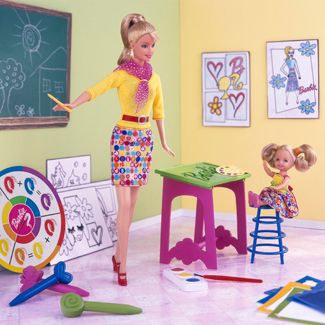
(Did you know they made an Art Teacher Barbie?? I so did not know that!)
Friday was my first official day, and I spent all weekend getting things ready for the classroom.  I'm so excited to begin this new adventure!  I know it will be a challenge at first, but I'm looking forward to the journey.  Any teachers out there?

Wednesday, February 9, 2011

The Smart Baker - now on facebook


I often talk about The Smart Baker here on my blog.  Those of you who have been reading Ice Cream Before Dinner for some time read as my husband and I came up with the idea for the Measurement Conversion apron.  Then you read as I posted how the apron made it into an article in Food Network Magazine's December 2009 issue.  Since then, I've written about Craft Fairs we've done as The Smart Baker, and new products like Kitchen Towels and Cupcake and Dessert Towers.  You've always written me nice comments about our products and I enjoy reading every single one of them.  I've always appreciated the support of my blog's readers. 


The Smart Baker has been doing great.  In November we traveled to California to meet with a mail order catalogue about carrying our aprons (set to print for the first time this April).  We're currently in another mail order catalogue and several retail stores.  I am so excited to keep watching our little business grow!  


So I'm inviting you, my friends and readers, to follow The Smart Baker on Facebook.  Yep, we've joined facebook and we'll be posting recipes, coupon codes, giveaways, specials for facebook fans only and new product info.  Please help me spread the word about The Smart Baker!  
Either search "The Smart Baker" on Facebook or click here - The Smart Baker on Facebook.  (not sure if that link will always work, so just search the business name if the link becomes broken).  
Friendly blog-world: I appreciate your support!

Tuesday, February 8, 2011

CSN Product Reviews: Tartlet Pans, Tart Pan, and Decorating Pen

Photobucket

Shortly after I received my shipment from CSN Stores, I got to work!  I put my new items to use to test them out and see how they faired in my kitchen.  

LinkWithin

Related Posts with Thumbnails