Recent Posts

Sunday, January 30, 2011

Brown Butter Espresso Chocolate Chip Cookies

Photobucket

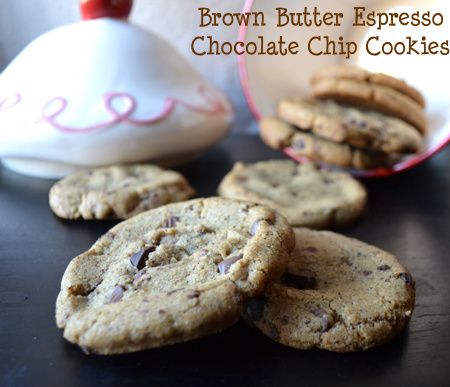
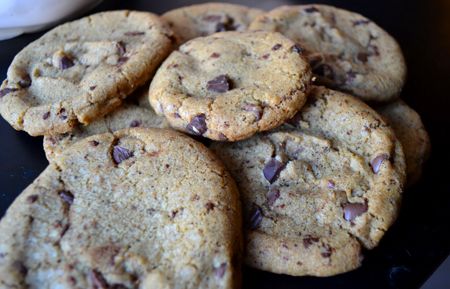
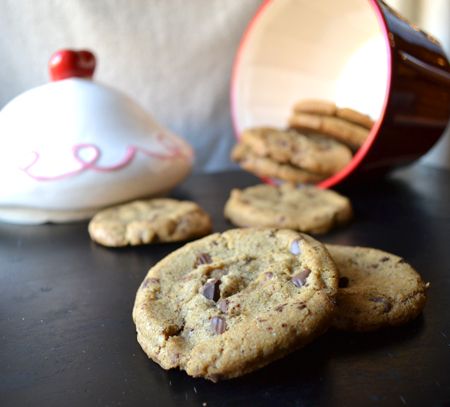
In my opinion, a chewy, soft chocolate chip cookie beats a crunchy chocolate chip cookie any day.  I love dry, crumbly cookies like shortbread, but when it comes to Chocolate Chip Cookies, they just need to be tender.  
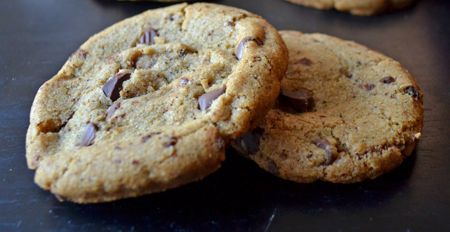
When I first made these cookies, I baked up about half of the batter, and froze the rest.  The first batch came out over-baked them so they were too crunchy for my liking.  But the delicious toffee-like smell of the browned butter and the coffee aroma from the espresso powder was too tempting, and I had to try again for a soft, chewy cookie.  The second batch I baked up were made straight from frozen.  I adjusted the baking time and this time they came out perfect.  They had a slight crunch to the exterior, but gave way to a perfect, soft and chewy chocolate chip cookie center.  The browned butter adds a nice complex flavor to these cookies, but the espresso flavor is too subtle to really notice in the final product... but that didn't stop us from quickly eating up the whole batch.  


Photobucket


Brown Butter Espresso Chocolate Chip Cookies adapted from Healthy. Delicious.
Ingredients:
1 stick unsalted butter
1 Tbsp espresso powder
1 tablespoon water
2 cups all purpose flour
1/2 tsp baking soda
1 pinch fine sea salt
1 cup light brown sugar
1/2 cup granulated sugar
1/2 tsp pure vanilla extract
1 large egg, room temp
3/4 cup chocolate chips/chunks: (I used half Milk Chocolate Chips, and half chunks I created by chopping up a block of Callebaut dark chocolate)


Directions:
In a large bowl, combine flour, baking soda and salt.  Set aside.
Place butter in a small saucepan on medium heat.  Stir occasionally until melted.  Continue cooking until the butter foams up a bit at the top and then turns a golden brown color - at this point it will have a slightly nutty aroma (around 5 minutes).  Remove from heat and allow to cool slightly.
In a small bowl, combine the butter, sugars, and vanilla.  Beat in the egg.
In a small glass measuring cup, microwave the 1 Tbsp water until it boils (only takes a very short time!).  Then, add the espresso powder and stir.  Add to the butter mixture.
Gently mix the wet ingredients into the dry ingredients.  Add the chocolate chips.  [(My dough was very dry.  I pressed it together into a log (about 2 - 2.5 inches in diamter), rolled it in plastic wrap and put it in the fridge for about 30 min to an hour.  After chilling, it was stiff enough to be sliced and hand-shaped into half inch thick cookies.  At this point, you could bake right away (but you'd have to decrease the baking time or you will over bake them!!)  however, I suggest you freeze the dough mounds until firm before baking.)]
Preheat to 365.  Place cookies on a Silpat or parchment lined cookie sheet.  If baking from frozen, bake 11-13 minutes or until edges look set and centers still look slightly moist.  Allow to cool for 5 minutes on the pan, and then remove to cool the rest of the way on a cooling rack.  
Yields about 20-25 cookies.


Photobucket

Photobucket

Friday, January 28, 2011

Winner of 'Dinner with Joy' Novel Giveaway

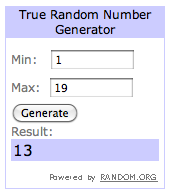
And the winner is...

Photobucket

The thirteenth comment was Small Town Oven:
Mmm my dad is most definitely loving coffee cakes right now so this is getting packed for the next time I head home! I think I'd name my show after my blog, Small Town Oven :)

Congratulations to Sharlene of Small Town Oven!  You've won the "Dinner with Joy" book from Thomas Nelson Publishers!  Sharlene's comment was:

So, Congrats Sharlene!  I hope you enjoy the book!  And I hope your dad enjoys this coffee cake next time you go home! (I think he will, it really was very tasty)  :)  I'll be sending you an email asking for your address so Thomas Nelson can send the book directly to you!

Tuesday, January 25, 2011

Dog Treats

Photobucket
My dog, Sadie, has been known to make the occasional cameo on this blog.  Not only is she a recurring character on Ice Cream Before Dinner, she is also one of the loves of my life.  Yes, I'm one of those crazy dog people.  In fact, I bet I'm one of the few crazy dog people whose dog has earned a free flight with Jet Blue.  Yep, she is a frequent flyer.  


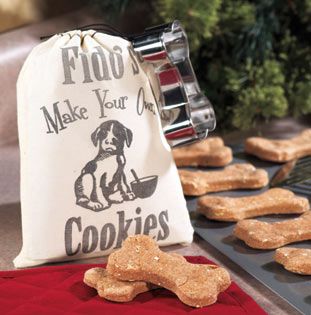
Anyway, for Christmas a family friend gave Sadie Fido's Make Your Own Cookies dog treat mix.  
Photobucket
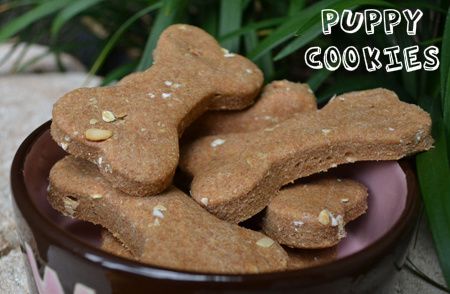
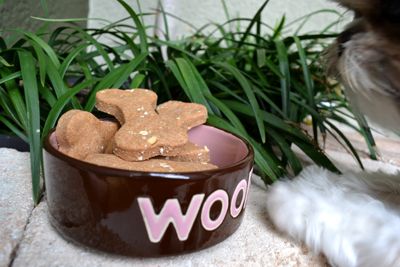
Sadie may look small and petite, but she is a total piglet... kind of like me.  With all the baking I do for humans, and knowing how obsessed I am with my dog, it is a strange thing that I've never made dog treats from scratch before.  So I was eager to bake these up for her.  I added two tablespoons natural chunky peanut butter and about 1 - 2 teaspoons of honey to the mix.  


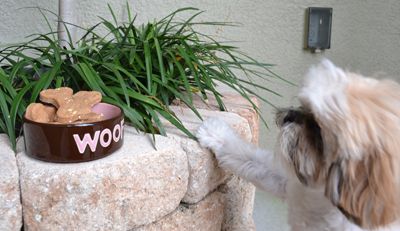
Sadie waiting very patiently for her homemade pup cookies:
Photobucket
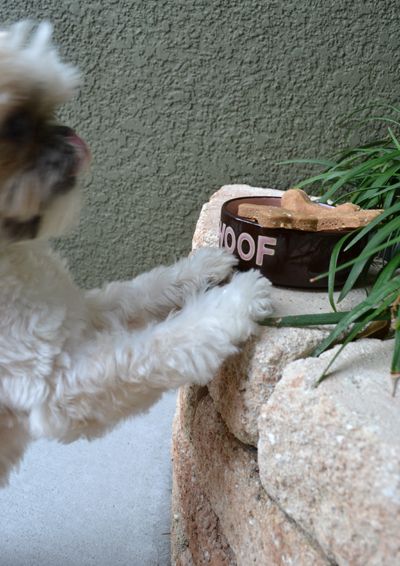
Please can I have some?
Photobucket
I'm drooling over here!
Photobucket

She really loves these.  And having read the ingredients list on the package, I feel good giving them to her knowing how healthy they are for her.  I'm going to use these to train her to shake hands... thats my current mission.  Now that I know she'd appreciate some home-made puppy cookies, I want to make some from scratch when these are all gone.  Does anyone have a trusty dog treat recipe they use for the puppylove in their life?

Upcoming Reviews!


Check out this cool little item my mother in law got for me:  Cupcake Plunger by Chicago Metallic.  This cupcake plunger takes out the center of a cupcake so you can put filling inside.  It says you can put the plunger inside the cupcake, take out the core, and then pop it out of the plunger.  Voila, a cored cupcake - ready to fill!  It also says you can use the plunger to get the perfect sized amount of solid filling to put inside the cupcake - such as ice cream or thick buttercream.  I'm thinking it would make fun two-flavored cupcakes by making vanilla cupcakes with chocolate cake centers and vice versa.  Plus, I'm really excited at the notion of making ice cream cupcakes in a much easier fashion than I have in the past.  They'd probably look prettier too!  Mmm, or brownie bites filled with peanut butter... As you can tell, I'm really excited to try this little gadget out.  What treats would you create with it?  After I use it I'll be sure to review how it worked out for me.  


Speaking of gadgets, I recently heard from CSN Stores, which means its time for another review!  CSN stores is a giant online retailer, with over 200 different online stores carrying... well... everything.  Seriously!  CSN has everything from swing sets and kids toys, to home decor, cooking and baking supplies, and shoes.  Everything!  Chances are if you're looking for it, CSN has it.  I may be 25 years old with no backyard and no children (besides a shih-tzu) but how cool are these swing sets for kids?  Don't even get me started on these giant water trampolines.  I seriously want one.  
 On top of having a wide selection, their pricing really is great.  And something that is very important to me when looking to buy something new, they also have customer submitted item reviews for their products, too.  I rarely buy anything without reading others reviews of it first!  

So stay tuned for an upcoming review or two of items from CSN Stores.  And in the mean time, check out this video: Trampoline Dodgeball.  You're never too old for some trampoline dodgeball.  

Sunday, January 23, 2011

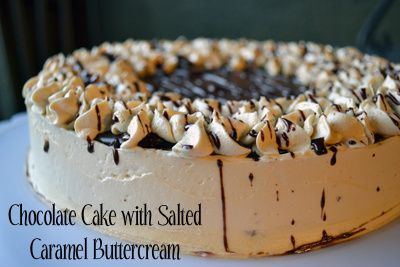
SMS: Speakeasy? Or Chocolate Cake with Salted Caramel Buttercream Frosting & Ganache

Photobucket


The Speakeasy cake, the recipe for Sweet Melissa Sundays this week, was chosen by Jeannette of The Whimsical Cupcake.  According to the Sweet Melissa Cookbook, Melissa "snuck a lot of booze into this cake!"  I knew I was making this cake for a family dinner where we have a pregnant family member so I decided to un-booze this Speakeasy... so I guess it really shouldn't be called a Speakeasy at all, huh?  Whatever you want to call this cake, it turned out absolutely amazing.  Probably one of my favorite cake recipes I've prepared to date.  It's very unique, not your every day cake - and I mean that in a very good way.

Thursday, January 20, 2011

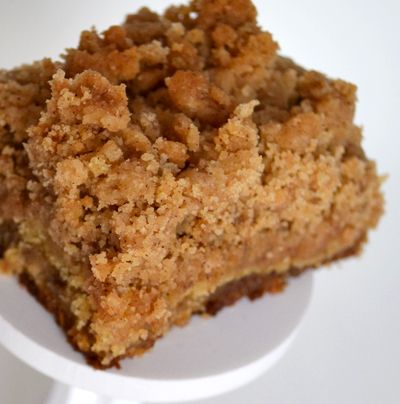
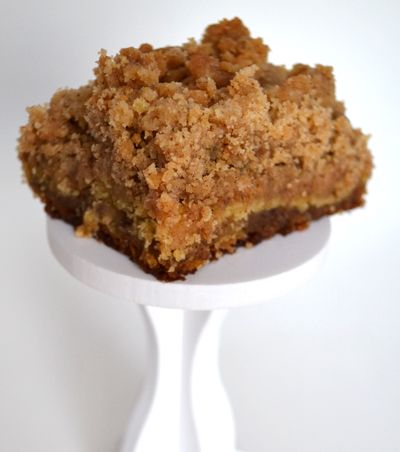
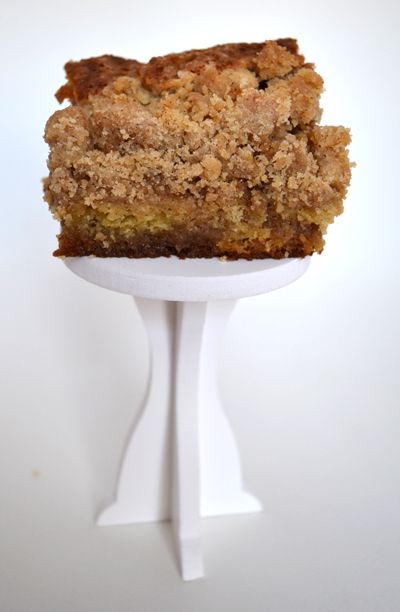
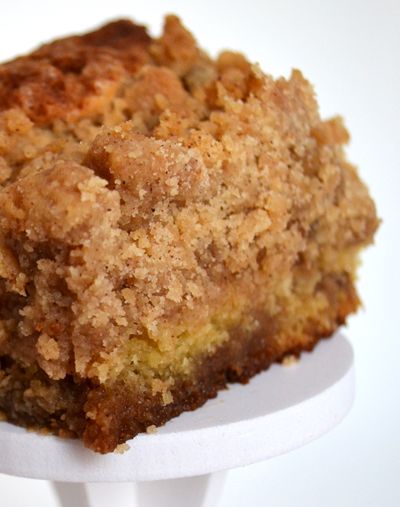
Cinnamon Coffee Crumb Cake (and a Giveaway!)

Photobucket

Lately, my mornings have either consisted of going to school to fill in as a substitute teacher, or sitting on the couch with coffee and checking the employment page of the local school district to check for openings.  Sometimes my mornings include putting resumes in envelopes with care and rushing to the post office, wishing them well when I send them off to their destination.  On those mornings, this Cinnamon Coffee Crumb Cake makes the perfect breakfast to go along with my morning coffee and job hunting.  


This is quite possibly the best Crumb Cake I've ever tasted.  It is a glorious combination of a Cinnamon Swirl Coffee Cake with a thick, buttery Crumb Cake topping.  The cinnamon swirl in the middle makes the cake very moist (an almost under-baked texture in parts) and the high ratio of crumbs to cake balances out that super moistness perfectly.  


Photobucket


Cinnamon Swirl Coffee Cake with Crumb Topping:
For the Cake (adapted from Epicurious):
1-1/2 Cups all purpose flour
1-1/2 tsp baking powder
1 cup vanilla greek yogurt
1 tsp baking soda
1 stick unsalted butter, softened
1-1/3 cup granulated sugar
2 large eggs, room temp
1 tsp vanilla extract
1/3 cup firmly packed light brown sugar
1 tsp cinnamon
a pinch of fine sea salt


Directions:
Lightly grease an 8x8 or 9x9 square cake pan and line with parchment.  Preheat to 350.  
In a small bowl, mix together 1/3 cup granulated sugar with the brown sugar and cinnamon.  Set aside.
In a medium bowl, whisk together the flour with the baking powder and salt.  In a separate bowl, combine the yogurt and the baking soda and stir.  Set both bowls aside.
In the bowl of an electric mixer, beat the butter until light and fluffy.  While mixer is on low, pour in the granulated sugar and continue to beat.  Add the eggs one at a time beating well after each addition, scraping down the sides of the bowl if necessary. Beat in the vanilla.
Stir in the flour mixture in 3 parts alternately with the yogurt mixture, beginning and ending with the flour mixture.  Stir until well combined.
Pour half of the batter into the prepared pan.  Sprinkle half of the cinnamon-brown sugar mixture on top.  Then, pour the rest of the batter on top of the cinnamon sugar mixture.  Top off with the remainder of the cinnamon sugar mixture.  With a knife, gently swirl the cinnamon sugar mixture into the batter (not all of it will get swirled in and that is ok).
Over the cake batter, squeeze handfuls of the Crumb Topping Mixture (see recipe below) together to crumble into small clumps.  Drop evenly over the cake batter, covering completely (the crumb layer will be thick!)
Bake in preheated oven for 45-55 minutes, or until a tester comes out clean with only moist crumbs on it.  Allow to cool on a wire rack.  


For the New York Style Crumb Topping (adapted from Epicurious):
1/2 cup packed light brown sugar
1/4 cup granulated sugar
around 1-1/2 to 2 tsp ground cinnamon (depending on how cinnamony you want it)
1/4 tsp fine sea salt
1 stick unsalted butter, melted and allowed to cool slighlty
1 - 1/4 cup all purpose flour


Whisk both sugars, cinnamon and salt together in a medium bowl.  Add the warm melted butter and stir to blend.  Add flour and toss with a fork until moist clumps of crumb topping form.


Yes, each slice of this deserves to be served on its own pedestal.  
Photobucket

Photobucket


And... now it's time for a Giveaway!  Recently, the kind people at Thomas Nelson publishing company offered me a copy of their new book: Dining with Joy.  This book has been a fun and very welcome distraction during my job searching days.  It is a quick, easy read about a woman named Joy who was thrust into the role of TV Cooking show host, following her father's death.  Readers follow Joy's ups and downs in the Television business and foodie world, as well as in her personal life.  


Joy was pretty lucky in that she was named JOY.  I mean, "Dining with Joy" - that's a pretty darn cute name for a cooking show whose host's name is Joy.  
To enter this contest, simply leave a comment below telling me what you would call your own TV cooking show if you had one.  I'd probably have to be on HBO and call my show "The Angry Baker" because I tend to get frustrated (and even curse a bit) while I'm baking.  If anyone has ever made a super silly mistake while preparing (and subsequently destroying) a recipe - one of my trademarks - then you'll understand :)
Want an extra entry?  Mention this contest on Facebook and include a link to this Post in your mention.  Leave a separate comment below telling me you've done so.
Want ANOTHER extra entry?  Mention this contest on Twitter and include a link to this post in your mention.  Leave a separate comment below telling me you've done so. 
Contest will end Jan. 27th at midnight and I'll announce the winner on Fri. the 28th.

Sunday, January 16, 2011

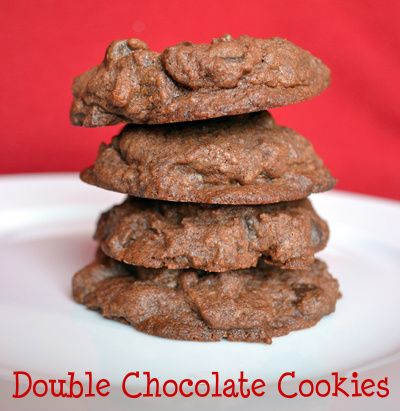
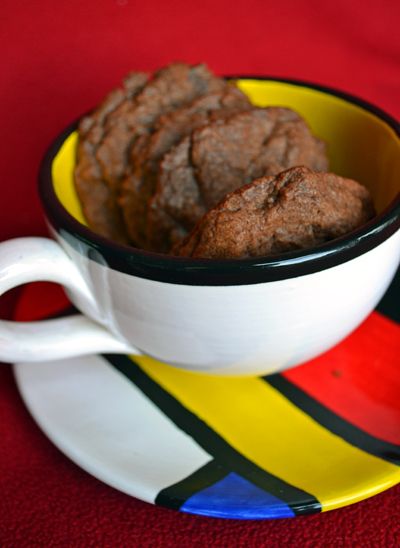
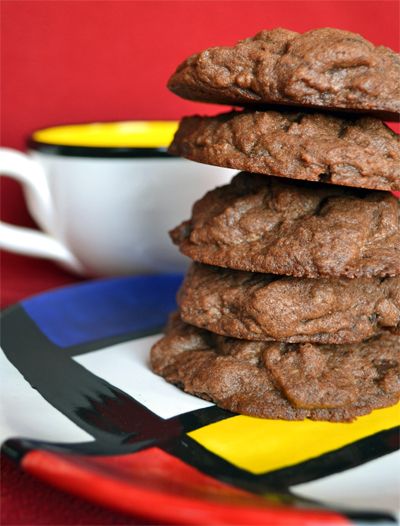
Double Chocolate Cookies

Photobucket

There are some recipes that I find while browsing online and immediately bookmark with the intentions of making one day.  Sometimes these stayed bookmarked for months and months, probably even years (since I never clear out my bookmark list).  I seem to think that some day I will actually get around to making these.  However, every now and then I find a recipe and make it within a day.  This was one of those recipes, and I must have a baking sixth sense about these things because these cookies were absolutely delicious.  I might even have to make them again in a day or two since they're all gone and the thought of that makes me quite sad.  

These have everything you could want in a cookie: quick, easy to put together.  chocolatey, but not too chocolatey.  thick, not flat or thin.  soft and moist, not crispy.  They taste like the combination of a brownie, a cookie, and chocolat cake.  I think you should probably make these... now.

Photobucket

Double Chocolate Cookies, adapted from Annie's Eats' version of Levain Bakery's cookies
Ingredients:
2 sticks unsalted butter, room temp
1 1/4 cup granulated sugar
2 large eggs, room temp
1/2 cup unsweetened cocoa powder
2 1/4 cups all purpose flour
1/3 tsp fine sea salt
1 tsp baking powder
1 cup hershey's special dark chocolate chis
1/2 cup milk chocolate chips

Preheat the oven to 350 and line baking sheets with silicone baking mats.  In a medium bowl, combine flour, baking powder and salt and set aside.  In the bowl of an electric mixer fit with the paddle attachment, beat the two sticks of butter until light and fluffy.  With the mixer on low, gradually add the sugar.  When all sugar is incorporated and mixer is light and fluffy, add the eggs one at a time.  Scrape down the bowl with a spatula.  Add in the cocoa powder and mix until incorporated.  Add the flour mixture and mix just until combined, don't overbeat.  Fold in the chocolate chips briefly.  
Using an electric scale, divide the dough into 2 ounce dough balls.  Drop lumps of dough on to the prepared cookie sheets about two inches apart.  Flatten balls of dough very slightly with your palm or the bottom of a glass.  Bake 13-15 minutes or until no longer wet looking.  Let cool on the baking sheet 5-10 minutes before moving to a wire rack to cool completely.  

Photobucket

Sunday, January 9, 2011

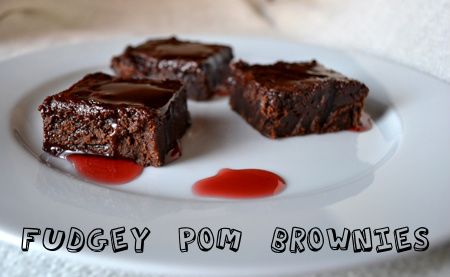
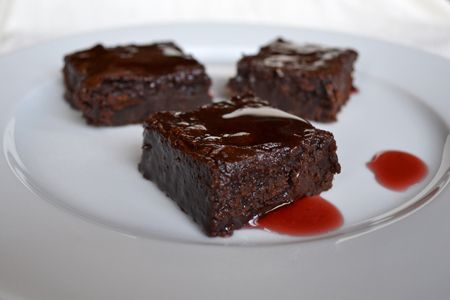
Double Chocolate POM Brownies

Photobucket


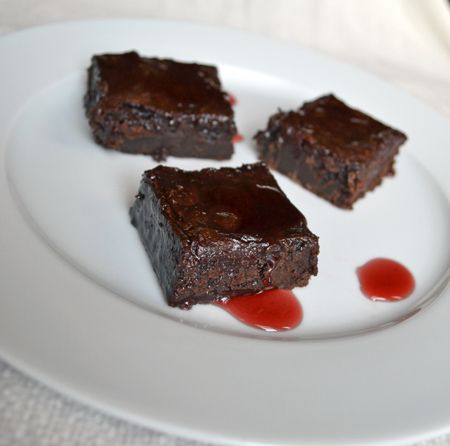
The second of the three POM Wonderful recipes I prepared with the 100% Pure Pomegranate Juice I received was Double Chocolate POM Brownies.  To be honest, the idea of Pomegranate together with Fudgy Chocolate Brownies scared me a bit at first, but I was so curious to try out the combo that I just had to make the recipe... and I sure am glad I did.  I made slight changes from the recipe on POM's website and was very pleased with the results.  The POM syrup came together very easily and I could see myself including it in many other dishes (on top of ice cream or pancakes, as a filling between cookies and cake layers...mmm...).  It really complemented the chocolatiness in these really tasty brownies.


Photobucket

Fudgey POM Brownies, adapted from POM
Ingredients:
For the syrup:
1 cup POM Wonderful 100% Pomegranate Juice
3/4 cup granulated sugar


For the brownies:
3 ounces unsweetened chocolate, chopped
1/3 cup semisweet chocolate chips
2/3 cup dark chocolate chocolate chips
1 sick unsalted butter
1 1/2 cup granulated sugar
3 large eggs, room temp
1 tablespoon pure vanilla extract
1 cup ap flour


To make the syrup:
Combine the POM Wonderful and the 3/4 cup of sugar in a small saucepan on medium.  Increase the heat to bring to a boil. Reduce heat and simmer about 20 minutes, stirring frequently.  Remove from the heat and allow to rest at room temperature while you prepare the brownies.


To make the brownies:
Grease a 9x9 baking dish and line with parchment paper sling.  Lightly grease the parchment paper.  
On the top of a double boiler, combine unsweetened chocolate, semi sweet chocolate, dark chocolate and butter until melted and smooth, stirring occasionally.  Then stir in the sugar and remove from the heat.  
Whisk in the eggs and vanilla.  Add in the flour.  Spread into the prepared pan.  
Drizzle a scant 1/4 cup of the POM syrup over the batter and swirl into the batter with a knife.  Bake 30-35 minutes, or until cake tester inserted comes out with only moist crumbs.  
Cool in the pan for 15 minutes, then drizzle another scant 1/4 cup of POM syrup over the brownies.  Allow to cool completely before slicing.  Store the remainder of the POM syrup in an airtight container in the refrigerator.  


Photobucket

Saturday, January 8, 2011

POM Banana Ice Pops

Photobucket

I've always heard about the health benefits of Pomegranates and Pomegranate juice.  They have been popping up in all kinds of recipes lately, but somehow I never got around to trying it.  So when the nice people at POM Wonderful sent me a case of their 100% Pure Pomegranate Juice a few weeks ago, I finally got to put it to the test.  This is the first of (so far) three recipes I've made with POM and they have absolutely made a Pomegranate believer out of me!  Granted, straight from the bottle the unsweetened juice leaves much to be desired.  However, after turning it into a syrup, an ice pop, a sorbet a double chocolate brownie (that's right - a brownie!)  I have come to fully appreciate the healthy fruit.  In fact, I can see myself making these recipes over and over again.  

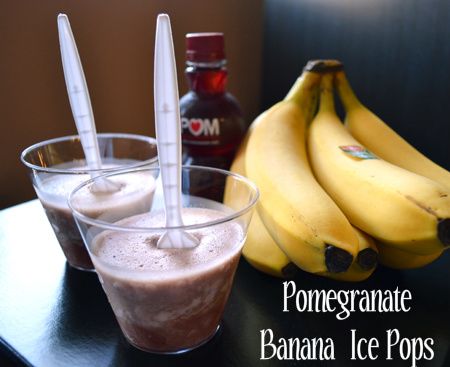
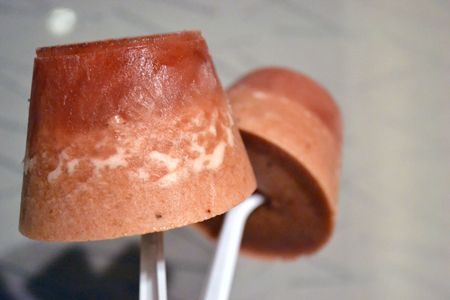
The first recipe I made was POM Banana Freeze, or Pomegranate Banana Ice Pops.  Being the first recipe I was making with POM, I prepared it exactly as it was written on POM's website.  The recipe was super simple and involved just four ingredients.  My formerly non-Pomegranate loving husband was completely won over with these ice pops and already wants me to make more.  

Photobucket

POM Banana Freeze (Ice Pops), from POM Wonderful
Ingredients:
1 Cup POM Wonderful 100% Pure Pomegranate Juice
3 ripe bananas
1 batch simple syrup*
6 plastic cups**
6 plastic spoons

Simple Syrup* = boil 1 cup granulated sugar and 1 cup water together until sugar fully dissolves.  Cool to room temperature.

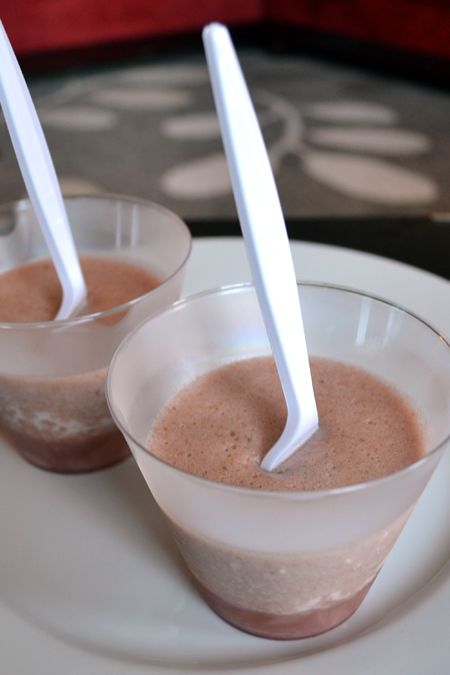
But Bananas in the bowl of a food processor and blend until smooth.  Add in the simple syrup and POM. Process until smooth**.  Divide mixture between the cups and place the cups in a plastic storage container.  Stretch plastic wrap across the top of the plastic storage container and insert plastic spoons through the wrap and into the ice pops.  Freeze until solid.  

**  The POM Website says to divide the mixture between just 4 cups, however, I think I may have food processed mine a bit too much because the mixture became frothy and airy.  This may have caused me to yield more of the mixture because mine created 6 servings, not 4. 

If you are not yet a Pomegranate lover, I suggest you try this recipe.  It will surely make a believer out of you!

Photobucket

LinkWithin

Related Posts with Thumbnails