Recent Posts

Showing posts with label bite sized. Show all posts

Thursday, November 25, 2010

Happy Thanksgiving!

Photobucket

I hope you all have a Happy and Healthy Thanksgiving!  

Photobucket

Photobucket

Here are some Turkey Cake Pops (from Bakerella's Cake Pops book) I made for our Thanksgiving dinner.  What are you making this year?

Monday, July 28, 2008

Red Velvet Cupcake Minis

Photobucket

Saturday was our Italy Girls Reunion get together. Its amazing how much time went by since the trip. I can barely believe its been 2 and a half months since the trip began, and I've already been back for more than a month and a half. Incredible how time flies. I decided to bring cupcakes to our gathering because, well, I'm the cupcake girl. I talked about my cupcakes on the trip a lot, so I thought they would be curious to try them. One girl specifically requested I make her Red Velvet cupcakes once we got back, so thats what I went with. I used a recipe I've used in the past with great success, from Wilton Cupcake Fun. I halved it because I was making mini cupcakes:

Mini Red Velvet Cupcakes makes 24 mini cupcakes + 5 regular sized cupcakes
Ingredients:
1 1/4 C All Purpose Flour
1 Tablespoon Cocoa Powder
3/4 Tsp Baking Powder
1/2 Tsp Salt
1/2 Stick of butter, soft
3/4 C Granulated Sugar
1 egg
3/4 tsp red food coloring
1/2 Tsp Vanilla extract
1/2 C Buttermilk
1 Tbl Water
3/4 Tsp white vinegar (I used apple cider vinegar)
1/2 Tsp Baking Soda

Directions:
Preheat to 350. Line a mini muffin tin with 24 liners, and a regular sized muffin tin with 5 liners.
In a medium bowl, combine the flour, cocoa powder, baking powder & salt. In a different bowl, cream the butter and sugar with an electric mixer until it is light and fluffy. Add egg, red food coloring, and vanilla, and then mix until the red is evenly distributed. Alternately add the flour mix and the buttermilk to the butter mixture. Add the water and mix. In a small bowl, combine vinegar and baking soda, and fold into the cupcake batter. Pour batter into a large ziplock bag and snip a small (~1/4 inch) opening in the corner. Carefully, squeeze the batter into the liners so that they are about 2/3 - 3/4 full. Bake 15 minutes for the mini muffins and 20 for the standard sized cupcakes, or until a toothpick comes out clean. Remove from oven and let cool in the pan for 5 minutes, then remove to wire rack to cool completely.

Photobucket

For the frosting, I wanted to use my vanilla buttercream because it is so yummy, and I wanted them to taste the real deal of my cupcakes. However, I also wanted to let them try the red velvet cupcakelets with their traditional frosting: Cream Cheese Frosting. The Vanilla Buttercream recipe can be found here.
Photobucket

The cream cheese frosting recipe is one of my own invention (through accidentally using the wrong amount of cream cheese when I was trying to make cinnabun icing here). Usually, I'm not a huge fan of cream cheese icing, its usually too tangy for my liking. But this one is juuusstt right. It tastes more like cheesecake or cheese danish filling than cream cheese. And its perfect for piping!
Photobucket

Best Cream Cheese Frosting Ever
8 oz cream cheese, soft
1/4 C unsalted butter, soft
1.5 cups confectioners sugar
1/2 tsp vanilla

Beat cream cheese, butter, sugar and vanilla. This recipe will make much more than you need for 24 mini cuppies and 5 regulars, but it freezes really well, so make it all and save the rest for when you need cream cheese frosting next!

Photobucket
Can you tell which frosting is which?

Sunday, July 13, 2008

Lemon Ricotta Tart

Photobucket

I did not choose this tart. It chose ME. As you know, I had a problem in the kitchen that prohibits me from throwing anything away. We had an almost full container of ricotta in the frig left over from dinner, so I felt obligated to use it before it went bad. Then, Daniel saw a picture of a lemon tart that he said looked good. And it just so happens that I bought a cute little copper tart pan in Italy that I had yet to use.
PhotobucketPhotobucket
So it was a Done deal - I was to make a Lemon Ricotta Tart. I told you: it chose me.

I do not have a tart pan, and even if I did, that wouldn't quite fit into my desire to make small batches. I had my tiny little tart pan from Italy, and a 4 inch springform pan that I felt would do the job.

For my recipe, I based it off of this one from Recipezaar. My adjusted recipe went like this:

Lemon Ricotta Mini Tart
About .8 C Graham Cracker Crumbs
A little less than 3 tablespoons butter, melted
1 C Ricotta
1 Egg
1/6 C Sugar
Zest of one large lemon
1.5 Tablespoons freshly squeezed lemon juice

Preheat to 375. Add melted butter to graham crumbs and stir with a fork to combine. Press this mixture firmly into the bottom and up the sides of a 4" springform pan and a little itty bitty baby tart pan from Montepulciano :) Bake until lightly browned, about 10 minutes.
Remove and let cool.
In a food processor, combine egg, ricotta, lemon juice & zest, & sugar. Pour into crusts and bake about 55 minutes, or until surface is browned in spots, and the filling is set. Let cool in the pans, then remove.

The tart in the springform pan was... well...
Photobucket
Chubby. When I changed it to a springform pan instead of a tart pan, I suppose I changed the filling to crust ratio, so the baking time went from the recommended 30-35 minutes to 55!! So it rose dangerously close to overflowing, and then when it cooled, it sank in the center:
Photobucket

The little tart in the mini tart pan came out quite perfectly:
Photobucket
Photobucket

In the scaling down/manipulation of the recipe, things got a little altered. There was a lot of crust in these relatively small tarts. And if these were to bring to a party, I would have been a little disappointed in the appearance of the larger one because of the center sinkage. But the taste was quite good. Me and Daniel did agree though, that the lemon taste was too subtle. I would definitely try this recipe in its original measurements in a normal sized tart pan with a little more lemon zest. It was easy to make, and had a nice, light texture.

Photobucket

Photobucket

Sunday, May 11, 2008

Ci Vediamo, America!

This will probably be my last post for a little bit, as tomorrow I'm off to New York, and the following day, I'm hopping on a plane to Italy for a months worth of on-site art history lessons. 26 days, the first two thirds in Florence, and the last few days in Rome. So I must kiss Daniel, my beautiful puppy & my beloved kitchen goodbye for a while. It will be sad to leave, and I will be very homesick I'm sure, but hopefully it will be a wonderful time. Hopefully I'll be able to use the internet cafes to make some posts with pictures and maybe even some cooking me and the girls do in our apartments, but we'll see how that pans out. For now, here is my last post before I depart...

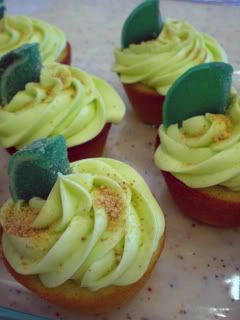
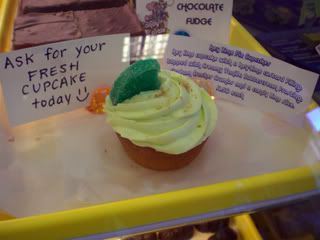
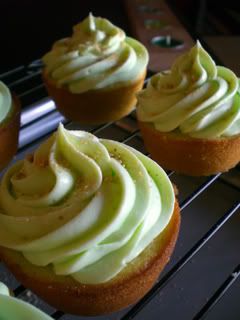
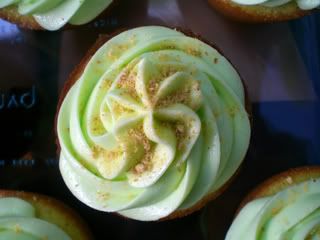
I made another batch of those key lime stuffed cupcakes and they came out too beautiful to not post pictures of. Much prettier and softer the second time around. I know you've seen these cupcakes before, but who doesn't appreciate pretty pictures, eh?
Photobucket
Photobucket
Photobucket
Photobucket

Also, I made some homemade granola to bring to New York for my mom for mother's day. My family hardly ever gets to taste my goodies, since they're all the way in New York, and since I'm going anyway I figured I'd make her something special. She told me recently that she puts it in yogurt in the morning for breakfast.
I scaled the recipe down to only a quarter of the original, since I didn't think I needed to bring her 8 cups of the stuff. This recipe was wonderful. It seems like it would be easy to customize. It was a wonderful recipe, my only recommendation is that you start checking it earlier than the website states, I think mine was overcooked a little bit.

Mine went like this...
Homemade Granola with Vanilla, Almonds, Raisins and Cinnamon
1 C Old Fashioned Oats
1/4 C sliced almonds
1/8 C Packed Brown Sugar
Pinch of Salt
Cinnamon to Taste
4 tsp oil
1/2 Tablespoon white sugar
1 tsp vanilla
3 tsp honey
+ I added 1/3 small box of raisins

Position rack in middle of oven and preheat to 300°F. Lightly spray large baking sheet with nonstick spray. Mix next 5 ingredients in large bowl. Combine oil, honey, and sugar in small saucepan; bring to simmer over medium heat. Remove from heat; stir in vanilla. Pour hot liquid over oat mixture; stir well. Using hands, toss mixture until thoroughly mixed.
Spread granola on prepared baking sheet. Bake until golden brown, stirring occasionally, about 30 minutes. Transfer sheet to rack; cool granola completely. (Can be made 2 weeks ahead. Store in airtight container at room temperature.)
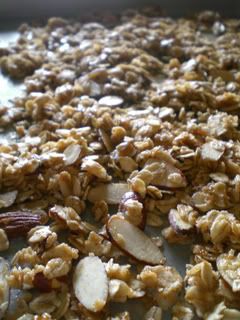
Photobucket
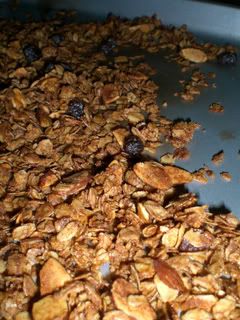
Pre-Bake

Photobucket
Post-Bake... got all golden and toasty
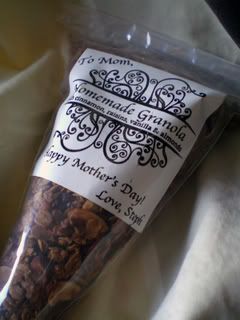
Photobucket

Photobucket
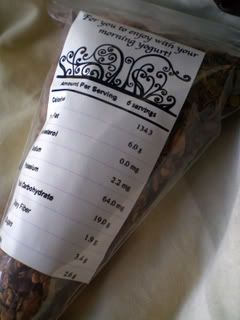
I even included nutrition information for my health conscious mother!
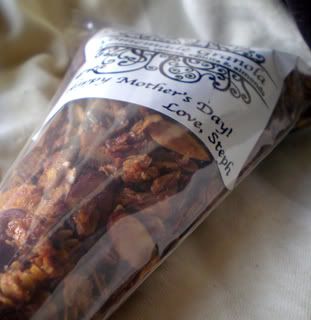
Photobucket

FINALLY, the third baking activity as of late...
Since I'm leaving for Italy, there will be no one to bake the cupcakes for parties. I have heard often that cupcakes freeze just fine as long as it is without frosting, and they are sealed air tight. So, I made two batches & convinced Dan to make the frosting if they are needed. Unfortunately... well...
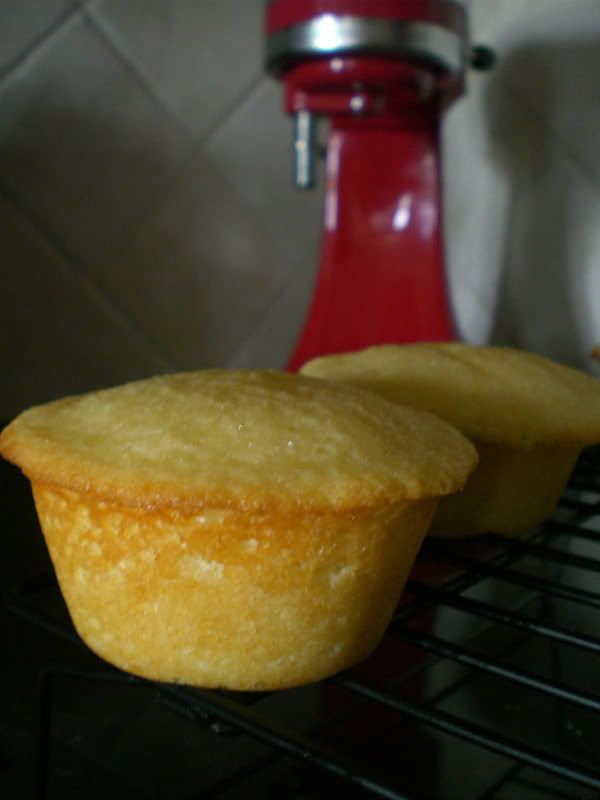
Photobucket
Good Cupcake

Photobucket
Bad Cupcake

So half of them, I tucked away in zip lock bags - careful to not let the tops touch anything. And then, double air-proofed them in tupperware...
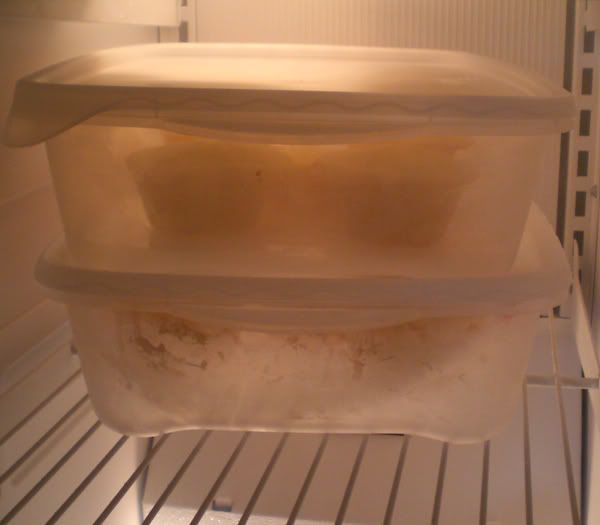
Photobucket

With the other ones... well... I dumped them in a bowl and decided to make more ballies with them.
I just can't stand to see my precious time and effort thrown away! Especially since they TASTED good, they were just ugly! Its not nice to throw something away just because its ugly! I made another batch of that disaster strawberry non-frosting to go with it because it worked out so nicely this time.
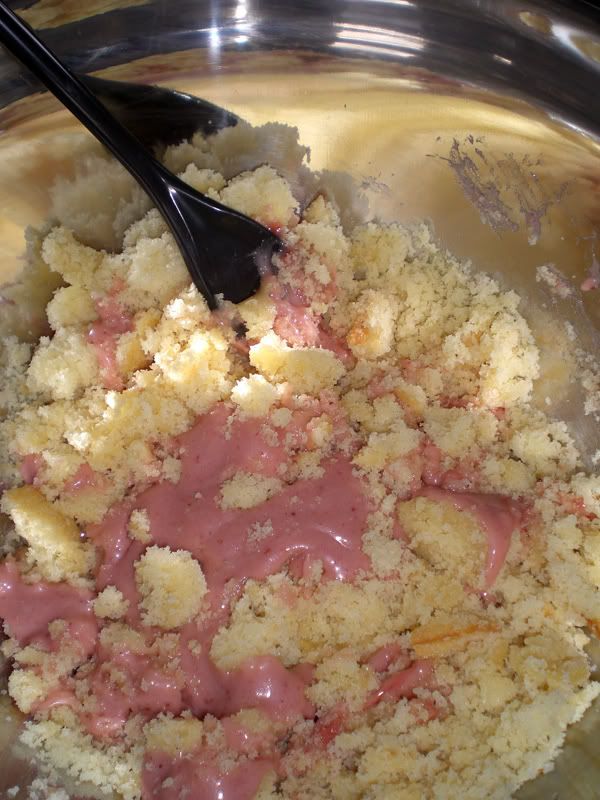
Photobucket

I stirred it all up, rolled it into ballies and froze them
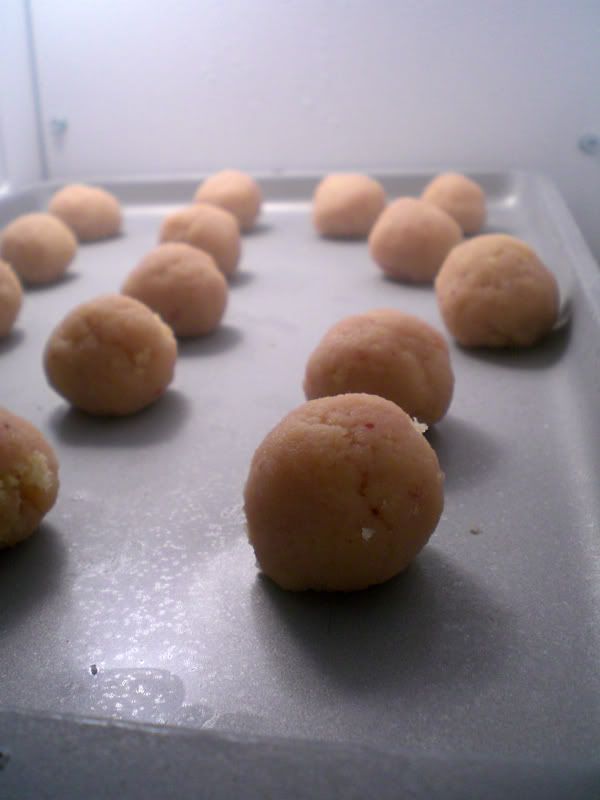
Photobucket

but this time I dipped them in vanilla flavored Candiquik.
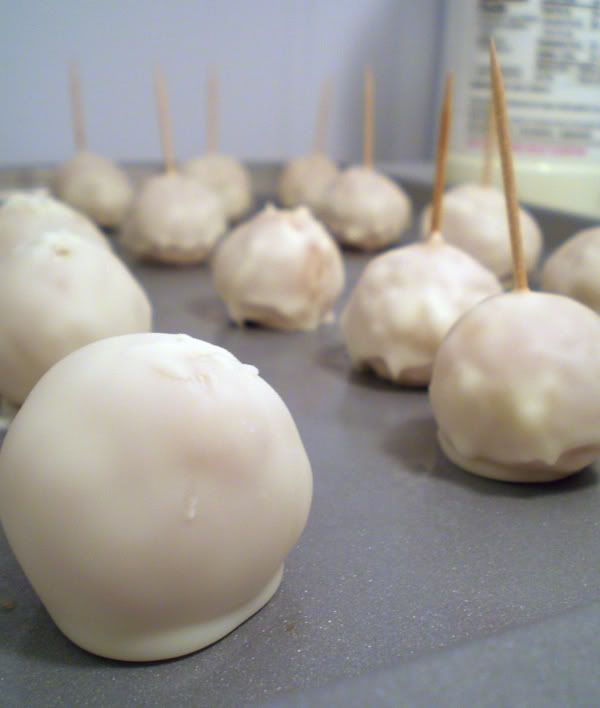
Photobucket
Photobucket
Bellisima, no???

Anyway America, that is all for now. I shall see you hopefully from a cute little Italian internet cafe, and if not, I'll see you in June. Ci Vediamo, America!

Monday, May 5, 2008

Chocolate Covered Cupcake and Frosting Bites

When I made the Abstract Expressionist cupcakes I mentioned that I kept some of the mini cupcakes that didn't come out so good with the intention of using them for something else. When I saw this amazing idea, I was inspired. I took the deformed cakelettes out of their wrappers and dumped them into a bowl, plopped some of the strawberry jam disaster frosting on top, and stirred it all together into a mushy mess with a spoon. I grabbed chunks of this concoction, threw them on a cookie sheet and popped them into the freezer until yesterday.

Photobucket Photobucket

After rolling them into circles and melting down some almond bark, we were in business. I put them on a toothpick, dipped them into the melted chocolate, and put them back in the frig to chill until the chocolate was set. I suppose I'll have to work on my dipping skills, these don't look particularly attractive, do they?

Photobucket Photobucket

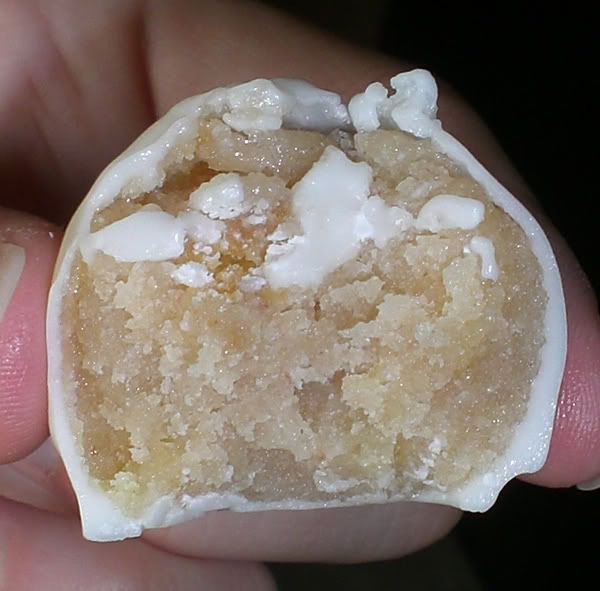
When you bite into it...
Photobucket
...the taste certainly makes up for the lumpy-looking chocolate coating. The inside was moist - not quite cupcake-ish. More like a petit-four, or a heavier moister Popem. As I've said a million times, Dan doesn't like chocolate, yet for some reason he ate a whole row of Chocolate ballies. If you ever need a quick, different, snack-sized dessert, I suggest doing something like this. Perhaps in a future attempt, I might pour melted chocolate on top for a smoother look. But either way, once people eat them, they won't care what they look like. I think it would work well with any frosting/cake combo.

Saturday, April 26, 2008

Abstract Expressionist Cupcakes?

You may ask yourself... what do Jackson Pollock & Cupcakes with Strawberry Jam frosting have in common? They're both splattery, a messy process, and ultimately end in disaster.

This weekend, me and Daniel created a work of art for our dining room. We used a little bit of left over paint from our house, and Dan's sister's, and got a few other shades to create our own Jackson Pollock-esque painting.
Photobucket
Since my brain was in an abstract expressionist mode, my cupcakes wound up with the same treatment.


But let me start over and tell the story of these cupcakes...if you want to call them that...

Tonight is a little get together at my professor's house with all the girls going on the Italy study abroad trip. I wanted to make something special, so I decided to make little cupcakes, which I normally don't do... because I figured, its all girls, and small cupcakes are easier and less messy to eat. Also, I wanted to do something a little different with the frosting.
I realized that I don't have a mini-cupcake pan. I foolishly decided to try anyway, and just laid out the mini-liners on a baking sheet and filled them up...
Photobucket

Overall, not a good decision. Some of them came out OK enough to use, but some others... well...
Photobucket
Precisely. A little leaky leakage.

So I took the bad ones, like the one above, and kept them for another project I intend to try soon.

Then, I began on the frosting. I found this Strawberry Meringue Frosting recipe on Martha Stewart's website, and couldn't resist. I food processed the strawberry jam, I whisked egg whites and sugar over simmering water.. but something was wrong. I'm really not sure what went awry, but it looked NOTHING like the picture Martha has on her website of this frosting. While hers looked fluffy, mine was liquidy, gooey, and... I learned through attempting it... NOT able to be piped in the LEAST bit. I tried adding meringue powder to thicken it up, put it in the frig, but nothing worked. I was going to throw it out, but I decided to just spoon it on top like a thick glaze.

Photobucket

My Action-Painting brain thought these looked a little Blah, so I took some dark chocolate ganache and splattered it over the tops of the cupcakes.

Photobucket

Photobucket

Me and Daniel sampled, of course, and it tasted... interesting. VERY Strawberry Jam-y. And not really like a cupcake. Since the frosting is so wet, it throws the taste off a little bit and tastes kinda like you're eating pudding. Though the girls at the party really all did enjoy them. Oh well. I spose I'll stick with my original recipes, or continue searching for a better strawberry recipe.

Photobucket
With a dollop of vanilla buttercream to pretty it up a little.

LinkWithin

Related Posts with Thumbnails