Recent Posts

Showing posts with label icing. Show all posts

Tuesday, September 6, 2011

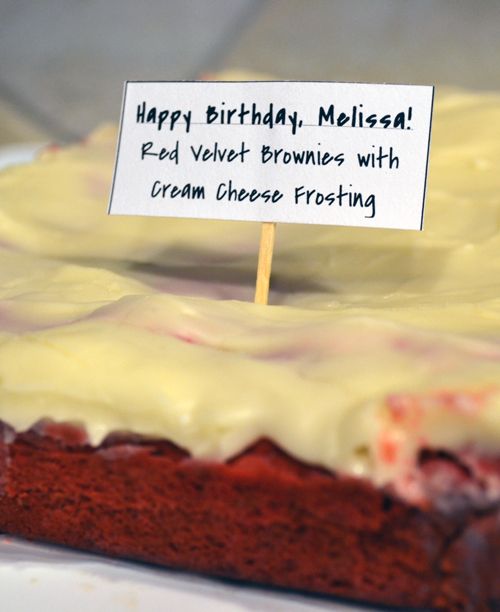
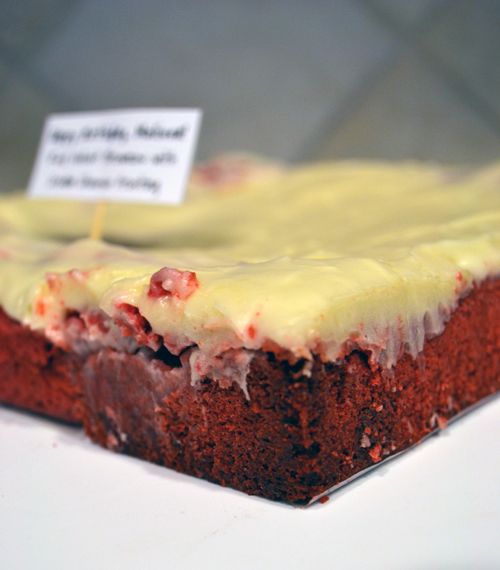
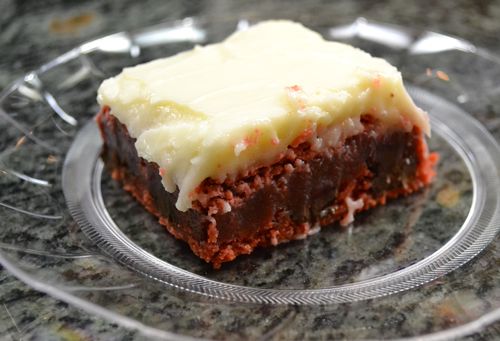
Red Velvet Brownies with Cream Cheese Icing


There have been a few different Red Velvet Brownie recipes floating around the internet for a little while.  One that I've had on my To-Do list for a long time now comes from How Sweet It Is.  I finally decided to put this one at the top of my "Things to bake" list, but I didn't want to make the White Chocolate Frosting that goes with it.  First, I don't love white chocolate.  Second, I don't know about you but I always dread having to melt down white chocolate.  It always seems to be temperamental for me.  It usually winds up chunking up and looking less than tempting.  So, I decided to skip it and go with a traditional match for Red Velvet... Cream Cheese Icing.  I whipped up my favorite cinnamon bun cream cheese frosting and spread that on top of the bars.  How'd it turn out?  Well, I did get a comment that night, "This is the best thing I've ever put in my mouth".  I'd say it went over well.  The brownies found that perfect medium between the fudgey chocolatiness of a brownie, and the only-barely-cocoa-ness of Red Velvet.  I'm glad I went with the Cream Cheese Icing because it really finished these off perfectly.


Red Velvet Brownies with Cream Cheese Icing, adapted from How Sweet It Is
Ingredients:
1/2 cup butter, room temperature
1 1/2 cups sugar
2 eggs, room temperature
2 teaspoons vanilla extract
1 1/4 cups all purpose flour
1/4 teaspoon salt
3 tablespoons cocoa powder
red food coloring gel
2/3 cups chocolate chips (optional)

Preheat the oven to 350.
Line an 8 x 8 cake pan with parchment (on sale now!)
In a medium bowl, combine flour, salt and cocoa powder.
In the bowl of an electric mixer, cream butter and sugar until fluffy. Add eggs one at a time, then add remaining teaspoon of vanilla. With the mixer on medium speed, add in the flour mixture.  Add food coloring and stir until incorporated.  Stir in the chocolate chips if using.  
Spread in the 8 x 8 pan. Bake for 25-30 minutes, or until toothpick inserted in center comes out clean. Let cool almost entirely before frosting.

My favorite cream cheese cinnamon bun frosting recipe:Ingredients:
2 ounces cream cheese, room temperature
4 tblspn unsalted butter, softened
1.5 c confectioner's sugar
1/2 tsp pure vanilla extract

Beat cream cheese and butter together until mixed and fluffy. Add sugar, mix until incorporated. Add vanilla and stir to combine. Spread on the barely warm brownies.


Sunday, September 4, 2011

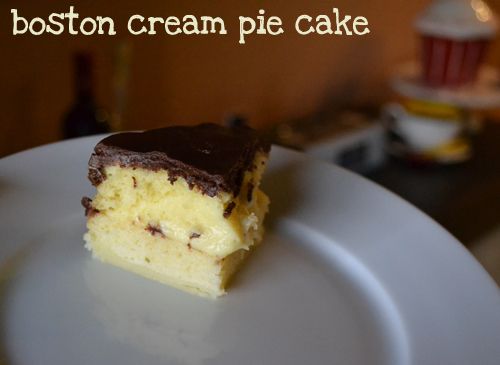
Club: BAKED - Boston Cream Pie Cake... Donut?

I honestly don't think I've ever tasted a traditional Boston Cream Pie but I've had (and thoroughly enjoyed) my share of its donut counterpart.  When Boston Cream Pie came up on our schedule for Club Baked - I knew I'd be baking along that week.  But I'm late!  I made the cake by September 1st, our date for this recipe.  But didn't get to make icing and pastry cream until yesterday


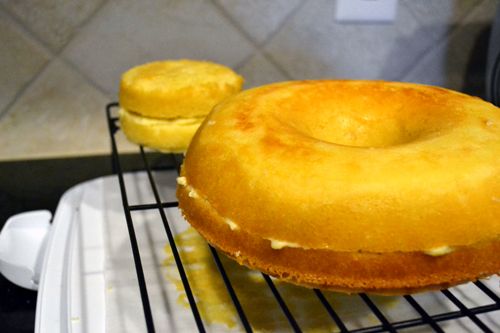
I put a tiny spin on this recipe.  Since my only real experience with Boston Cream Pie is with donuts... I made a giant Boston Cream Pie Cake in the shape of a donut!  It was the first time I got to use my Giant donut pan.  Instead of making a chocolate pastry cream and a vanilla pastry cream, I made only vanilla and put just one layer of cream in the cake.  I thought I had all the ingredients on hand after a shopping trip, only to realize I had no heavy cream for the chocolate glaze, so I improvised and made an alternate version.


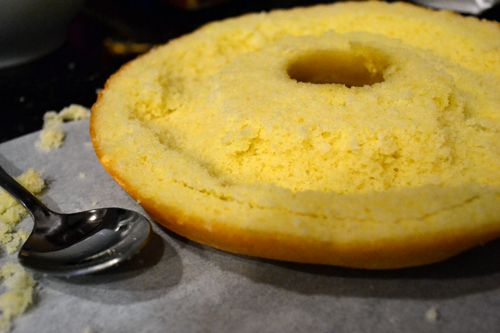
Half of the donut cake, hollowed out slightly to make room for pastry cream

This recipe made enough for one giant donut (equivalent to 2 8-inch round cakes) and one 4 inch cake

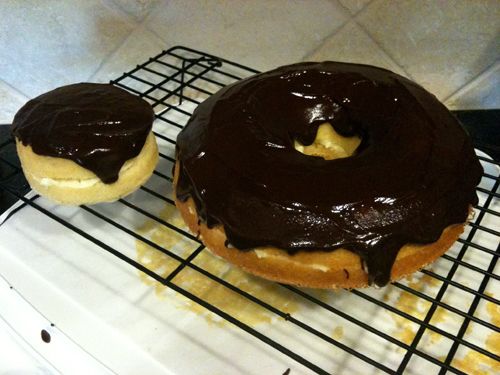
Quite a large chocolate glazed Boston Cream donut. :) And the biggest donut hole ever!


Quick and Simple Satiny Chocolate Glaze, adapted from AllRecipes

  • 3/4 cup 60% semisweet chocolate chips
  • 3 tablespoons butter
  • 1 tablespoon light corn syrup
  • 1/2 teaspoon vanilla extract

Combine all ingredients in the top of a double boiler and stir until completely smooth.  
While still warm, spread on top of cake and let drip down the sides.

Overall, this recipe was pretty good.  Anything I didn't love about it was probably my fault.  For example, We thought it was a tiny bit on the dry side, but I think that would have been better if I had more layers of pastry cream like the original recipe said.  Plus, my pastry cream was very thick.  Like thicker than pudding thick.  But I think perhaps I overcooked it.  

Be sure to check out the other Club Baked bakers' version of the Boston Cream Pie cake!

Monday, June 20, 2011

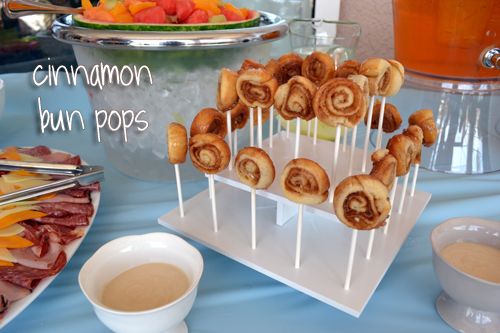
Mini Buttermilk Cinnamon Bun Pops


As I was typing the title of this post, I wondered - should I write "Cinnamon Buns" or "Cinnamon Rolls"?  Does anyone know what the difference is?  I sure don't.  Are they interchangeable?  

Sunday, May 29, 2011

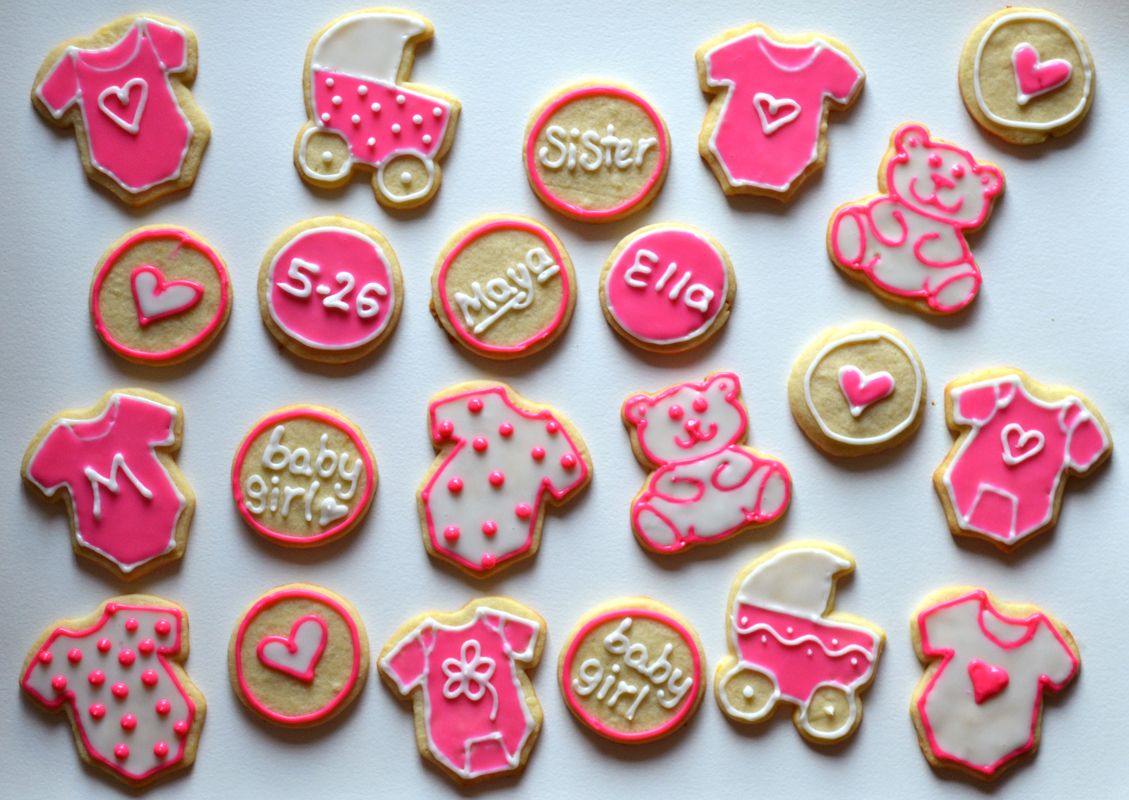
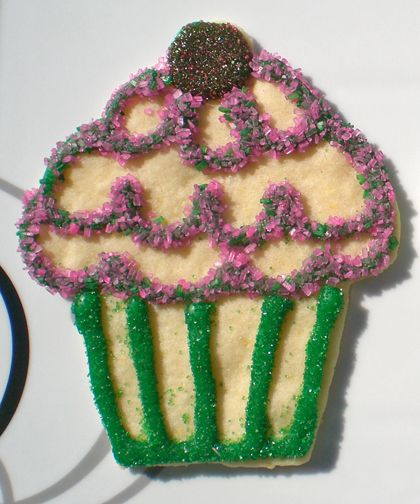
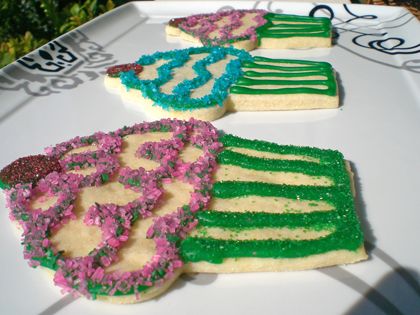
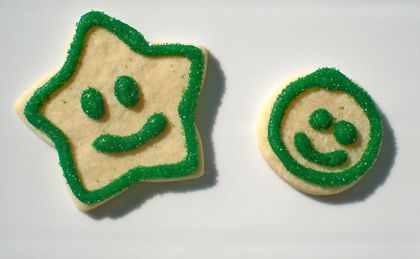
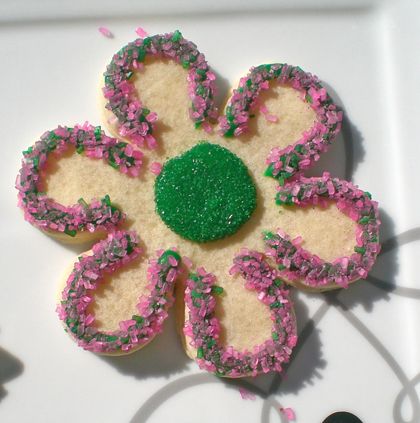
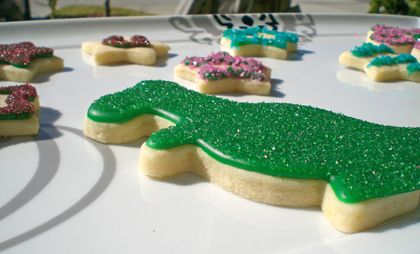
Sugar Cookies for Baby - The foolproof way to decorate cookies


I've never been one of those people who could make adorably decorated cookies.  First, I could never get the cookies cut nicely with a cookie cutter.  Once the dough was cut, the cookie would never stay in the cookie cutter so I could transport it to the baking pan.  Nor could I get a spatula under it to move it safely without destroying its shape.  Second, I had never had a good experience with royal frosting.  It always dried up too quickly, despite putting a wet towel on top.  Plus, I could never get it to the right consistency.  It was always either too stiff (and would clog and not come out at all, or crack after I piped it out) or it was too wet, and wound up oozing all over my cookies.  Seeing the oodles of perfectly piped and decorated cookies all over the internet, it urked me that I couldn't do the same!  After all, I have an art degree, I should be able to make extra cute cookies!  So yesterday I put to work and finally solved all those cookie-making problems.  I no longer fear the cute decorated cookie.  And I came to a few conclusions of how to make the process easier along the way.


Sunday, April 18, 2010

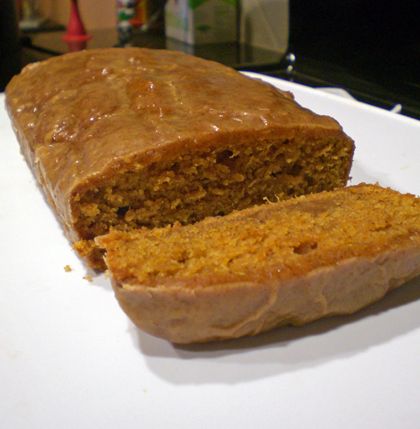
Sweet Melissa Sundays: Sweet Potato Bread with Cinnamon Glaze

Photobucket


Besides terrible, terrible (terrrrrrrrrible) allergies, this time of year is pretty great. The semester is rapidly coming to a close, its bathing suit weather again, and today is my wonderful fiance's birthday! The one thing that isn't so great about this time of year (besides the horrendous mind-bogglingly debilitating seasonal allergies. Spite you, tree pollen.) is the un-availability of yummy fallish ingredients. I searched and searched for canned sweet potato! But it was nowhere to be found. I thought of Pumpkin as a yummy substitute but that is out of season and nowhere here in Florida at the moment either. Not really having enough time to think about how to buy sweet potatoes and make them on my own, I bought a can of Bruce's Yams in Syrup, and opted to drain all the syrup from the can. Not really thinking about it, I bought a 15 ounce can (since I planned to halve the recipe and prepare it in a loaf pan).... but straining the syrup from the can left me with less than 15 ounces. Oh well, I had to make due on my tight schedule. I just decreased the amount of all the other ingredients I put in as well. This was kind of a winging-it kind of recipe for me. The only real change, besides messing around with the amounts of ingredients, was to use only cinnamon in the batter instead of all of the spices Melissa called for.
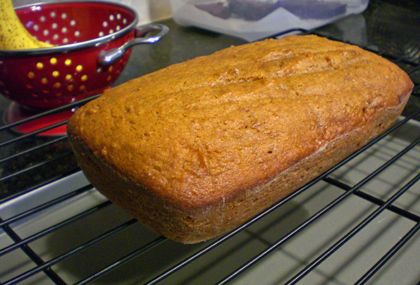
Photobucket


Also, I chose to do a cinnamon confectioner's sugar glaze instead of the Cinnamon-Rum-Orange Glaze the original recipe called for. We aren't big fans of orange and we don't have any rum. My glaze went something like this:
Cinnamon Glaze
3/4 C confectioners sugar
1 tsp cinnamon
1 tblspn butter, room temperature
2-4 tsp hot water
1/2 - 1 tsp vanilla, to taste
Beat all ingredients together until smooth. Pour half of the glaze over the still-warm loaf (I allowed it to cool for 20 minutes before topping with the glaze). Wait about 10 minutes, allowing the glaze to harden slightly, and then pour the remaining glaze over the loaf. This way you get a nice thick layer of the glaze. I used a pastry brush and painted the glaze on to the sides of the loaf as well.
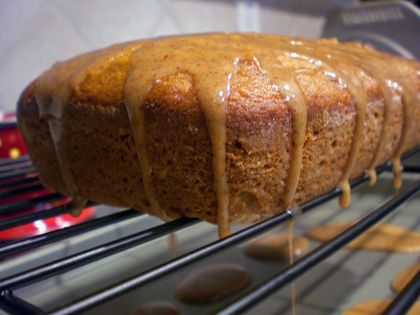
Photobucket

Photobucket


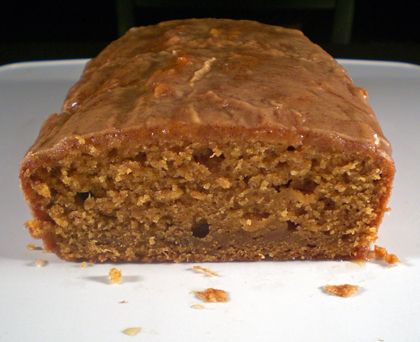
The result was quite good, considering all the estimating I did with the ingredients. The bread was very moist and not too sweet. The spicy cinnamony glaze's sweetness complementing the bread nicely. I bet this would be good with whole wheat flour too.
Photobucket

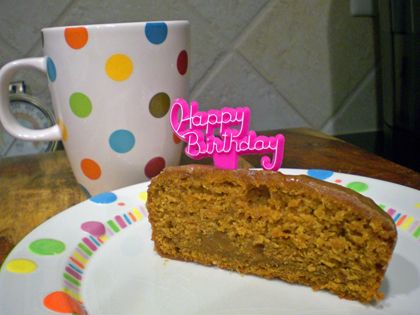
Breakfast for the birthday boy... he got his tradition b-day breakfast, cinnamon buns, yesterday :)

Be sure to visit the SMS Blogroll to see how this one turned out for the other members. And see the host, Lorelei's blog - Mermaid Sweets, for this week's recipe.

...have you thought about Mother's Day yet? I am offering my devoted blog readers twenty-five percent off a purchase at TheSmartBaker.com. 25% Off! That's the highest discount we've done so far, but its for a limited time only (offer good until Wednesday, May 5th, 2010). Just type in MD2010 during check-out in the "Coupon Code" spot. Our clever Measurement Conversion aprons come in Burgundy, Red, Pink, Navy Blue, Forest Green, and Black and are monogrammed with your choice of Initial free. And now you can get a Measurement conversion kitchen towel to go along with it and complete the gift! Your mother will definitely appreciate it :) (offer excludes custom orders).


Sunday, February 28, 2010

Sweet Melissa Sundays: Sugar Cookies


I do love cookies. But cookie doughs that require rolling out with a rolling pin and cutting with cookie cutters have never treated me well. Usually I find it hard to not have it stick to the rolling pin (despite my well-floured silicone rolling pin), and hard to get out of the cookie cutter, and hard to pick up and move to the cookie sheet for baking. So when I first saw that this week's recipe for Sweet Melissa Sundays was Sugar Cookies, I was excited (yey cookies!) but then I remembered (uh ohhh... time to get out the rolling pin). I thought of using it as a crust for a tart as the recipe says, but I decided to go the tricky route... and face my cookie cutter fears!

And it went well! At first I tried to roll it out too quick out of the fridge and it cracked. Then we rolled it out too thin. But once we rolled it out thick enough, and let it soften up a little bit more, it went very smoothly. I baked my 1/4 inch cookies for about 7 minutes in a 350 oven. And they came out perfectly.

Other SMS bakers said theirs were too bland, so I heeded Michelle's advice and upped the sugar to 3/4 C (from the recipe's 1/2 C), and added 1 tsp of fresh lemon juice. I also put 1/8 tsp of almond extract in, too. They came out very tasty and soft.

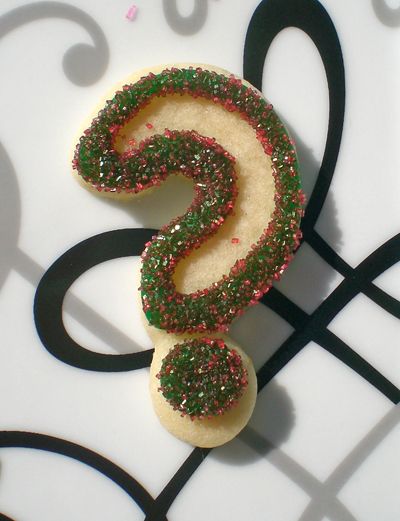
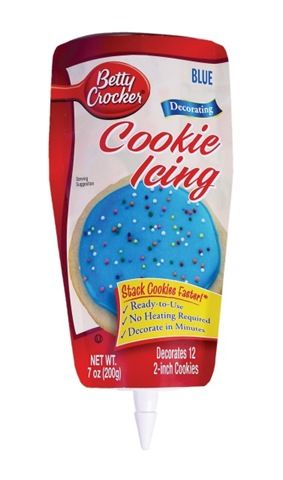
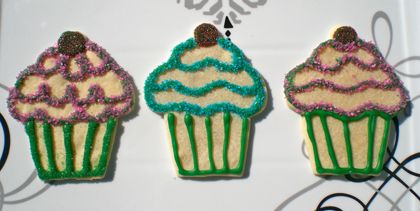
Thennnnn I used colored sugars and Betty Crocker Cookie Icing (ok, kind of cheating, but eliminated some frustration) to decorate them:

Andddddddddd maybe I went a little overboard...


I was having fun! :) Make sure to visit Nina's blog, Nina's Cupcakes to see this week's recipe from the Sweet Melissa Baking Book: Sugar Cookies! Thanks for hosting, Nina! And check out the other SMS bakers to see how the cookies came out for everyone else!

Monday, November 10, 2008

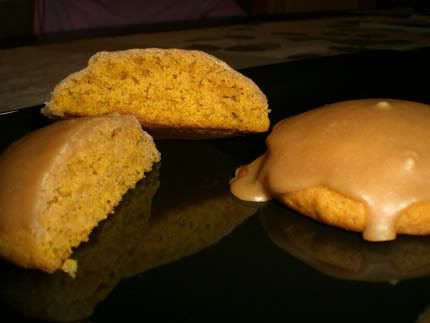
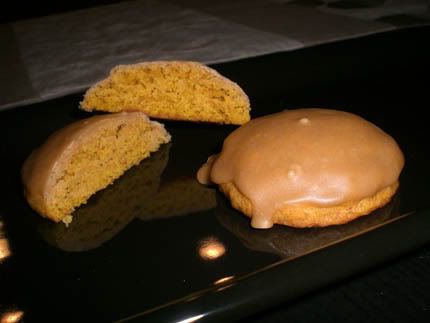
Iced Pumpkin Cookies

Mm..fall. More pumpkin recipes! I had half a can of Pure Pumpkin left from the Pumpkin Cupcakes, so I decided to use it! Turns out to have been a good decision, because these cookies are delicious.


The recipe came from FoodNetwork.com's Iced Pumpkin Cookies but I chose not to do the accompanying icing, but rather a different one which I will post below. I scaled the recipe down to use half of the pumpkin puree I had left (I have glorious things planned for the remaining portion).

Pumpkin Cookies adapted from FoodNetwork.com
Ingredients:
1 stick butter, soft
1/2 C granulated sugar
1/2 C Pure Pumpkin
1/2 an egg (I know, I'm so annoying)
1/2 tsp pure vanilla
1 C A.P. Flour
1/2 tsp baking powder
1/4 tsp baking soda
1/4 tsp salt
1/2 tsp cinnamon
1/4 tsp nutmeg

Preheat to 350. Cream the butter and sugar together until light and fluffy. Add the pumpkin, egg, and vanilla.
In a separate bowl, combine flour, baking powder, baking soda, salt, and spices. Stir this in to the butter mixture.
Drop by tablespoons on to a baking sheet lined with parchment.
Bake about 15 minutes or until lightly golden.

Icing for Pumpkin Cookies
Ingredients
:
1 1/2 Tablespoons butter (does not have to be softened)
2 Tablespoons of milk
1/4 C packed light brown sugar
5/8 Tsp pure vanilla (one quarter + one eighth)
1/2 C of confectioner's sugar

In a small saucepan, melt the butter together with the brown sugar and milk on medium heat. Stir until it is thoroughly combined and dissolved. Remove from heat and let sit for about 5 minutes to let it cool. Add the confectioner's sugar and milk and stir until combined. Fill a small bowl with the icing, and take cooled Pumpkin Cookies, and dip them up side down into the icing. Set on to parchment and allow to set (though it is just as delicious while the icing is still wet!! :)


Happy delicious Pumpkinny Autumn, everyone!

LinkWithin

Related Posts with Thumbnails