Recent Posts

Thursday, July 22, 2010

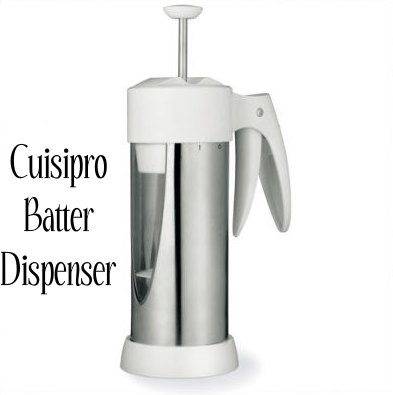
Product Review: Cuisipro Batter Dispenser

Photobucket

Recently, I had the chance to work with CSN Stores and review a kitchen product.  CSN Stores is an online retailer with over 200 online stores!  They have everything you might need for your kitchen, office, backyard, and almost anywhere else you can think of.  They have such a variety of products, they are likely to have whatever it is you're looking for.  Something I enjoy is that each product has an area for people to submit reviews, so before you purchase you can see what others have to say about it.

The product up for review in my kitchen was the Cuisipro Batter Dispenser.  Selling for only $30, it's an affordable addition to your army of kitchen gadgets.  And since it can help for anything from pancakes, waffles, crepes, brownies, cake batter, and other liquidy batters, it's not one of those uni-taskers thats going to collect dust until the one day of the year you need it.

I tried it out on two tasks: making "cupcakes," or brownies baked in cupcake liners, and pancakes.  How did it fare?

1. Ease of Prep: Disassembling the product to fill it with batter was a breeze.  I found that it came open and went back together again very easily.  But since it can't stand on its own upside down, it is a little difficult to fill it with one hand while holding it with the other hand.  I had to have my fiance put the batter in while I held it.  We gave this category: 3 out of 5 stars.

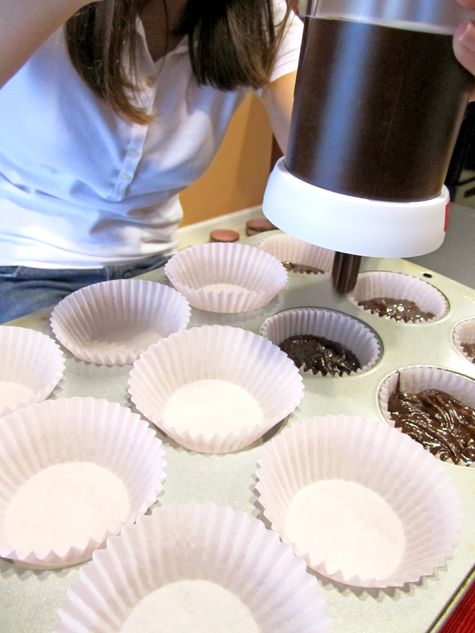
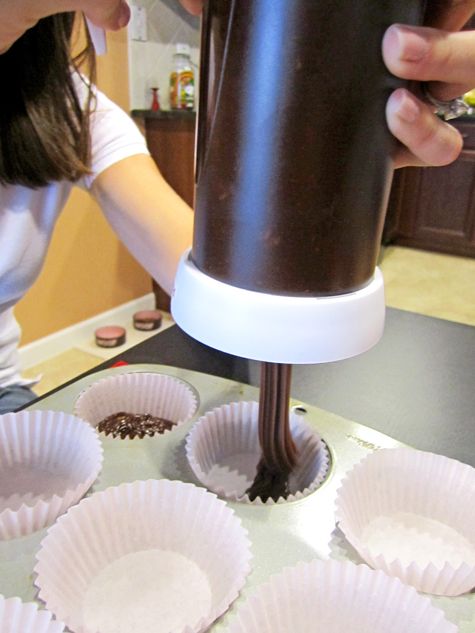
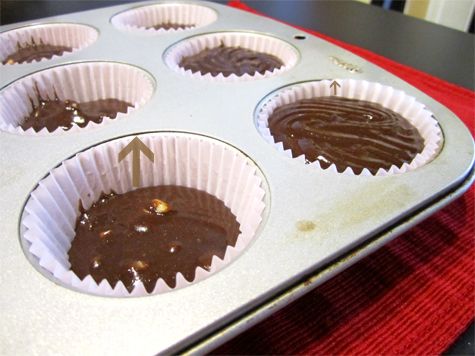
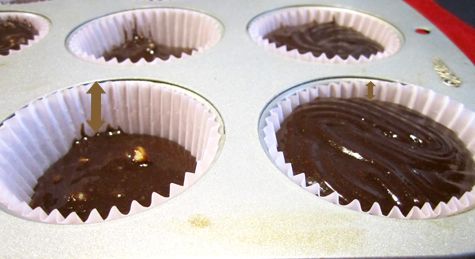
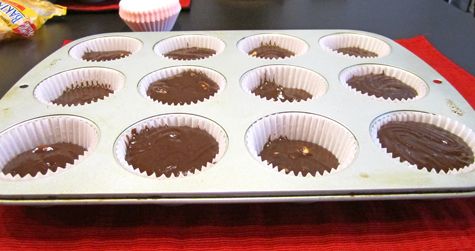
2. Ease of Use: It has three different settings, so you can select the amount of batter that is released with each squeeze of the handle.  Instructions say to pull the handle firmly and quickly, which was a trick to get right.  I first tried it out on the brownies and definitely did NOT get the speed of handle pulling right. Each brownie came out dramatically different in size:

Photobucket

Photobucket

Photobucket

Photobucket

Photobucket

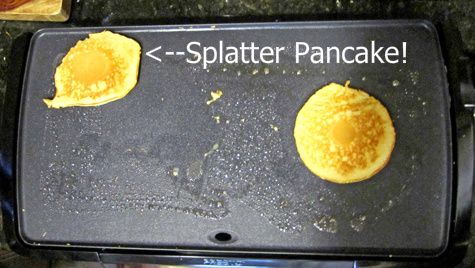
Next time I tried out the Batter Dispenser, I pulled the handle much more quickly... and what happened? Batter shot-gunned out of the gadget and splattered all over.  Guess I pulled a little too hard!:

Photobucket

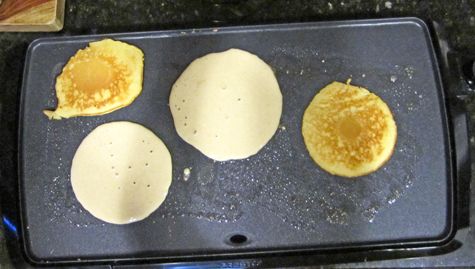
But, with a little bit of practice, it gets easier to get more consistent in speed and firmness of pulling the trigger.  Look at my improvement!!:

Photobucket

Photobucket

For this category, we gave it: 3 out of 5 stars now, & maybe 4 with more practice.  So we'll give it 3.5.

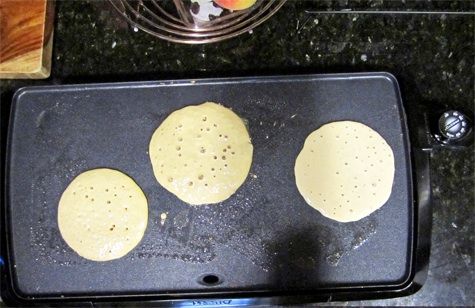
3. Practicality:  I didn't have any problem with the spout dripping while I was using it.  Especially during cupcake making, you go quickly from one cupcake liner to the next, so there isn't much down time for the gadget.  However, during pancake making there is wait time between laying down the batter and the pancakes cooking and getting removed from the griddle to make room for more batter.  So I did have a problem with what to do with the gadget in between pancakes.  I tried laying it down upright - with the spout side down.. and batter leaked everything.  I tried laying it on its side, and I found batter all over my counter within a couple of seconds.  The only solution I found was to hold the batter dispenser in my hands upside down so the spout it face up.  Kind of a nuisance to have to hold it the entire time.  The fiance said the dispenser should have a holster or a stand of some sort so the cook doesn't have the hold it for the entire pancake prep time. 2 out of 5 stars.


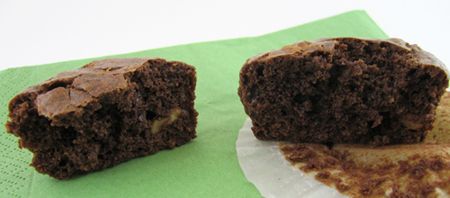
4. Versatility: The batter dispenser can handle a variety of batters, as long as it is on the liquidy side.  Pancakes, waffles, cake batter, brownie batter, blondie batter - are all fair game.  What's really great is that it works with mix-ins, too.  Those chocolate chips, blueberries, and nuts that you want to put into your goodies will all fit through the spout with no problem.  I tried this out to make sure this was true, and the walnuts in my brownies came through the spout with ease.  4 out of 5 stars.


5. Capacity: The batter container can hold up to 2 cups of batter at a time.  To make 16 brownie cupcakes, I had to refill only once.  I made a small batch of 8 pancakes, and I had to refill the container once.  I had the fiance manning the griddle, so he could watch the pancakes while I reloaded.  So, for small baking projects it has a good capacity.  But for larger batches, it might become a nuisance to have to keep refilling with batter. 3 out of 5 stars.


6. Ease of Cleaning: All of the parts come apart very easily, and there are no annoying little spots for batter to get stuck.  It is very easy to rinse clean, and it is even dishwasher friendly.  5 out of 5 stars.


7. Price: The batter dispenser currently has a $30 price tag at CSN stores.  It isn't cheap, but it also isn't an outrageous price for a product that can help with a variety of different cooking projects. 3 out of 5 stars.


CONCLUSION:  With practice, I think it can really make cupcake making easier.  It'll help avoid the drips on the pan between cupcakes, and since you're going from cupcake liner to cupcake liner fairly quickly, you don't have to worry about where to put it in between uses.  However, I probably wouldn't take it out for pancakes, unless I had a bunch of people over and I needed to make a good amount of pancakes.  For the $30 price tag, I think I'd ask for it for a gift, but probably not by it for myself.  Overall, it gets a 3.35 out of 5 stars (the average of its scores in the above categories).  If you'd like to purchase this item, visit CSN stores by clicking here.

Has anyone else ever used this product?  I'd love to hear your thoughts on it!

Sunday, July 18, 2010

Sweet Melissa Sundays: Chocolate Walnut Brownies

Photobucket

Photobucket

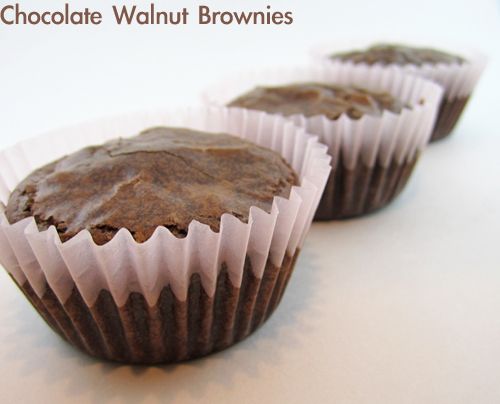
I'd probably never turn down a chance to make brownies.  No matter how many recipes I've tried, I'm always willing to try a new one.  Even the not-so-great recipes seem to disappear quickly in this house.  So this week's SMS recipe of choice, Chocolate Walnut Brownies, was warmly welcomed.  Thanks for picking it, Tiffany!

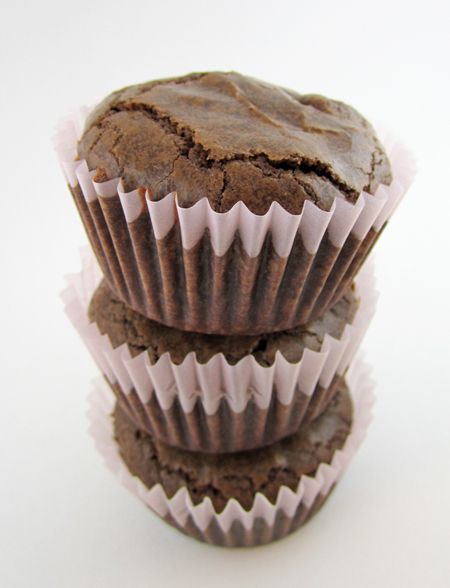
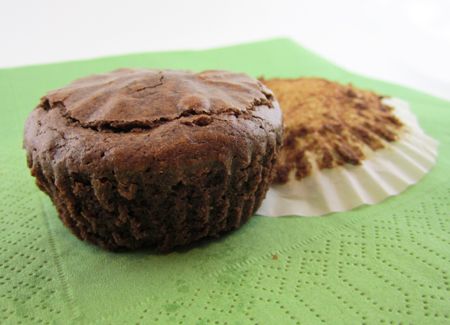
Recently I received a kitchen item in the mail from CSN stores, so that is why I decided to make these brownies in cupcake form (more on that product review soon).  The full recipe yielded 16 cupcakes filled about half way, and baked for about 30 minutes.  

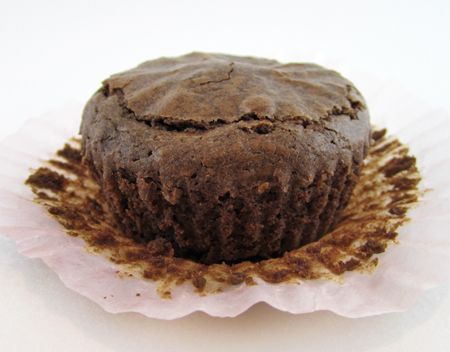
The brownies turned out great, but baking them in the cupcake liners made them a little bit crisper around the edges than if they were sliced from a 9 x 9 square pan.  Someone who loves the brownie edge pieces would love these.  But they were still fudgey and soft in the center, and sturdy enough to stand on their own without falling apart (a problem with very soft brownies).  We did have a tiny bit of a sticking-to-the-paper problem when trying to remove them from the liners... but this got much easier the day after these were baked.

I asked the fiance (97 days until our big day!) how these ranked compared to other brownies we've made, and he said, "Well these are different.  They have nuts.  But brownies with nuts are good.  They were good, I could eat a whole bunch of them."  (He may sound distracted because he gave his review racing a car around Rome on Playstation).  

Photobucket

Photobucket

Photobucket

Thanks for hosting, TIffany!  Head on over to Tiffany's blog, A Spoonful & A Heap, to see the recipe for these brownies.  And check out the SMS website for the list of this week's participants.

Tuesday, July 13, 2010

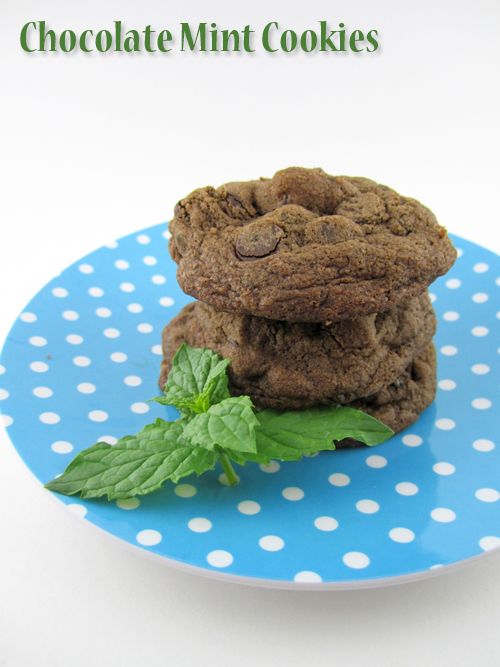
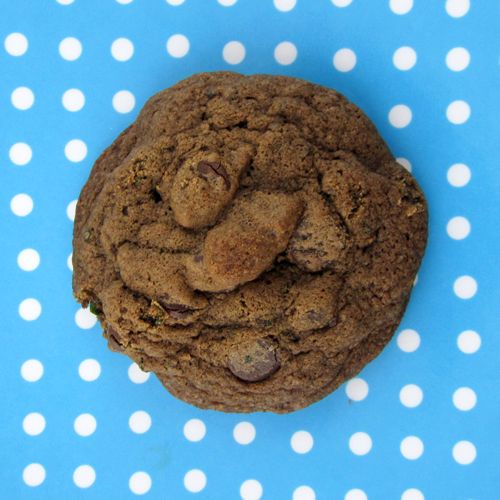
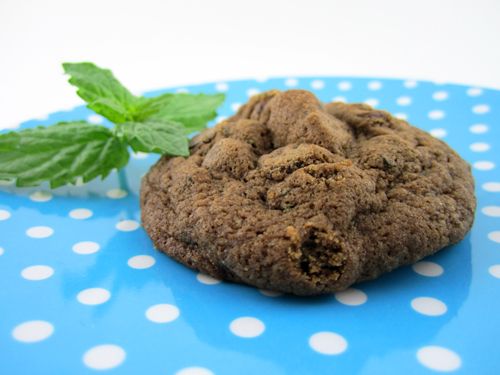
Chocolate Mint Cookies with Fresh Mint Leaves

Photobucket

I have always hated mint and chocolate together.  I've just never understood the combination.  After Eight mints disgusted me and York Peppermint patties had no appeal.  Don't even get me started on Mint Chocolate Chip Ice Cream, blegh.  I didn't even like anything that had been close to mint.  If my cookies were in a cookie jar that had previously held a mint cookie without being thoroughly disinfected, I wanted no part of it.  It had already absorbed some of the aroma of that sneaky infectious mint.  


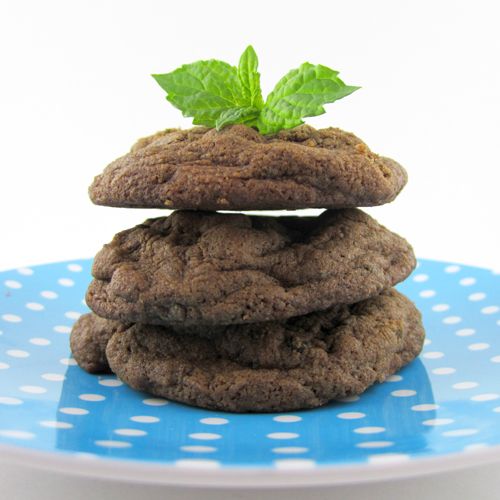
Yes, very strong feelings for an herb.  So it was very surprising to me when I recently started craving Thin Mints.  I don't even know if I've ever had one, but suddenly I wanted one.  Strange.  So I went out and bought a fresh Mint plant and put it in our small little herb garden next to our beloved sage and basil.  When it got big enough, I made these.  They're like soft Chocolate Chocolate Chip cookies with the added flavor of fresh Mint.  Apparently, I like Chocolate and Mint together now.  If you try these cookies, you just might, too.


Photobucket


Chocolate Mint Cookies with Fresh Mint Leaves
1 2/3 C all-purpose flour
1/3 C unsweetened cocoa powder
1 tsp baking soda
1/2 tsp fine sea salt
2 sticks butter, room temperature, softened
1/4 C granulated sugar
1/2 C packed light brown sugar
1 egg, room temperature
2 1/2 packed tablespoons Fresh Mint, chopped fine
1/2 C semisweet chocolate chips
1/2 C dark chocolate chunks or chips


Preheat the oven to 375 F and line cookie sheet with parchment paper.  
Sift together the flour, cocoa powder, baking soda and salt.  
In a separate bowl, cream the butter and both sugars together until light and fluffy.  Add in the egg and mix until smooth.  
Stir in the finely chopped mint leaves.  
Add the dry ingredients in two steps, scraping down the bowl after each addition.  Mix until just combined, don't over mix.
Stir in the chocolate chips by hand.  
Scoop by the rounded tablespoon onto parchment lined cookie sheets.  Leave a good amount of space, at least 2 inches between cookie dough balls because these may spread a bit.  
Bake about 8-9 minutes, removing from the oven when the cookies appear just set.  For a soft cookie, make sure to not over-bake.  


Photobucket


Photobucket

psst!  Don't forget!  They're just one more day left to enter my give-away for Free Dove Ice Cream!  See details here.  

Sunday, July 11, 2010

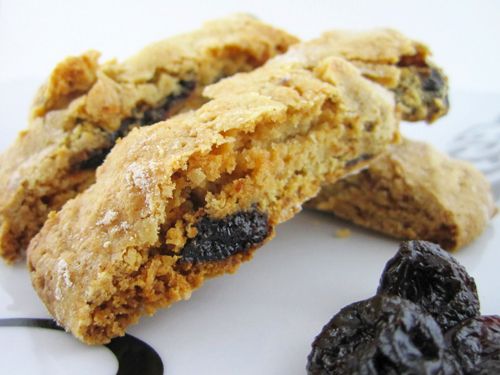
Sweet Melissa Sundays: Sour Cherry and Almond Biscotti


Photobucket


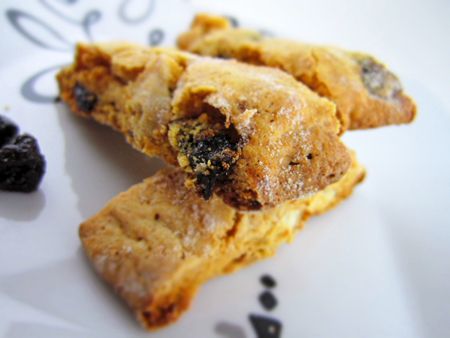
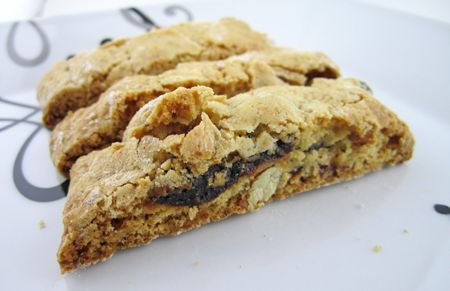
Do you love breakfast?  I do.  I rarely begin my day without some sort of breakfast.  No matter how busy I am or what kind of a rush I'm in, it always involves coffee.  When I'm running behind I grab my to-go mug of coffee and whatever is on the counter which is usually just a banana or apple.  On those rushy-rush days I'd love to be able to grab one of these freshly baked biscotti on my way out the door.  They were just the right thing first thing in the morning... or any time of day for that matter. 


Photobucket


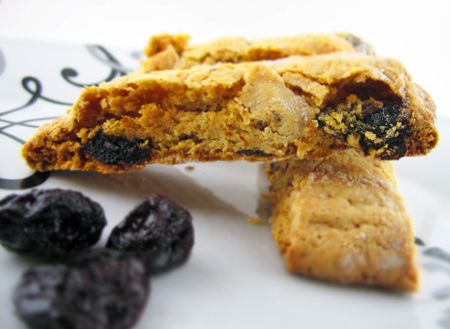
This week, Tracey of Made by Tray Tray chose our recipe for Sweet Melissa Sundays: Sour Cherry and Almond Biscotti.  Though I couldn't find Dried Sour Cherries anywhere, I picked up some regular Dried Cherries, and instead of simmering them in Orange Juice, I used Lemon Juice to try to add some of that Sour-Tartness I'd be missing.  Other than that and scaling it down by half, I made this recipe exactly as is.  Which I'm glad about because they came out perfect.

Dan doesn't love super crunchy things, so I made some of them as "Biscotti" - twice baked, and the others I only baked once, so I call them "Unscotti".  These ones weren't dried out entirely, so they still had a little bit of chew left in them.


Photobucket


Photobucket

After I simmered my Dried Cherries in Lemon Juice, I saw how much Cherriness had seeped into the Lemon Juice.  I decided it would be a tragedy to throw this away, so I stuck it in a measuring cup (it was about 2 ounces total) and stuck it in the frig.  I grabbed 2 ounces water and 1/4 cup granulated sugar and made a simple syrup with it, and then let that cool to room temperature.  After it's all cooled, add 6 ounces ice cold water, and a bunch of ice cubes and what do you get?


Photobucket
Only the most delicious Cherry-Lemonade EVER!!

Cherry Lemonade - I didn't include measurements because this can be scaled to make your desired amount.  Mine above yielded two glasses.
Ingredients:
Dried Cherries
Lemons, juiced
Sugar
Cold Water
Ice Cubes

*Combine equal parts Dried Cherries and lemon juice (Example: 1/2 cup of Cherries and 1/2 cup of lemon juice). 
*Simmer over medium heat until the color of the lemon juice is murky and brownish-red.  Remove from heat and strain out the Cherries (now would be a good time to make some Sour Cherry Almond Biscotti!). Pour into a measuring glass and allow to cool.  Note the amount of Lemon-Cherry juice mixture after simmering. Chill in the frig 30-40 minutes.
*Measure out equal parts water and sugar (each equal to what the Lemon-Cherry Juice mixture was after simmering. So if you yielded 1/2 C Lemon-Cherry Juice after simmering before, take 1/2 C water and 1/2 C sugar).  Boil together until the sugar dissolves and you have a simple syrup.  Set aside and allow to cool.
*Add all ingredients together and stir.  Add cold water (the amount of ice water is your Lemon-Cherry Juice mixture amount x 3.  So if you had yielded 1/2 C Lemon-Cherry Juice earlier, add 1 1/2 C cold water now).  
*Serve over ice cubes and ENJOY!


Thanks for hosting this week, Tracey!  We enjoyed these biscotti thoroughly!  Head over to Made by Tray Tray to check out the recipes.  And click here to see the list of this week's participants!

Don't forget about my GIVEAWAY.  Umm.. free dove ice cream miniatures, anyone?  Click over to this post for the details!  I'll be giving away TEN free product coupons, so there's a good chance you could win one!!!

Saturday, July 10, 2010

Dove Bar Ice Cream Miniatures Giveaway!

"When you think about that one moment in your day that is just for you, that one moment where you’re able to enjoy some “me” time and wipe away the cares of the day, what do you think of?"  

Hmm... for me, my "mini moment" is probably when I come home from work and lay down on the couch with my pup, Sadie.  She's not always so thrilled so cuddle, but I force her to nonetheless.  Sometimes I'll make a cup of green tea, sit on the ground and scratch her chest (her favorite).  Or sometimes we'll play fetch with her most beloved toy, a stinky stuffed olive she's had since her first Christmas.  I just love that pup of mine...  What is your "me" moment?

Photobucket

The kind people at DOVEBAR® Ice Cream Miniatures have contacted me about a contest they ran last month, “My Mini Moments,” asking people to describe their ideal mini me moment.  Now, they are down to 10 finalists and want YOUR vote!  The public gets to decide who wins the fabulous prizes - a mini-getaway to Napa Valley, spa services for a year, or a mini home makeover (I know, some seriously amazing prizes!) Now through July 13, you have the chance to read all 10 finalist's entires and cast your votes for who you feel deserves a prize!  


And for doing so, you can score some free grub!  DOVEBAR® Ice Cream Miniatures is giving 10 of my readers a free product coupon to enjoy some of their Ice Cream Miniatures!  All you have to do is:


1.)  Visit the Dove Bar My Mini Moment contest site and read the finalists' entries (read below for a snippet of each finalist's story)
2.) Cast your vote!
3.) Come back to this blog post and tell me who you voted for and why you think they deserve to win.  Make sure to put your name & email in the post so I know how to contact you if you win!

I will pick 10 winners on July 14th.


So, who do you think deserves to win?  Here are the finalists:
For their complete entries, visit The My Mini Moment Site.


  • Lauren Levy (New York City) - Running, in the zone, with just “me, myself and I...”

  • Mike Vos (Buckley, WA) - Finding secret notes from his daughter...

  • Borden McGahee (Columbus, GA) - Spending a day in their private railroad car that’s currently under renovation, getting ready to travel the country behind Amtrak and relive the heyday of the railroads...

  • Kim Morris (Meriden, CT) - Going to her sewing room and letting the fabric and her imagination take her away...using colors and shapes to celebrate milestones and brighten other people’s days...

  • Ankur Jain (Olathe, KS) - escaping to the local nature center to appreciate and respect nature...

  • Seph Anderson (Oxford, MS) - getting home at night and on the weekends to spend time with his daughter and Jack Russell Terrier...

  • Lisa Roberts (Lexington, KY) - escaping to my kids playground for a half hour each day to read a book and enjoy some Dove Miniatures and enjoy some quiet time while the kids are asleep...

  • Megan Capone (Dracut, MA) - escaping to a book store to roam the stacks, explore every nook and cranny, and sit down with a mocha and a stack of books and magazines to explore...

  • Eric Freeman (Springfield, MS) - escaping to the neighborhood pond to fly fish before dusk...

  • Beth Sheets (Las Vegas, NV) - a bubble bath, a good book, and some Dove Miniatures....

  • Saturday, July 3, 2010

    Peanut Butter Cookie Dough Brownies

    Photobucket


    Occasionally I'll spent a lot of time preparing something, getting creative, making it fancy, and it just doesn't go over well.  Usually, though, the classic treats are home-runs.  When you want to make a dessert the family will surely go nuts for, stick to time-tested flavor combinations and family favorites.  These Peanut Butter Cookie Dough Brownies were one of those home-run desserts that was actually pretty easy to make, too.  If you're still searching for a recipe to make for the Fourth of July festivities you'll be attending, keep these in mind.  Moist, chocolately brownie layer on the bottom, Peanut Butter Cookie Dough-ish frosting in the middle, Rich chocolate ganache on top...  You'll definitely hit one out of the park with these.

    LinkWithin

    Related Posts with Thumbnails