

Recent Posts

Showing posts with label apron. Show all posts

Sunday, December 13, 2009

Pumpkin Roll

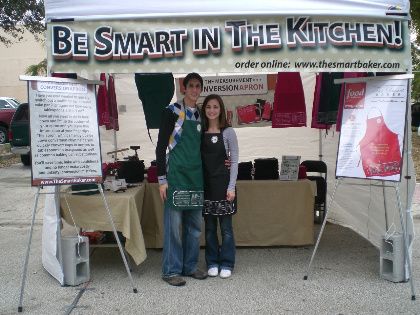
Last weekend was the Cocoa Village craft fair here in Central Florida. And we rented a booth for our aprons!


It was tremendous fun! The first day was quite rainy (ok, torrential and cold and windy is a more accurate description), but the second day was gorgeous. We had a great time meeting all the people who came to our booth. It was a success! I look forward to doing more of these types of events.

And now to the baking. School is finally over for the semester and now it's the holidays! With a little time off from school, hopefully I can catch up on some baking. But here is a long overdue dessert (I made it for Thanksgiving!)
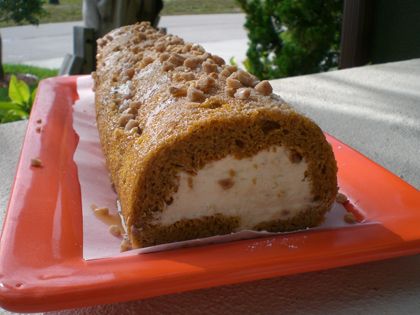


Pumpkin Toffee Roll Cake, from Paula Deen.
I made some changes to the recipe, and posted them below. But be sure to check out Paula's original recipe HERE, and even watch a video of how she made it HERE.

Ingredients for Cake Roll:
3/4 C cake flour
1 1/2 tsp ground cinnamon
1 1/4 tsp ground ginger
1/2 tsp nutmeg
6 large eggs, room temperature. Separated.
1/3 C granulated sugar
1/3 C packed light brown sugar
2/3 C canned pumpkin
1/3 tsp coarse sea salt
Powdered Sugar

Ingredients for Toffee Cream Filling:
1 tsp unflavored gelatin
2 tablespoons grand marnier
1 C heavy cream chilled
1/4 C powdered sugar, sifted
1/3 C Heath bar pieces, and additional 1/2 C for garnishing
Powdered Sugar
Dulce de leche, made from sweetened condensed milk (notes below)
Small amount of store bought caramel sauce

Directions:
Preheat the oven to 375. Grease a jelly roll pan, line with parchment paper, and lightly grease the parchment.
Sift flour and spices together in a small bowl. In a separate bowl, beat egg YOLKS together with the two sugars until it thickens. Add the 2/3 C pumpkin to this yolk mixture. Beat on low until mixed. Add dry ingredients, and continue to beat on low until mixed. In a separate CLEAN bowl, beat the egg whites with the salt until stiff peaks form. Fold whites into the cake batter.
Use an offset spatula to spread the batter into the prepared jelly roll pan. Drop the pan on the counter a few times to release air bubbles. Bake about 15 minutes, or until toothpick comes out clean.
Remove from oven and while it is still hot, dust it GENEROUSLY with powdered sugar. Turn the cake out on to a kitchen towel, and fold one edge of the towel over 1 of the long edges of the cake. Immediately roll up and place edge down in the refrigerator for one hour. After one hour it should be cooled completely - Do not leave it in there much longer or it will crack when you attempt to unroll it!

For Filling:
Pour grand marnier into a small saucepan, and add the gelatin. Let it soften for about 5 minutes. Then stir over low heat until the gelatin dissolves. While this is cooling, beat the chilled cream with the powdered sugar until peaks form. Fold in the gelatin and 1/3 C of Heath Bar chunks.

Unroll the jelly roll cake slowly and gently. Sprinkle toffee pieces on the unrolled cake to taste, and then spread the cream-toffee filling over, using an offset spatula to smooth.
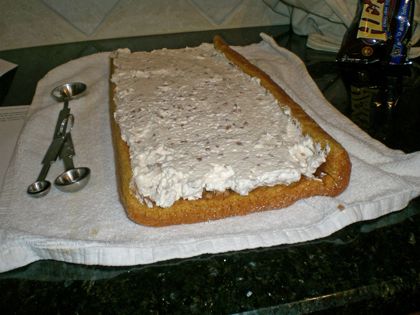
Beginning at the long edge of the cake, roll up the cake using the towel to help you. Place the cake onto a platter with the seam down. Cut small pieces off the ends of the cake to make straight edges. Dust generously with powdered sugar. Pour a small amount of the store bought caramel on top of the roll - just enough to make something sticky for additional toffee pieces to stick to. Sprinkle toffee on top to taste.

For Dulce De Leche:
Pour a can of sweetened condensed milk into a baking pan. Sprinkle sea salt on top and cover with tin foil. Place this baking pan within a larger baking pan filled with warm water. Put in a 425 degree oven and bake for about an hour - or until it turns a nice brownish caramel color. Let cool. If small chunks appear in it, add milk as needed, and use electric mixer to beat until smooth. To serve, warm in the microwave and pour over slices of cake. I didn't get any pictures of the cake with the dulce :(
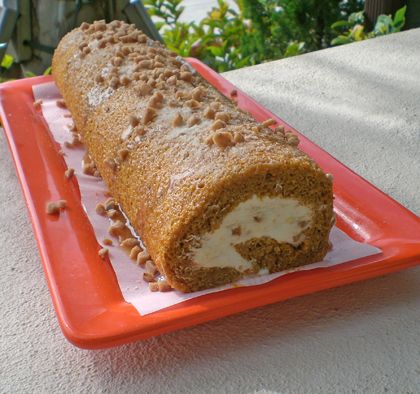


The cake was a hit at Thanksgiving. It is impressive looking and really isn't that difficult to make at all! Would definitely make this again!

Sunday, November 15, 2009

EXCITING NEWS: THE SMART BAKER APRON!


Ok! I have the most exciting news to deliver... the most exciting news this blog has EVER ever had. And now that it is OFFICIAL, I can safely put it on my blog (I haven't said anything yet because I didn't want to jinx it!).

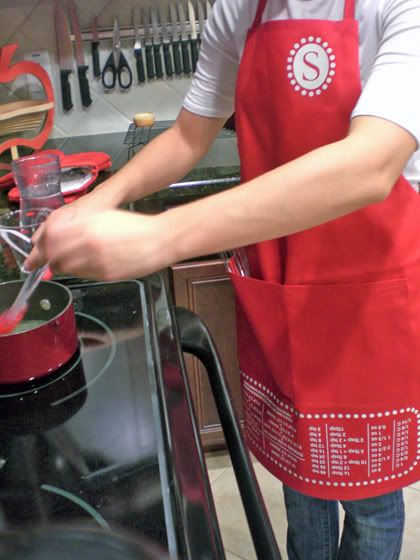
Do you remember the apron me and Daniel invented? I've talked about it here and here. We even made a new Official Website for it: www.TheSmartBaker.com. Well, at the end of August, a representative from Food Network Magazine called us and told us they wanted to feature it in the December issue! Yes that's right. Little old us - in FOOD NETWORK MAGAZINE. We sent them my apron (a red one with an S for Stephanie on it), they did a photo-shoot and a phone interview with Daniel for all the details.

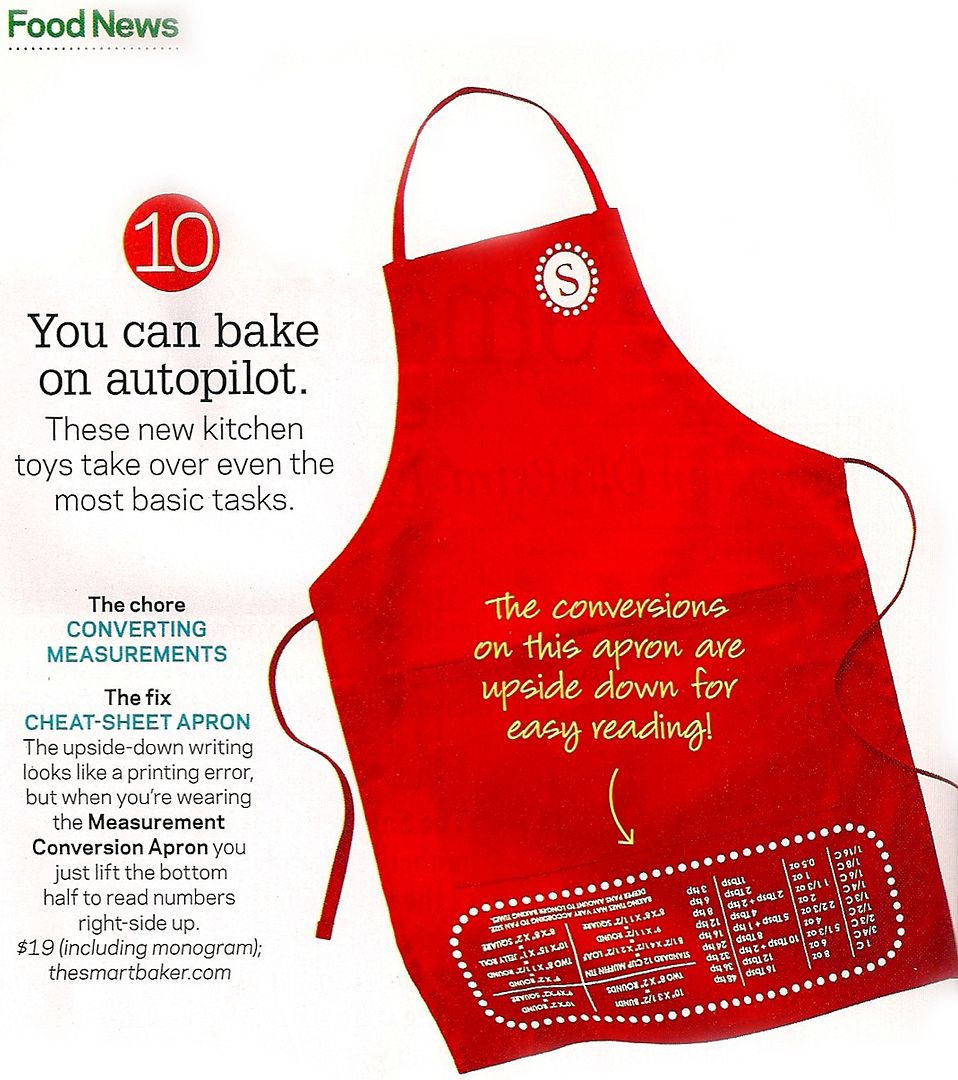
Well, the December issue hit newsstands today. We RUSHED on over to our local bookstore and picked up a copy.... or seven. :) In an article entitled, "10 Things You Need To Know" in the Food News section, is a picture and description of our apron!

Check it out:


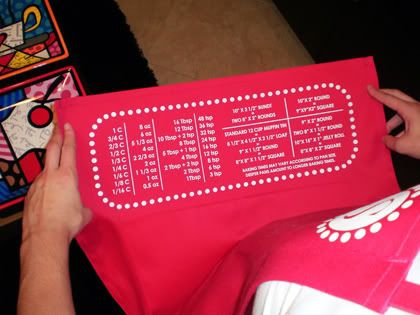
It says, "The upside-down writing looks like a printing error, but when you're wearing the Measurement Conversion Apron you just life the bottom half to read the numbers right-side up."

Cool, huh? I never thought I'd be featured in a magazine alongside my favorite Food Network Chefs!

The December issue has a TON of cool stuff in it [ including our apron :) ] so BE SURE TO GO BUY A COPY AND CHECK IT OUT (look for us on pg 44!!!!!)

Tuesday, August 4, 2009

Our Measurements Apron!


Look! We are featured on "Stuff We Like" on Lifehacker!!!

Check it out HERE!

If it ever says "Sold Out" it's because we have to re-list, not because we are sold out! Here is the link to our shop which will always have the most current link: HERE

Sunday, July 19, 2009

Sweet Melissa Sundays: Whole Lemon Cake with Lemon Glaze


Yummm, I love lemon flavored things. Especially this time of year. When it's super hot out, sometimes the idea of a lemony dessert is much more appealing than a deep, dark, chocolatey one. Ok, even when it's hot I can eat chocolate, but every now and then lemon is a nice change. And this week for Sweet Melissa Sundays, Melissa of Lulu the Baker chose the Whole Orange Poppy Seed Cake, which Melissa Murphy nicely provided a lemon substitution for in her book. Perfect!

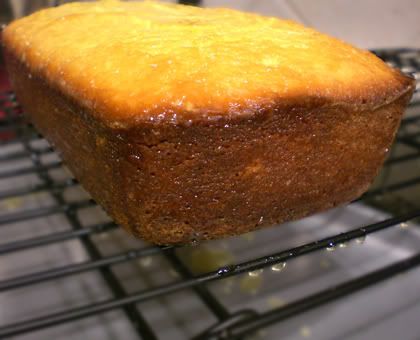
I had read on the P&Q section of SMS that perhaps the cake was a little too tart when you use the full amount of lemons. Well I like it tart and lemony! But since I'm bringing this to a family dinner, I thought I'd tone it down a litttttttle bit (but not too much). So, rather than use one and a half lemons she recommended, I use one whole lemon, and half of another lemon - minus the juice part. So I threw one whole lemon in the food processor (cut up of course :) and then cut another one in half, juiced it, and then threw the peel in the food processor. I also left out the poppy seeds simply because I didn't feel like going out to find any. :)

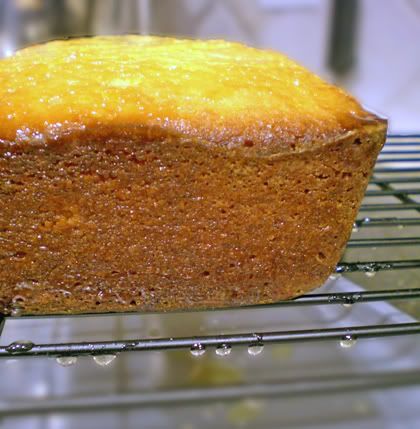
The result? A perfectly lemony cake. Not too tart at all. I made one loaf and one little cupcake, so that we'd be able to taste it before bringing it over for others to try. I always feel a little weird about bringing a new recipe over to share with people when: A.) I've never made it before and B.) I haven't tried it. So after we prepared the glaze, we brushed it on the tester cupcake, let it sit for a minute and then gave it a try. OOOH, the glaze was super tart! Since I haven't tried it again yet when the glaze has had time to set, I'm not sure if it was only super-duper tart because it was just made or not. But either way, Daniel loved loved loved it. He sat there for about a minute just licking the glaze off his cupcake. And this morning, the first thing he said when he woke up was, "I kinda wanna lick the loaf". So I think this recipe is a winner, no? Can't wait to try it again later and see how the flavor has changed.


Ok, and now the GRAND REVEAL. Me and Daniel have spent months in research and development coming up with this item (and by research and development, I mean in the kitchen eating desserts). I don't know about any of you other bakers out there, but I scale my recipes a lot. I halve recipes, I quarter big recipes when I only want a little, I double recipes when I want more, and sometimes I'm even super complicated and a 1.5 a recipe when I want more than the original recipe but not quite double. Whew! This calls for some complicated math. I sometimes have to double measurements like 1 1/3 C. So how many ounces are in 2/3 of a cup? ORRRR when I'm reducing a recipe, sometimes I'll need to halve 1/8 of a cup. 1/16 of a cup? That's nearly impossible to measure in a measuring cup! So, how many tablespoons are in 1/16 of a cup? I have a chart in my kitchen with ALLL this information that I refer to constantly.

With this in mind, we've developed That's Smart! Measurements Apron! Yes that's right! We've put it on Etsy, go check it out. I'd really love your feedback, too - what you think about our new product.

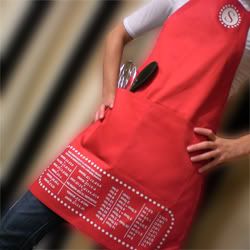
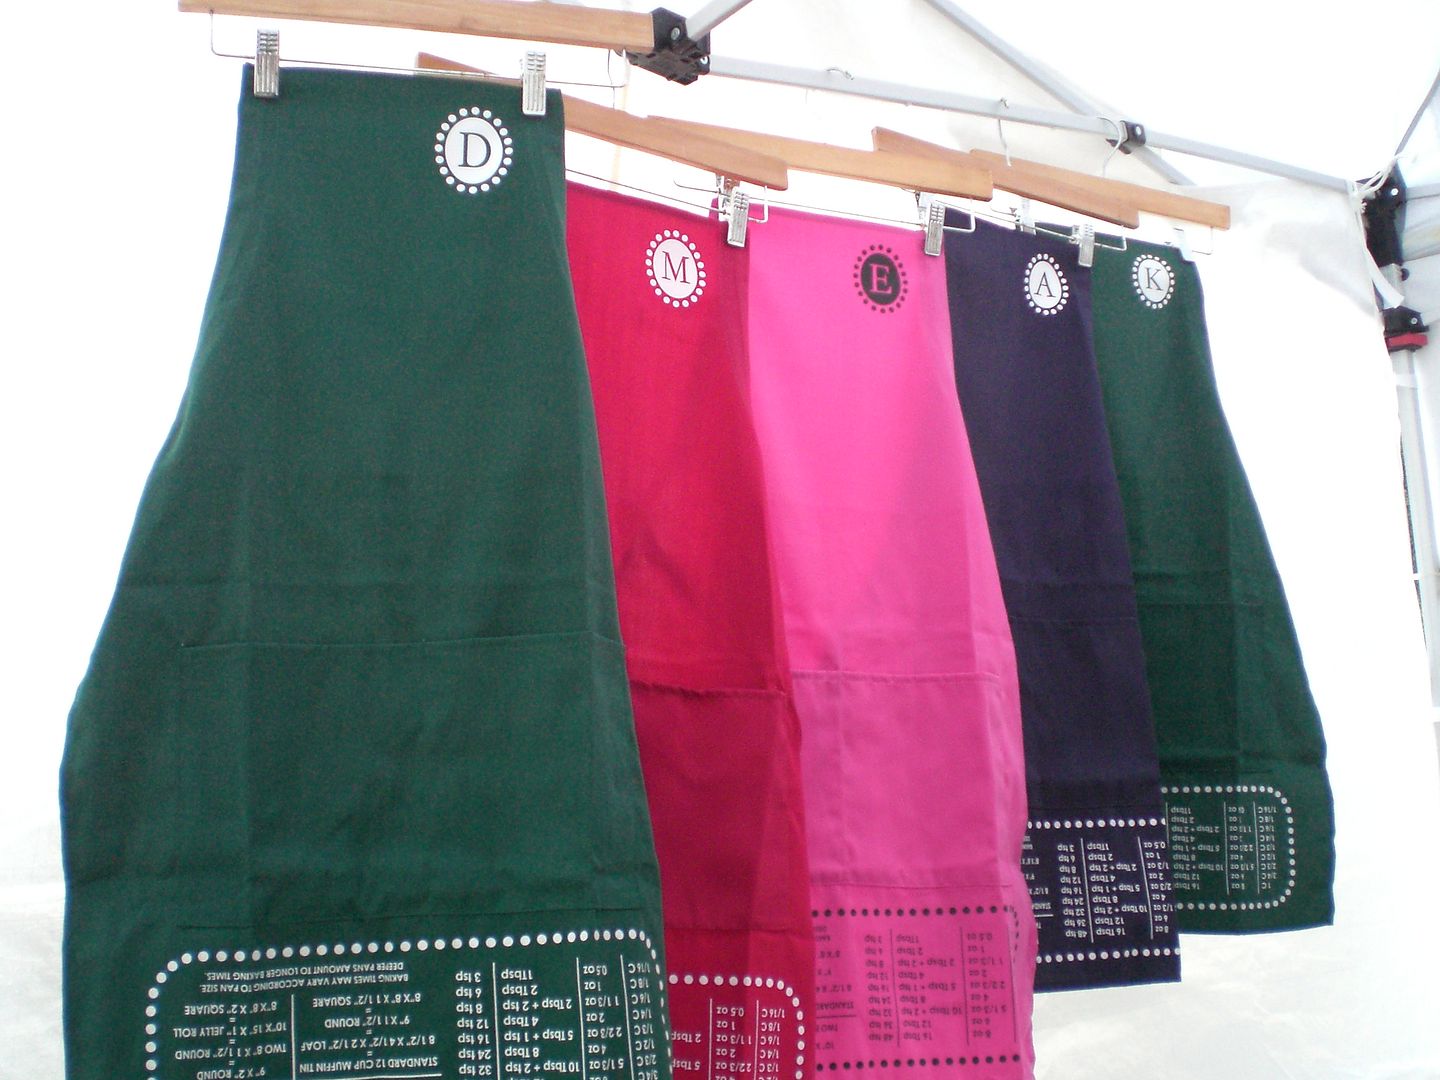
The conversion chart helps you quickly convert cups to ounces to tablespoons to teaspoons as well as common baking pan substitutions. All you have to do is look down! The charts are upside down, so it can be easily read by the baker who is wearing it. It comes monogrammed with the first initial of you or your favorite baker and its fancy straps are adjustable to go as high up on your chest as you like, and can fit any size baker.


Let me know what you think about our apron!!! We're selling it for an introductory price to my blog readers and their friends. :)
And make sure you check out the other Sweet Melissa Sundays bakers' posts on Whole Orange/Lemon Cake!

LinkWithin

Related Posts with Thumbnails