Recent Posts

Tuesday, September 28, 2010

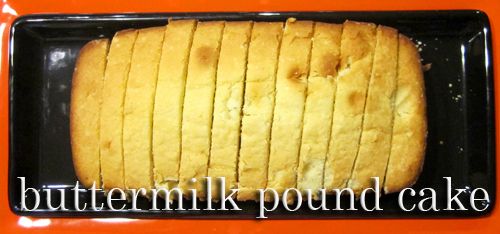
Buttermilk Pound Cake

Photobucket

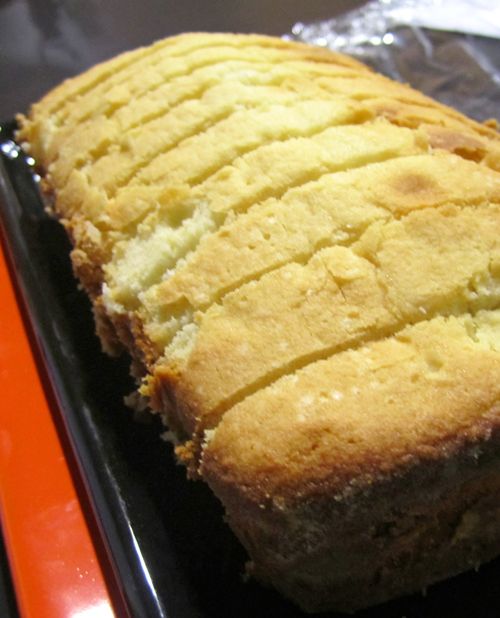
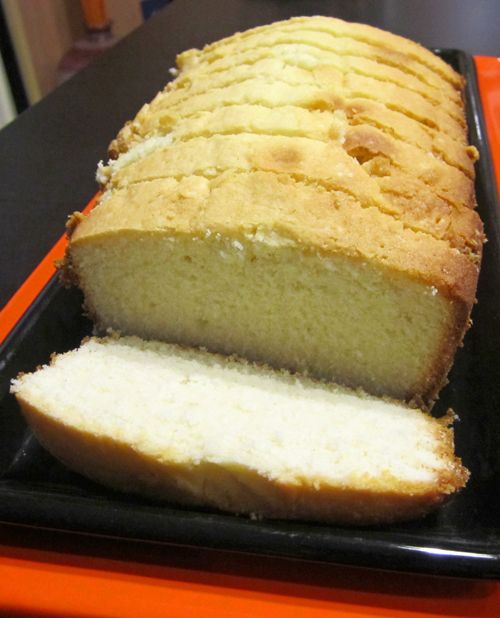
Desserts don't always have to be elaborate or complicated.  Sometimes classics like a good vanilla pound cake are enough to make everyone happy.  Who doesn't like pound cake?  This pound cake is just right - not too dry, not too moist; not too light, not too dense.  It's right in between, and perfect when served with a scoop of your favorite ice cream on top.  


Buttermilk Pound Cake adapted from Alton Brown
Ingredients:       *the measurements below are by weight, not volume
6 ounces unsalted butter, softened (+ more for greasing pan)
8 ounces* cake flour
8 ounces* sugar
2 large eggs, room temp
1/2 tsp vanilla extract
1/8 tsp almond extract (optional)
1/4 tsp fine sea salt
1/2 cup buttermilk, well shaken


Preheat to 375 F.  Grease a loaf pan with butter and coat in flour (I used a 9x5x3 loaf pan but a 8.5x4.5x2.5 would be ok).  
In the bowl of an electric mixer, cream the butter and sugar together on medium until mixture is very fluffy and very light in color (about 6 minutes!).  With mixer on low, add eggs one at a time.  Mix for 1.5 minutes.  Add vanilla and salt and continue to beat for 30 seconds.
With mixer on low, add flour and buttermilk alternately, beginning and ending with flour.  After the last of the flour is added, beat for 30 seconds on medium.
Spread batter into the prepared loaf pan and smooth it out using a spatula. Bake for 35-40 minutes or until the crust is golden brown and a toothpick inserted into the center comes out clean.  Allow to cool in the pan on a rack for 10 minutes and then invert and remove from the pan to cool completely on a wire rack.  


Photobucket


Photobucket

Saturday, September 25, 2010

Best Buttermilk Pancakes


Photobucket

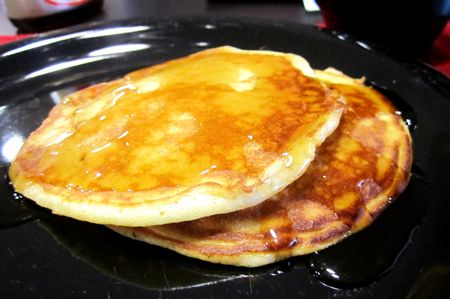
For last week's Lemon Blueberry Buttermilk Pie, I bought the smallest size of buttermilk the grocery store had to offer, but I still had quite a bit leftover with nothing to do with it.  So what do you do when you have extra buttermilk on a Sunday morning?  Make buttermilk pancakes of course.  I used Aida Mollenkamp's recipe for Cakey Buttermilk Pancakes and I think I've found a new favorite pancake recipe.  No other from scratch pancake recipe I've prepared has come out this good.  Plus, you can prepare it the night before, re-stir it in the morning and pour it on your hot griddle for ready-to-eat pancakes in minutes.  Sunday morning breakfast heaven.
This scaled down version made about 5 or 6 good sized pancakes, enough for two people.  For the full scale recipe, visit Food Network's site here.

Favorite Buttermilk Pancakes adapted from Aida Mollenkamp


  • 5/8 C all purpose flour
  • 5/8 C well shaken buttermilk
  • 1/4 C melted unsalted butter (plus more for greasing the griddle)
  • 1 large egg, room temperature
  • 1 tablespoon granulated sugar
  • 1/2 teaspoon sea salt
  • 1/2 teaspoon baking soda
  • 1/2 teaspoon baking powder


In a medium bowl, whisk all ingredients together until combined and moistened thoroughly (some small lumps remaining are ok). Cover and store in the refrigerator to rest up to 12 hours before using. Right before using, stir briefly before using to loosen it up a bit - batter will have thickened up during rest time.
Heat a griddle over medium heat.  Melt 1 tablespoon butter on the griddle.  Being generous with the butter is what gives them their slightly crispy exterior.   Pour 1/4 cup batter for each pancake and cook until bubbles cover the top, about 3 minutes. Flip and cook until golden brown, another 1 minute. Repeat with remaining batter.  Serve immediately with maple syrup, powdered sugar, whipped cream, fresh fruit or anything else you can possibly think of.

Sunday, September 19, 2010

SMS: Lemon Blueberry Buttermilk Pie

Photobucket

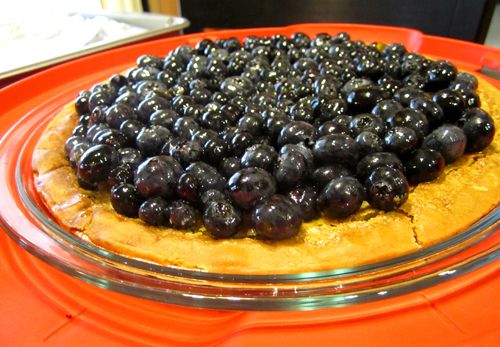
This week, Melissa of Lulu the Baker selected Lemon Blueberry Buttermilk Pie as the recipe for Sweet Melissa Sundays.  Thanks for picking this recipe, Melissa!  This was a fun one.  I don't think I'd ever made a buttermilk pie before!


I prepared this recipe exactly as Melissa Murphy says in the Sweet Melissa Baking Book - no substitutions and alterations!  In fact, it was the first time I baked with actual buttermilk instead of substituting buttermilk powder. It was almost a success!  (and the buttermilk pancakes that were the result of having left over buttermilk were VERY much a success... I think I may have found a new favorite pancake recipe! More on that later!)   I simply decreased the amount of blueberries for the topping to 12 ounces because I thought 1.5 pints was a bit of overkill.  


Everything went very well, though there was a significant amount of clear liquid (butter maybe?) flowing out of the pie and onto the cookie sheet during the last minutes in the oven.  And I think the liquid made the crust a bit too soggy, because it wouldn't come out of the pie plate!  It did wind up being quite a mess, but it was a DELICIOUS mess.  Everyone enjoyed it at dinner tonight!


Thanks for hosting, Melissa!  I liked this one quite a bit.  Go to Melissa's blog Lulu the Baker for the recipe.  And be sure to visit the list of this week's participants to see if the other bakers had a less messy experience than I did!

Sunday, September 12, 2010

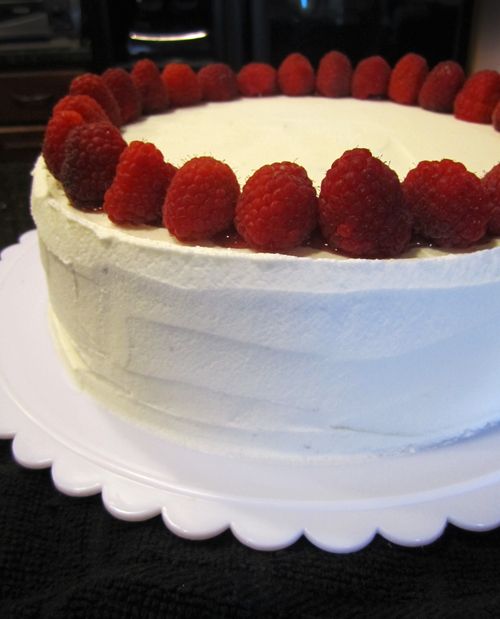
Chocolate cake with Raspberry & Ganache filling

Photobucket

There is a sense of accomplishment when a completed cake makes it to the table.  I prepare the batter while the fiancee usually greases and flours the pans.  I keep a watchful eye on it in the oven and prepare the frostings and fillings while leveling the layers and applying the frosting is done by the boy (or else there is generally some screaming and crying going on from my end).  So cakes are a task we complete together.  After it is all done, the garnish is put on top and it is ready to be served, we're both pretty proud to show off the finished product to the family.  The process is sometimes frustrating, usually messy and always fun.  So while cakes take a bit more time and effort than say, cookies or brownies, making a big fancy cake from start to finish every once and a while is a welcome request.  

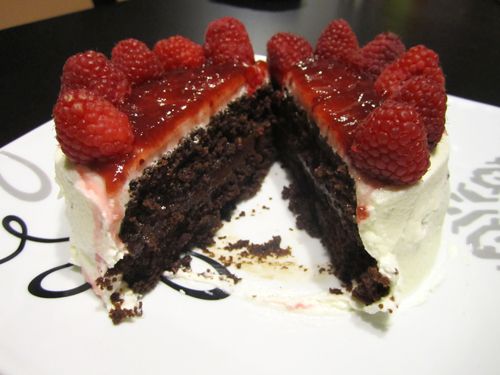
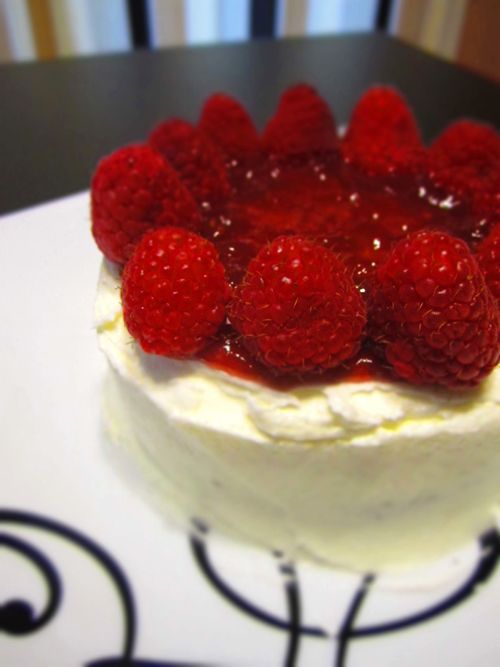
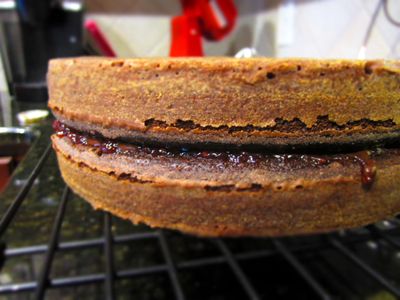
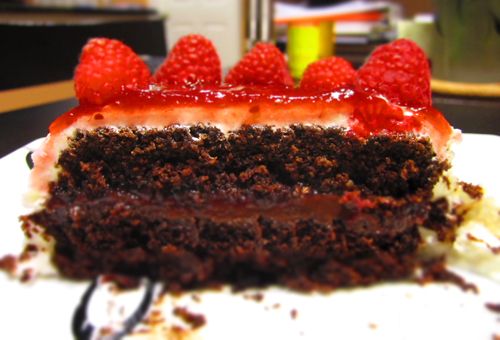
Last weekend we made this one and it received great reviews from everyone who tasted it.  It was a birthday cake for a friend who likes chocolate and raspberry.  I made a two layer moist chocolate cake, put a generous amount of red raspberry preserves and some rich chocolate ganache in the middle, and frosted the whole thing with vanilla buttercream.  I'd say it was a success.  If you have a chocolate raspberry lover in your life, you might want to make this cake for them.

Photobucket

Chocolate cake with Raspberry & Ganache filling
Chocolate cake, adapted from Cookie Madness
ingredients:
1 cup boiling water
3/4 cup (75g) natural unsweetened cocoa
2 cups (260g) all-purpose flour
3 Tablespoons buttermilk powder (in place of actual buttermilk)
1 1/2 teaspoons baking soda
3/4 teaspoon fine sea salt
1 cup (200g) granulated sugar
1 cup (240g) golden brown sugar
1 cup (2 sticks) unsalted butter, room temp
4 large eggs, room temp
3/4 cup (6 ¼ oz) water, room temp (also in place of actual buttermilk)**
2 teaspoons vanilla extract

directions:
Preheat to 350 F or 325 F if using black cake pans. Grease and flour (2) 9 inch round pans and line with parchment
Combine boiling water and cocoa in a bowl and whisk until smooth. Set aside.
In a medium bowl, sift together dry ingredients (flour, buttermilk powder**, baking soda, and salt). Set aside.  In a small bowl, lightly beat the eggs with the vanilla and set aside.
In large bowl of an electric mixer, cream the butter and sugars together.  Beat in eggs/vanilla mixture. 
Stir room temperature water** into cocoa mixture.  Add this cocoa mixture alternately with dry ingredients in 3 additions, beginning and ending with dry ingredients.
Divide evenly between the two prepared pans.  Lightly spin the pans on a hard surface to distribute the batter.
Bake 28-38 minutes (see note) or until a toothpick comes out barely clean. Cool and frost.

**If you happen to have buttermilk, which I never do, you can omit the buttermilk powder with the dry ingredients, and then use 3/4 (6 1/4 oz) of buttermilk instead of water called for at the end of the ingredients list.

Raspberry and Chocolate Ganache Fillings:
ingredients:
for raspberry layer:
10 ounce jar raspberry "spreadable fruit" (I used Smucker's Simply 100% Fruit Seedless Red Raspberry Spreadable Fruit, but you could you could just use preserves also)

for ganache layer:
9 ounces bittersweet chocolate, chopped
1 1/8 cup heavy whipping cream

directions: 
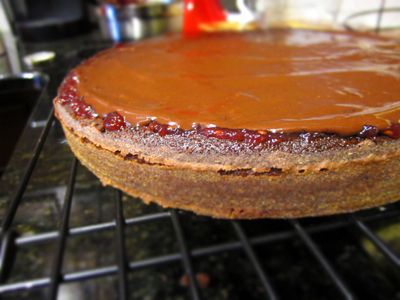
Place your leveled bottom cake layer on a cake plate.  Spread the red raspberry preserves onto this bottom layer to taste.  I used about 3/4 of the jar.
Place chopped chocolate in medium bowl. Bring heavy cream just to a boil in heavy medium saucepan.  Pour hot cream over the chocolate and let stand 1 minute, then stir until ganache is melted and smooth. Transfer ganache to medium bowl. Cover and refrigerate until ganache is thick enough to spread, stirring occasionally, for about 1 1/2 hours.  It should thicken to about the consistency of a heavy pudding and should not be runny.
Using an offset spatula, spread the ganache over the preserves, careful not to mix the two together too much - you want two separate layers.  Use as much ganache as you want - we probably used about 2/3 of the ganache recipe in this middle layer.  We froze the rest for later, but you could find other places to use it on this cake if you wanted.  For example, for some added chocolate, you could spread the remaining ganache on the top of the top layer and place the whole cake in the freezer for about 30 minutes until the ganache is set enough to be able to put buttercream frosting over it.

Vanilla Buttercream Frosting:
ingredients:
2 sticks unsalted butter, softened
4 c sifted confectioner's sugar
2 tsp clear vanilla
pinch of sea salt
1/4 c milk, optional
Fresh raspberries and Raspberry preserves for garnish

directions:
Place butter in the bowl of an electric mixer and turn on the mixer.
Add all confectioners sugar and keep speed on low.
When all sugar is incorporated in, add vanilla and salt. Let mix for 5 min. If frosting is too stuff, add the milk by the tablespoon until the desired consistency is achieved.

To garnish:
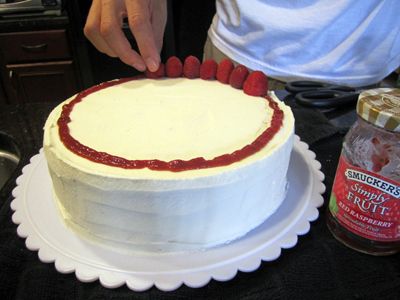
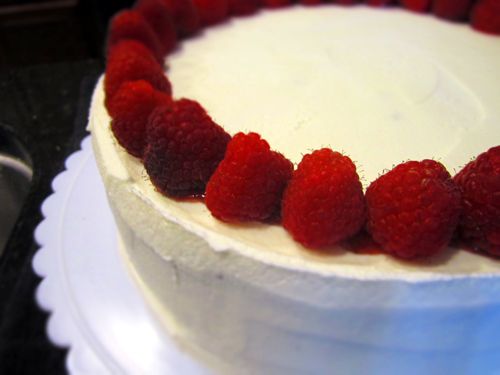
After frosting, pipe a thin line around the edge of the top of the cake.  This will act as your glue to put the fresh raspberries on.  For extra raspberriness, spread a thin layer of preserves across the top of the cake, inside the ring of raspberries.  This will be easier to do after the cake has been refrigerated for a bit and the frosting is set.
Keep the cake in a cake dome in the refrigerator.  Remove from the fridge about 2 hours before serving.

Photobucket
Raspberry Preserves and Chocolate Ganache

Photobucket


Photobucket
Adding the garnish

Photobucket

Photobucket

Photobucket


Sunday, September 5, 2010

SMS: Mom’s French Pancakes

Photobucket


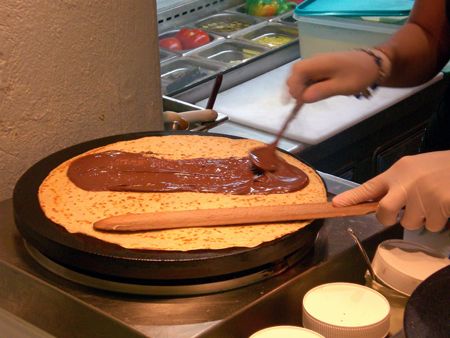
My very first crepe experience was in Greece.  I know crepes are a French thing but there were crepe shops all over the place in all of the Greek cities we visited.  We tried them in a few cities there and they were all delicious.

Photobucket

Photobucket

Photobucket
My wonderful fiancee enjoying a crepe in Corfu

When I saw that Jaime of Good Eats and Sweet Treats, this week's host for Sweet Melissa Sundays, chose "Mom's French Pancakes" as our recipe, I knew I wanted to bake along.  When I saw the other bakers said they were easy and tasty, I was even more sold on the idea. :)

I made the recipe word for word from the Sweet Melissa book and it came together perfectly. And it was a cinch to make!  Very few ingredients and it all goes in a blender.  The swirling in the pan is what gave us some difficulty...

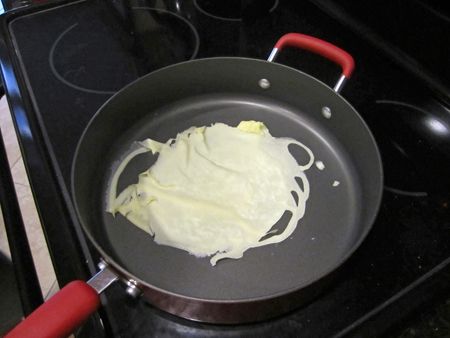
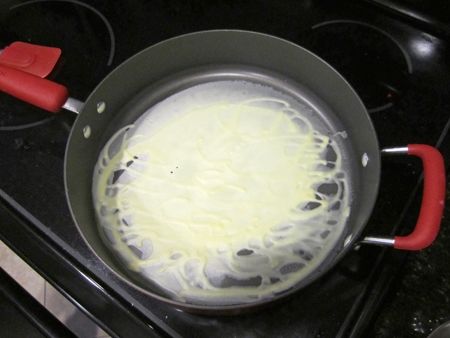
We used a 12 inch pan just as the book says, but we have a very hard time getting it to swirl across the whole pan without leaving holes.

Photobucket
Attempt #1

Photobucket
Attempt #2

We gradually got a little bit better as we made more, but I halved the recipe and only got about 6 crepes, so by the time we started improving our technique we were out of batter.

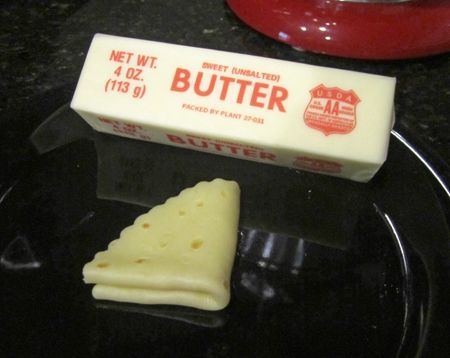
When we got to the end, we wanted a nice looking crepe so badly that we took a circle cookie cutter and cut it:
Photobucket
It made one itsy bitsy little crepe!  The butter is there for scale :)  It was a one-bite crepe.

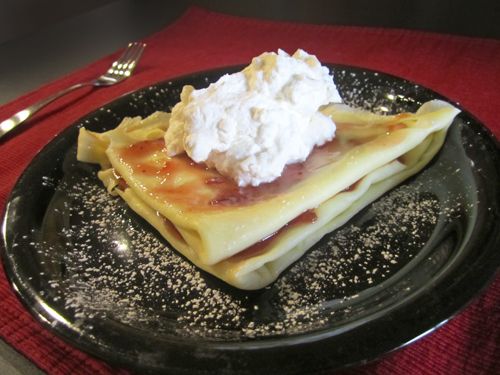
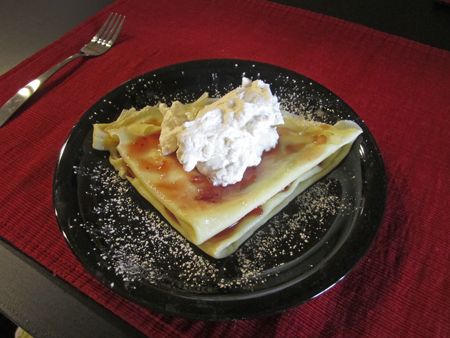
Even if they weren't perfect looking, when spread with a little bit of strawberry jam and topped with homemade whipped cream, they were pretty tasty.  However, I did think the crepes themselves were a little on the bland side.  The jam and cream is what gave it all of the flavor.  Next time I might try adding a little bit of vanilla or almond extract?
Photobucket

Thanks for picking this recipe Jaime!  See Jaime's blog, Good Eats and Sweet Treats for the recipe or buy the Sweet Melissa baking book for all of the recipes.  Jaime, this made for a very lovely Sunday morning breakfast. :)  Be sure to visit the other participating SMS-ers blogs to see how their "French Pancakes" came out!  

LinkWithin

Related Posts with Thumbnails