Recent Posts

Tuesday, February 24, 2009

More Ice Cream, Truvia Product Review, and Cappucino

Yet another successful recipe from my favorite Ice Cream recipe book. (I should really be getting paid by their publishers for all the good publicity I'm giving them, right??) This time, we made Orange Popsicle Ice Cream. Just.... take a look.


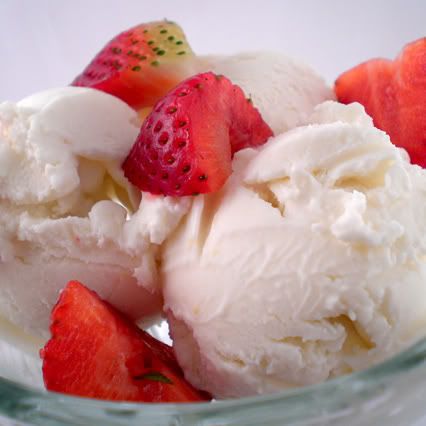
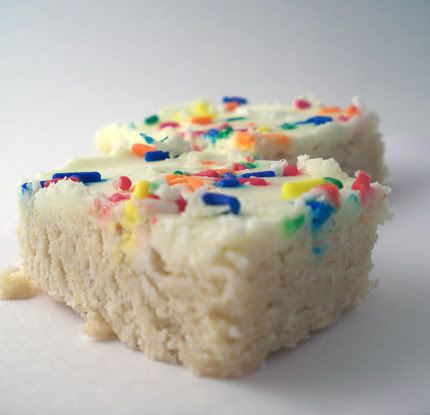
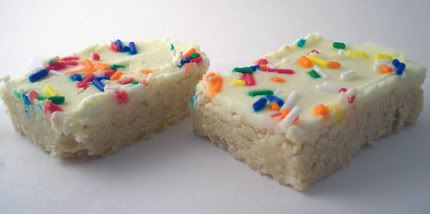
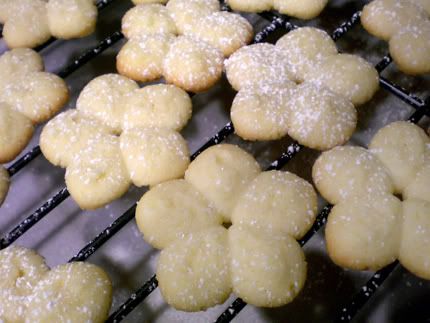
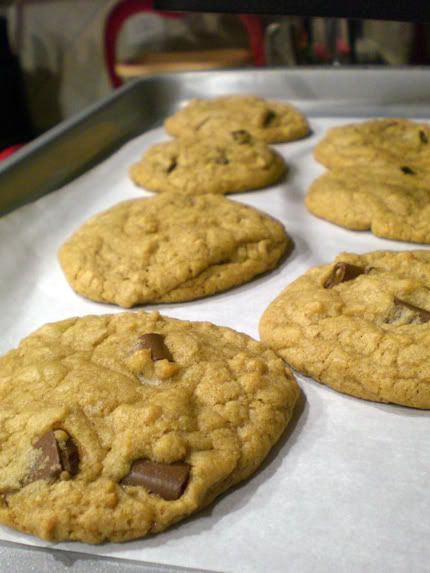
This might be my favorite one so far. Mmmm....

In other news, we've recently added a new piece of artwork to our home...


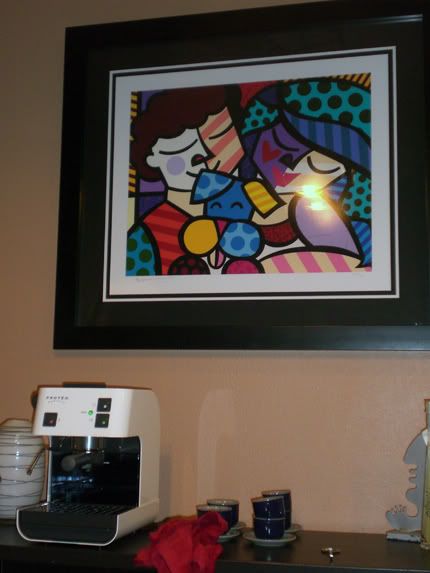
Oh, yeah the painting is pretty new, too. But I was referring to the espresso machine. After our vacations in Italy, it seemed only natural we'd need to get an espresso machine in our coffee-lovin' household.


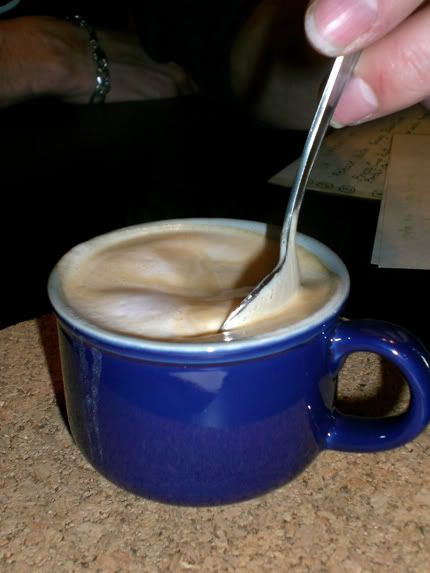
Our first attempt at home made cappuccino!


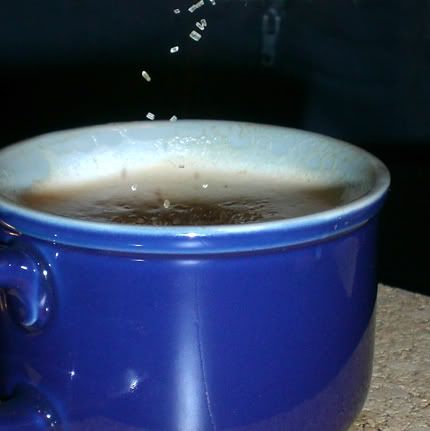
What are we sprinkling in our cappuccino, you ask?

With all the sugar we consume over here at Ice Cream Before Dinner... whether it's in ice cream, brownies, cupcakes, cookies, etc, we don't need any more white sugar in our diet. In our coffee and in a million other applications (I find more and more every day), we've turned to the new zero calorie natural sweetener Truvia.


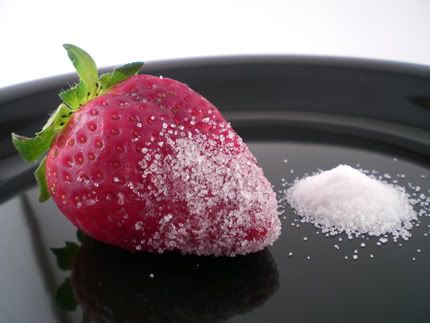
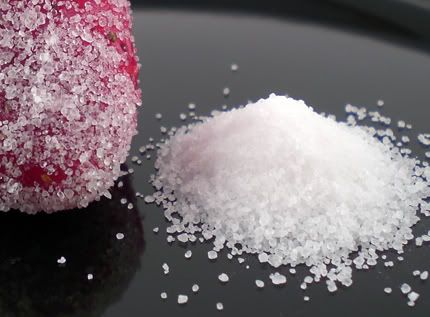
The taste is not artificial like other no calorie sweeteners, and the fact that it is natural and not some weird mutant chemically altered science experiment is a benefit. Instead of being one molecule away from having the same chemical make up as plastic, this is made naturally from the leaves of the stevia plant. We've switched to using this 100% in our household instead of other sugar substitutes. And I don't know if it's all in my head or not, but you know those rumors/stories that artificial sweeteners jump-start your appetite, making you hungry? I've found that once I switched to Truvia, I can actually wait until lunch time to eat... without getting super hungry between breakfast and lunch. I would definitely recommend it!
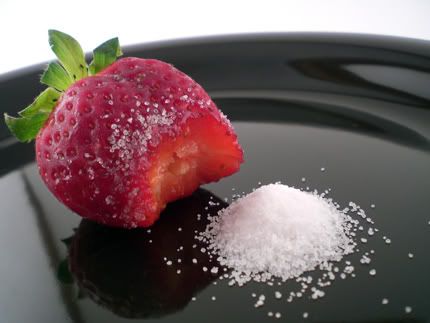
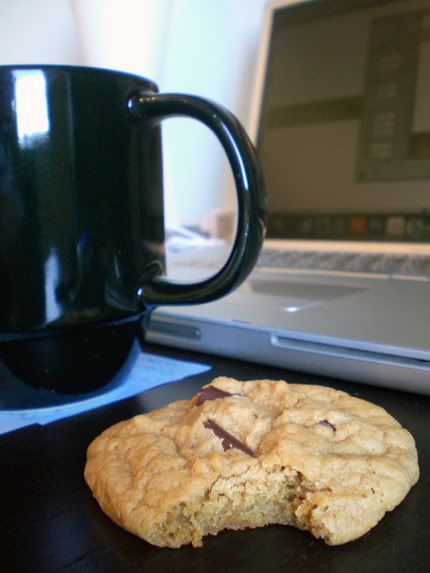
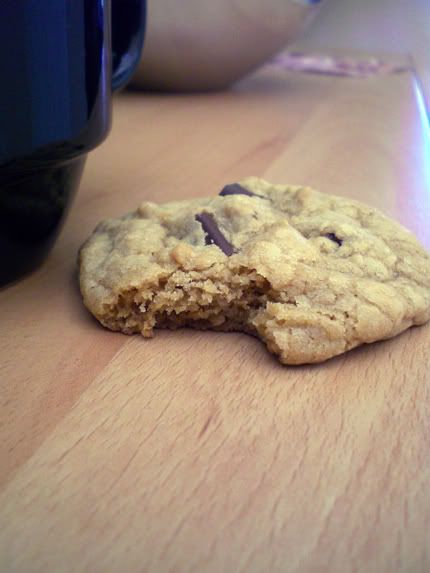

Oops, I ate it.

Sunday, February 22, 2009

Cannoli Ice Cream


The ice cream maker came back out last night. This time it produced a decadent, rich, creamy Cannoli ice cream. You heard me right. This is not to be taken lightly. Quite a leap from the refreshingly light and fruity Key Lime Sorbet. More than one scoop of this pastry-inspired bad boy, and you're in for it. Not for the faint of heart. But it's ohhh so good.


Cannoli Ice Cream makes about 1 quart
Ingredients:
1 3/4 C ricotta cheese (not skim)
2/3 C sugar
1/2 heaping tsp vanilla extract
2/3 C heavy cream
1/2 tsp grand marnier
citrus zest (I used grapefruit because it is what I had, but you could use lemon or orange...I used about the zest of half a large grapefruit)
smidgen of fine sea salt

In a food processor, combine the ricotta, zest, sugar, and vanilla until well blended. With cover on and blade spinning, slowly pour in the heavy cream. Then add the grand marnier. Place the mixture in a medium bowl, and place the medium bowl in a larger bowl filled with ice water. Set in the frig until thoroughly chilled. (I find the ice bath makes it chill faster).

Churn in your ice cream machine according to your machine's directions. Place in a freezer container in the freezer until firm.

Thursday, February 19, 2009

Sugar Cookie Bars


Sometimes, simple is good. Sugar cookies are one of those things that don't need to be fancied up at all, they're tasty already - as they are - simple. I like this recipe because it's perfect for when you're too lazy to roll out dough and use cookie cutters.


Sugar Cookie Bars
Ingredients:
1 stick of butter, softened
1 cups sugar
2 eggs
1 tsp vanilla
2 1/2 cup flour
1/2 tsp salt
1/4 tsp baking soda

Preheat to 375. Sift together the flour, salt & baking soda to combine, and set aside. Spray a 9 x 13 cookie sheet (with raised sides) with non-stick spray. Put the butter in the bowl of an electric mixer and turn on to cream the butter. Slowly add the sugar and mix until creamy, about two minutes. Add the eggs and mix to combine. Add vanilla. In three parts, add the flour mixture to the butter mixture and stir just to combine, scraping the bowl in between additions. Spread the dough in the 9 x 13 pan. Bake for 14 - 19 minutes, or until it is slightly golden around the edges. Leave in pan to cool, on a wire rack. When completely cool, spread with about 1 cup of frosting (recipe below), or to taste. Wait until frosting has set a bit before cutting, at least a half hour.


Buttercream Frosting this recipe makes a lot more than you'll need for this, but it stores really well in the frig. I just make it in big batches and save it for future use.
Ingredients:
1 1/2 C solid white vegetable shortening
2 teaspoons clear vanilla extract
1/3 C + 2 tablespoons warm water
a 2 LB bag of confectioner's sugar

Add shortening to the electric mixer bowl and turn on to cream it. Add 1/2 the sugar and mix on low to combine (you'll certainly want your bowl's dust lid/shield thing on at this point!). Add the warm water and mix to a paste. Once it is creamed, add the rest of the sugar. Mix. Add the extract. Mix to combine completely, scraping the sides of the bowl occasionally. Then, turn mixer to high and beat to about 8 minutes. Store in the frig for up to 8 - 12 weeks (seriously!).

Tuesday, February 10, 2009

Key Lime Sorbet


The ice cream maker has been back in action. I let DR choose the recipe this time, so out came the marvelous Perfect Scoopby David Lebovitz. DR’s selection was David’s recipe for Lime Sorbet. We followed the recipe to a T, besides substituting half of the lime juice called for with Key lime juice, and the omission of the optional champagne. It came out deliciously sour and addictive. I won’t post the recipe because I made it according to the book, but you can buy it (totally worth it) or browse it online at Google Books.

Cookie Press Cookies!


I am quite behind on blogging. I have a few more posts in arrears that hopefully I will get to posting soon. As per usual, I'm quite the busy girl... Training and beginning a new job (that makes a total of 3 jobs), & a Wilton Cake decorating class (pictures and post soon to come... hopefully) amongst the many things going on right now. So please forgive me, but I'll get everything up soon.

A few Sundays back I found myself awake much earlier than Daniel, and knowing I'd soon have less time to bake for fun, I decided to surprise DR with some cookies. Some time ago, Gourmet.com posted their favorite cookie recipes from 1941-2008 and I went bookmarking crazy, telling myself I'd make the recipes I liked in the future. Well, it has been a while and I think this is the first recipe I'm getting around to (is anyone else like that? They keep saving links to things they want to make and never actually get around to it? I have about 5 gajillion links saved, and keep accumulating more!!).

The recipe I chose allowed me to finally bring out the cookie press I got for Christmas. They were quite delicious... as they were cooling, every time Dan passed he grabbed one off the tray and popped one in his mouth. About 15 cookies later, they were finally cooled and I dusted them with powdered sugar. As usual, I found that this recipe improved with a little time. About a day after they were made, they were perfectly buttery, crumbly, and melt-in-your-mouthly. I one-thirded the recipe because I cannot logically prepare a recipe that produces 70 cookies in a house of two people and one shih-tzu. The only other alterations I made were slight, like omitting the almond extract in favor of all vanilla.

Spritz (Norwegian Butter Cookies) from Gourmet's Favorite Cookies: 1941 - 2008.
Ingredients:
1 stick unsalted butter, softened
1/3 cup sugar
1/2 tsp + about 1/6 tsp vanilla (just eye the 1/6 tsp... a little bit more than 1/8 and a little less than 1/4)
1/3 of a large egg (I know, I'm crazy...just approximate)
1 1/3 cup flour sifted with ~1/6 tsp baking powder
~1/6 tsp salt

Directions:
Preheat to 350.
In the bowl of an electric mixer, cream the softened butter. Slowly beat in the sugar and then the vanilla. Beat until light and fluffy.
Add the 1/3 egg and allow to mix to combine. Add the flour and mix just to combine - do not overbeat.
Insert dough in to the tube of a cookie press fitted with your favorite shape plate (though you could also just pipe shapes on to a cookie sheet with a star tip), and press cookies on to *ungreased* *un-parchment paper-ed* cookie sheet.
Bake about 10 - 15 minutes or until just started to turn golden around the edges. Transfer the cookies with a spatula to a wire rack to cool.
Set wire rack on top of a cookie sheet, and dust cookies with powdered sugar.


complete list of Gourmet's Favorite Cookies available here

Sunday, February 1, 2009

Thick and Chewy Chocolate Chip Cookies


Just like almost everyone else, no matter how many delicious chocolate chip cookie recipes I try and bake, I'll never settle on my top #1 All Time Favorite. Whenever I see a new recipe that looks particularly good, I bookmark it for later use. Many of the recipes I've used have come out incredibly well, but for some reason, I will always keep trying new ones. There is no real loss, even the inferior recipes are still homemade chocolate chip cookies that are all warm and gooey straight out of the oven. So, here I go again. This time, I used Cooksillustrated.com's recipe for "Thick and Chewy Chocolate Chip Cookies," published January 1, 1996. This recipe came out very very good. Exactly as the recipe states, 'thick and chewy'. A definite would-make-again!!


This is how most of our cookies are eaten... by Daniel, for breakfast, with coffee, at the computer. Busy busy!

CI's Thick and Chewy Chocolate Chip Cookies, from Recipezaar.com

Ingredients:
2 1/8 C All Purpose Flour
1/2 teaspoon fine sea salt
1/2 teaspoon baking soda
1 1/2 sticks unsalted butter, melted and let cool for about 10 - 15 minutes
1 Cup dark brown sugar
1/2 C granulated sugar
1 teaspoon malted milk powder
1 large egg
1 large egg yolk
2 teaspoons vanilla extract
3/4 cup semisweet chocolate chunks

Directions:
Preheat to 325. Move racks in the oven to top third and lower third (or "upper and lower middle positions")**<--[[See note on rack position in the last step of the directions]]. Mix flour, salt, malt powder, and baking soda together in medium bowl; set aside.

With a wooden spoon, mix butter and sugars until thoroughly blended. Mix in egg, yolk, and vanilla. Add dry ingredients; mix until just combined. Stir in chocolate chunks.

Use a 1 tablespoon measuring spoon, and create heaping 2 tablespoon dough balls. Hold the dough ball in the fingertips of both hands and pull apart into two equal halves. Rotate each piece 90 degrees so that the jagged edge faces up. Jam the halves back together into one ball so that the top surface remains jagged. Place formed dough onto parchment paper-lined cookie sheet.

Bake, reversing cookie sheets’ positions halfway through baking (**The cookie sheet of mine that began on the bottom third came out better. There was much less spreading, and they stayed thicker. In the future, I would just cook them beginning on the bottom third**) , until cookies are light golden brown and outer edges start to harden yet centers are still soft and puffy, 15 to 18 minutes (start checking at 13 minutes). Cool cookies on cookie sheets.


The recipe said, "To ensure a chewy texture, leave the cookies on the cookie sheet to cool." So, I was finally able to use my three tired cooling rack from Christmas, yey!


LinkWithin

Related Posts with Thumbnails