Recent Posts

Showing posts with label fondant. Show all posts

Wednesday, May 29, 2013

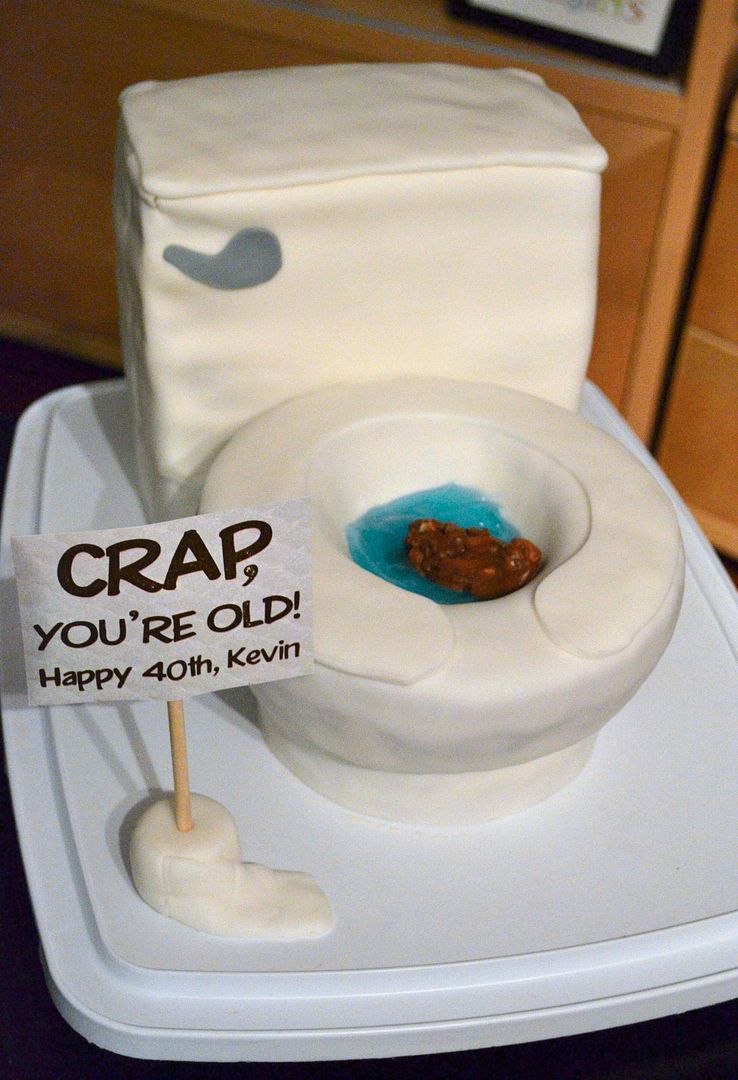
Toilet Humor... Crap, You're Old cake

Most of the time, I make Princess cakes, or Lightning McQueen cakes, or cupcake towers themed with cute little jungle animals or smiling ladybugs.  Recently, however, I made a cake quite different from the adorable desserts we're used to making.  We were requested to make a toilet shaped "Crap, You're Old" cake for our brother in law's 40th birthday... complete with a baby ruth sitting in the bowl.  Take a look for yourself... if you have a strong stomach.  Weak stomached readers, you may want to press the back button on your browser and skip this post. :)


To create this unique shape, we used many different sizes and shapes for the baking pans.
For the tank: We made two 8 inch square cakes, cut them in half and stack them on top of each other (making a four layer 8x4 inch cake)
For the bowl: We did a two layer 8 inch round cake and carved down the sides to get the curvature at the bottom where it meets the base.  
For the base under the bowl: We used one 6 inch round cake
All of the cakes were frosted and covered in white fondant.  

To make the blue "water" for the inside of the bowl, we simply tinted clear piping gel with food coloring and piped it into the bowl.  To make the... err.... "present" in the bowl, we microwaved a Baby Ruth candy bar for a few seconds and shaped it a little bit.  

The cake was a pretty big hit at the party.  We asked the question "Funny or just gross?" on The Smart Baker's Facebook page and there were some pretty strong feelings about this one.  There were just as many people that thought it was hysterical as those who felt it was just too gross to eat.  What do you think?  Would you make this cake?  And would you actually eat it if it was served at a party? 


Sunday, December 2, 2012

Little Girl Cupcake Towers

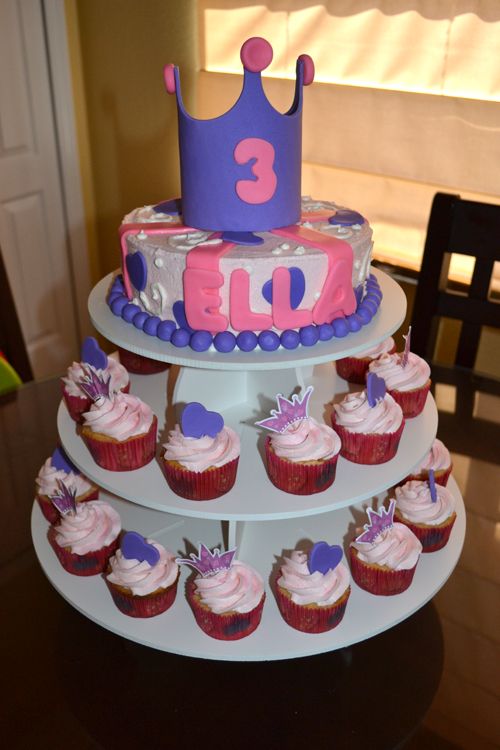
Not sure why I never posted these photos!  In April, both of our nieces have their birthdays.  This year, we celebrated a third birthday, and the girl of honor wanted a pink and purple Princess themed Cupcake Tower.  This is the Princess Cupcake Tower we made for her big day:

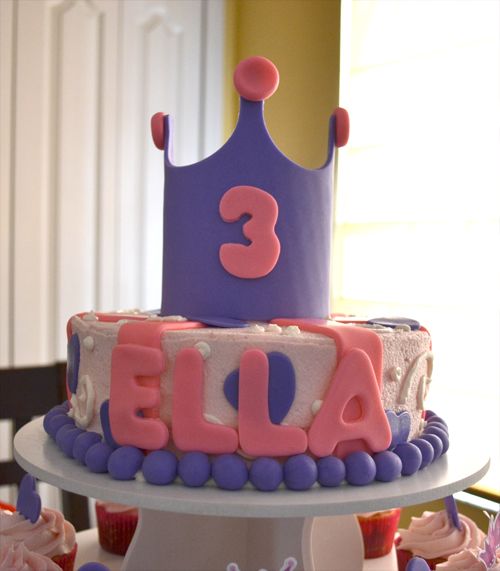
We used an 8 inch cake as the top tier...

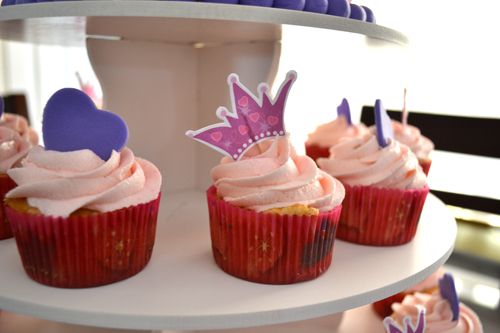
And cupcakes with paper and fondant toppers as the next two tiers...

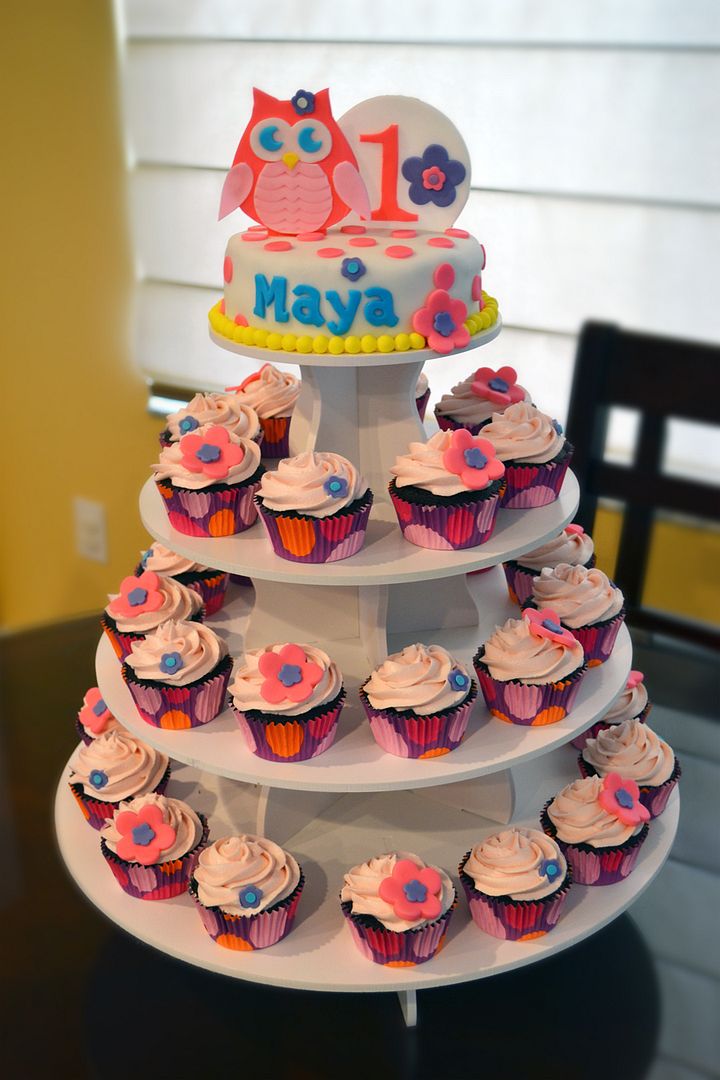
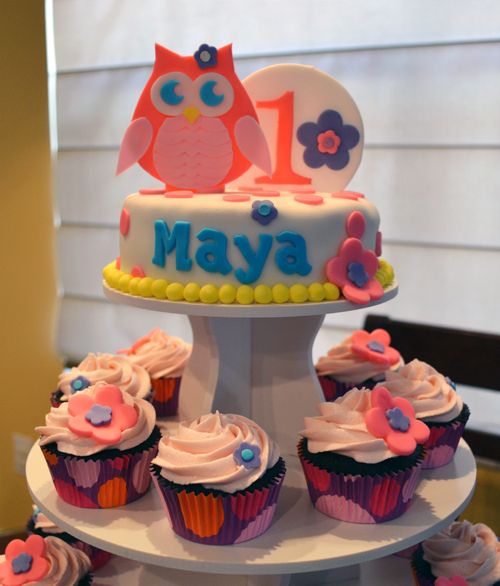
We also celebrated a first birthday!  For this, we made an Owl theme cupcake display with a similar color scheme. This is the Owl First Birthday Cupcake tower we created for this special little girl...

This one had a 6 inch cake as the top tier with a fondant Owl and a fondant One cupcake topper.  The cupcakes all have little fondant flower toppers, too. 

For both of these, I used The Smart Baker's Five Tier Round Cupcake Tower.  It was so much fun to work with such girly colors and themes!  I'm so excited to continue using their girly party themes as cake inspiration as the years go on!

Thursday, May 31, 2012

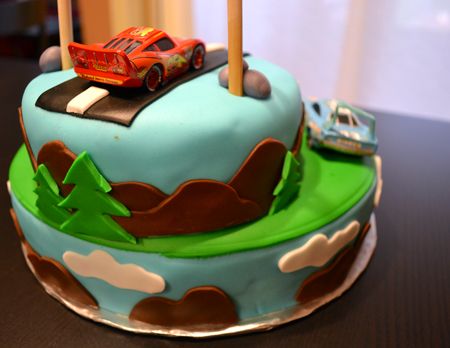
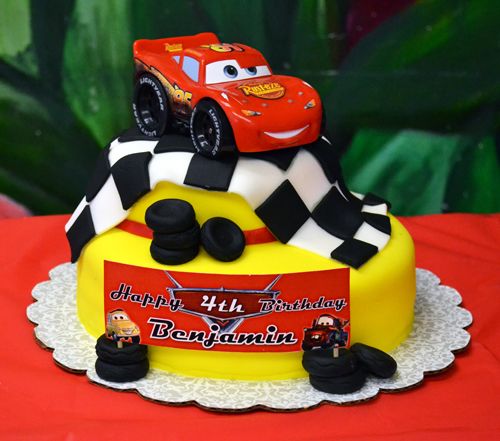
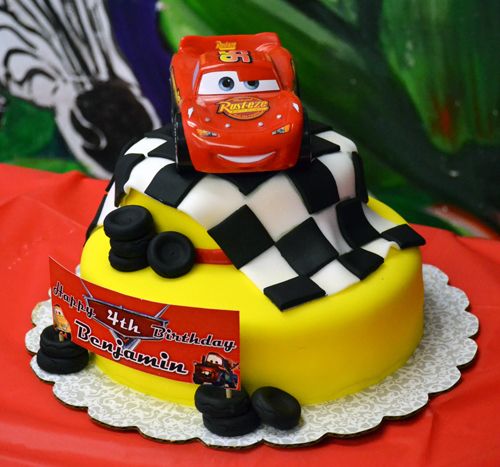
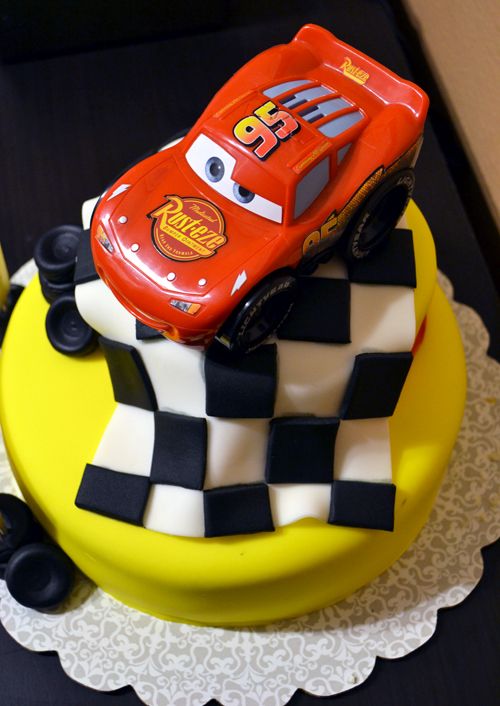
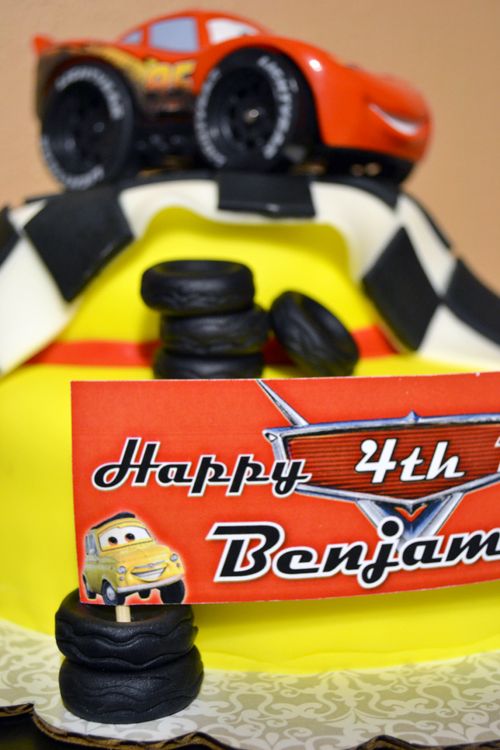
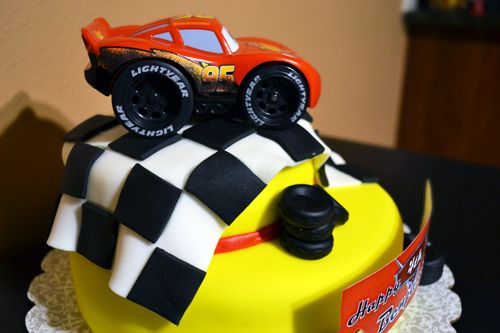
Cars Lightning McQueen Cake for a 4th Birthday

Back in February, we were asked to make a cake for a cousin celebrating this FOURTH birthday.  Last year, we made this Cars cake for his third:


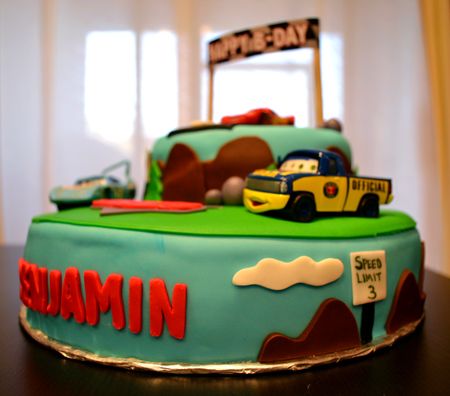
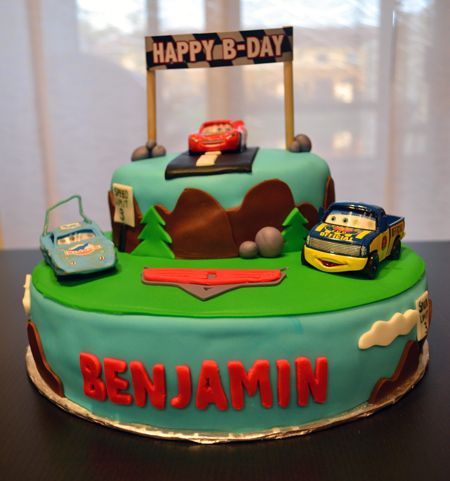
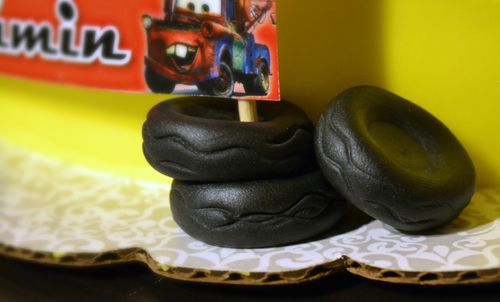
This year for his fourth birthday, he requested the same theme.  We knew we had to make the cake much different than last year (who wants the same cake two years in a row?) and we wanted to top what we did last year.  This is what we came up with...


What do you think?  Do you like this year's Lightning McQueen cake better, or do you prefer last year's Cars cake?

Sunday, February 13, 2011

CARS Lightning McQueen Cake

Photobucket

On Friday, we celebrated our cousin's son's 3rd birthday.  The birthday boy is loving anything and everything CARS right now, so we made him a Lightning McQueen CARS cake.  I'm very pleased with the results!  It is a 10 inch Two-layer Vanilla cake on the bottom and a two layer 6 inch round Chocolate cake on top.  

Photobucket

Photobucket

Photobucket

Photobucket
 
In other news, I was hired as a full-time elementary school Art teacher! 
Photobucket
(Did you know they made an Art Teacher Barbie?? I so did not know that!)
Friday was my first official day, and I spent all weekend getting things ready for the classroom.  I'm so excited to begin this new adventure!  I know it will be a challenge at first, but I'm looking forward to the journey.  Any teachers out there?

Sunday, November 21, 2010

First Birthday Cupcake Tower

Lately, there has been a lot of Cupcaking going on around here.  Just last weekend was my nephew's First Birthday Party!  For the celebration we made the little man a Cupcake Tower to match the theme for his party ("Lil Rebel").  The colors were Gray, White, and Blue.  I was so excited to get to use our Cupcake Tower again!  For more info on the cupcake tower, visit my store here: www.TheSmartBaker.com

This is what we came up with!

Photobucket

Photobucket

Photobucket

Photobucket

Photobucket

We made chocolate and vanilla cupcakes, both with buttercream frosting - but to make the vanilla look a little more fun, we turned it into Confetti cupcakes by mixing a small spoonful of blue sprinkles into the batter just before going in the oven.  It added a nice little touch!  The top tier is a 6 inch round cake decorated in fondant. 

Photobucket


Photobucket

I can't wait to keep using my Cricut Cake and my Cupcake Tower!  We took off the bottom tier of the Five Tier Round Cupcake Tower, and put on the optional fourth tier bases - and it became the perfect size for this party!  I must say, I am quite proud of our work on this one. 

Sunday, October 17, 2010

Pink Ribbon Brownies

Photobucket
For our engagement party, we received a Cricut Cake!!!  If you are familiar with the Cricut machines for paper, it basically is a little plotter that allows you to cut out any shape you want.  The Cake version can cut sheets of frosting, fondant and gum paste and makes fancy cake decorating 900 million times easier.  We finally got to use our new machine when we made Brownies to be sold to benefit Making Strides Against Breast Cancer.

Sunday, April 11, 2010

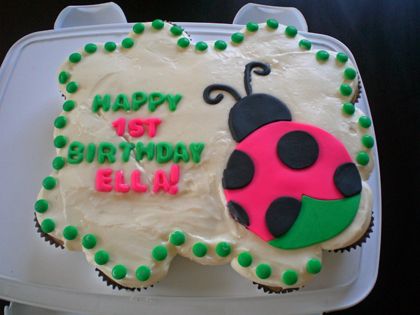
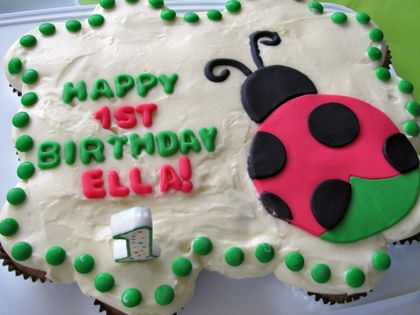
Ladybug Cupcake Pull-Apart Cake (Baby Cupcakes!)

I love trying new things in baking! I especially like trying new things when they work out in the end. This weekend, I made a Cupcake Pull-Apart Cake for the first time, for my adorable niece's ladybug themed FIRST BIRTHDAY PARTY! If you don't know what a Cupcake Pull-Apart Cake is (which I didn't either until recently) - the concept is to make a cake out of cupcakes, so that they're still easy to serve (no knives to cut the cake needed) but decorate it as one big cake so you still get the look of a real cake. So when it comes time to serve, all you have to do is walk up and take a cupcake. Clever!

While looking at others' cupcake pull-apart cakes to figure out how to do this, I found a bunch of different ways to make them. Some people arranged cupcake liners reallllll close together in a cake pan and filled the liners much higher than you would with usual cupcakes. When they bake, the batter puffs up and touches. So, it is still individual cupcakes but they are connected at the top. Its frosted and decorated together as one cake. This technique made me nervous for a few reasons. What if you fill the liners TOO much and instead of just gently connecting at the top, it oozes all the way down the sides and you have a cupcake cake blog mess. Orrr, even if done correctly, if they're connected at the top, I thought it would make easy pull-apart a little bit less easy.

Another technique is to just make cupcakes as you normally would, then arrange them close together on a pan, and frost all together as one big cake. I found this video at Betty Crocker, and thought it looked do-able!

For the recipe, I chose a 1-year-old friendly no sugar added cupcake from Amy Berman, Executive Pastry Chef & Co-Owner of Vanilla Bake Shop. The only sweetness in these cupcakes comes from the addition of bananas and apple juice concentrate. Perfect for the little ones who aren't used to the Sugar-Loadedness of regular cupcakes! They were nice and moist due to the bananas and sturdy because of the rolled oats. Tasted like banana bread! I also used Amy's Cream Cheese frosting recipe (not quite no-sugar-added). You can see both recipes here at Holidash or here at Celebrations.com. So, Low Sugar 1st Birthday Banana & Apple Juice Cupcakes with Cream Cheese frosting it was!

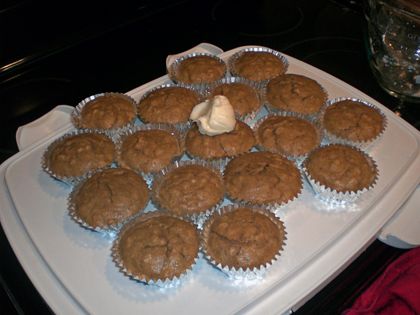
I made the full batch of cupcakes, which made about 18-20 cupcakes, but I only used 17 in the arrangement.
Photobucket
After they were fully cooled, I arranged them like so. I did it like this rather than a regular rectangular cake shape so that the lines of cupcakes could kind of interlock, reducing the amount of space in between them.

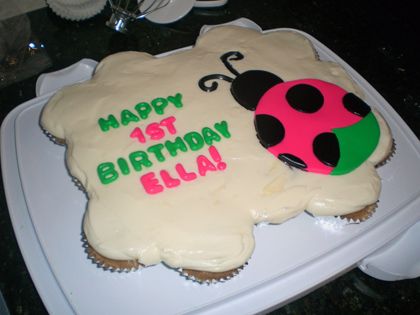
After arranging them on the pan, I filled a piping bag with frosting and put an enormously generous amount on each cupcake. I repeat you NEED to use A LOT of frosting to get this to work. In order for it to not fall down in to the cracks, there needs a real thick layer of frosting (you can always scrape some off before baby gets it). So I piped a giant dollop on top of each one. Then, I went in with my offset spatula and gently coaxed the dollops to touch each other. Then we smoothed it all out and decorated.
Photobucket

Photobucket

Photobucket

The lady bug and letters were made with fondant, and the dot border is M&Ms. What do you think?
Thursday, April 30, 2009

Wilton Cake Decorating Course 3, Finale Cake

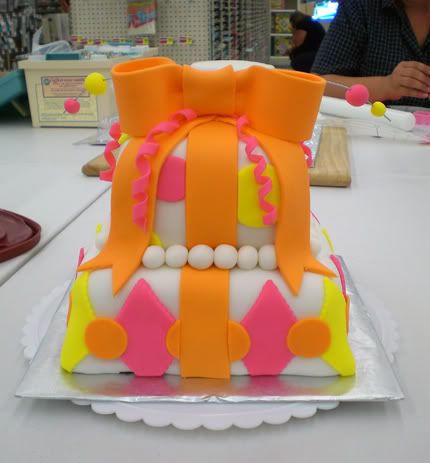
So, last night was the final class for Wilton Cake Decorating Course 3, Fondant & Tiered Cakes. I have really enjoyed these classes a lot! At times, it got frustrating and time consuming, but I am very glad that I did it. I learned a lot, and got over a lot of decorating fears. I would definitely recommend these classes at Michael's to anyone interested in learning the basics of cake decorating (well, at least in my area of Central Florida, my teacher was awesome).

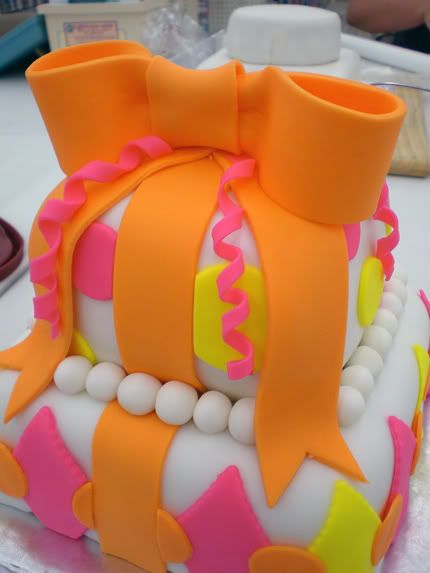
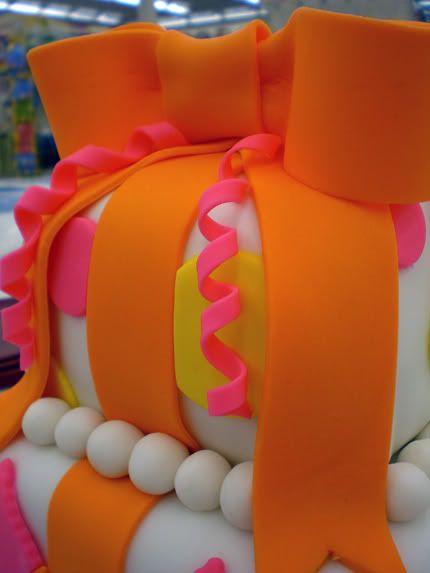
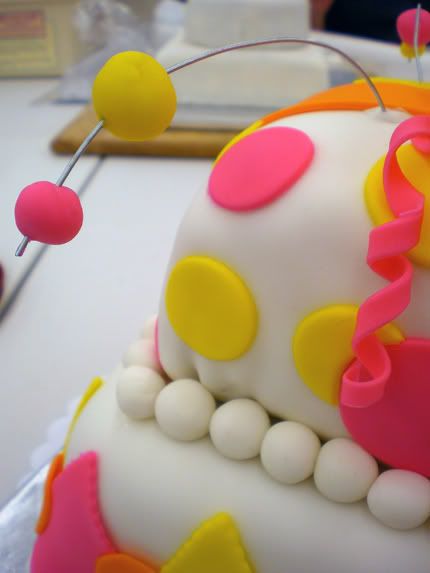
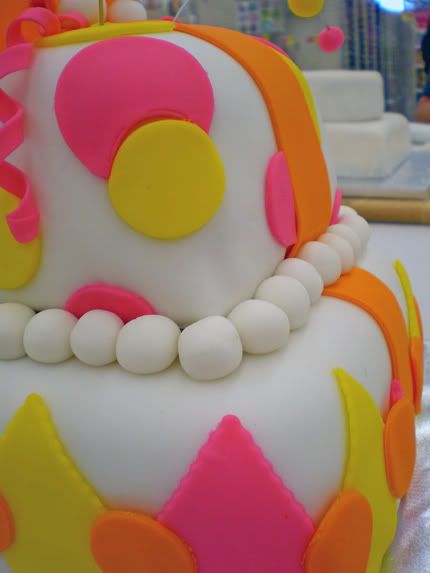
The finale night was a free for all! We were allowed to make a cake of our choosing - decorating it as we wish. During class, the customers & workers of Michael's voted on a class fave. I was not happy with the outcome of my cake initially... it did NOT come out like I had envisioned. The color scheme was NOT what I was going for. I really wanted an Argyle pattern on the bottom, but it didn't work. There are a ton of imperfections. And my little wire ballies didn't come out like I had hoped. But guess what? I tied for first place! It was shocker. I personally thought my cake looked like a female alien robot wearing a pearl necklace. The other cakes were really very stunning, I definitely should not have won! I had two personal faves of other girls in the class, and I was rooting for them to win. If I had seen them for sale in a bakery, I would buy them in a second! All the students' cakes looked very professional. It was fun and interesting to see everyone's take on cake decorating - seeing everyone's personal vision for their cake. Very cool!

Here are some pictures of my cake:


Anyway, I hope I get the opportunity to make cakes in the future, so that I can keep practicing my decorating and fondant skills and get better!

Thursday, April 16, 2009

My First Fondant Cake!: Birthday Present Cake

Wilton Cake Decorating Course 3 is underway! Yesterday was Lesson #2 of Course 3 (Fondant and Tiered Cakes) and we got to Fondant our first cake! We were required to bring an iced/frosted 2 layer square cake. In class, we were to assemble it into a birthday present... and since Daniel's birthday is this Saturday, it was perfect! I made one that he would like: the bottom layer is a giant blondie, theres a layer of buttercream, and it's topped with his favorite white cake recipe. This was the end result. Overall, I think I did a pretty good job for my first one! I really like working with fondant and am excited to do more things with it in the future.


LinkWithin

Related Posts with Thumbnails