Recent Posts

Friday, December 24, 2010

Christmas Baking!

Photobucket

Merry Christmas Eve!  As you can see, even Sadie, our dog, is in the Christmas spirit today.  I hope everyone has exciting plans for spending the holidays with friends and family!


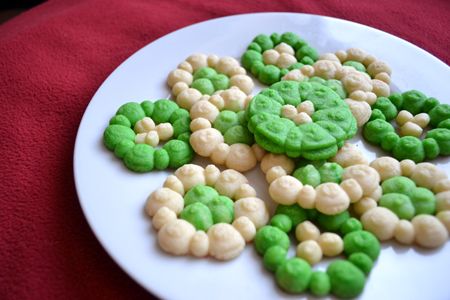
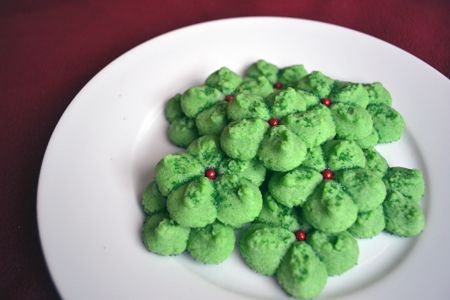
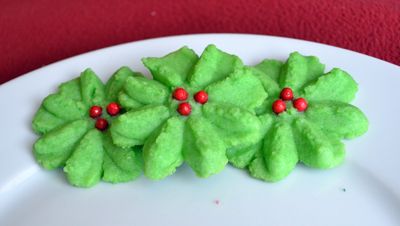
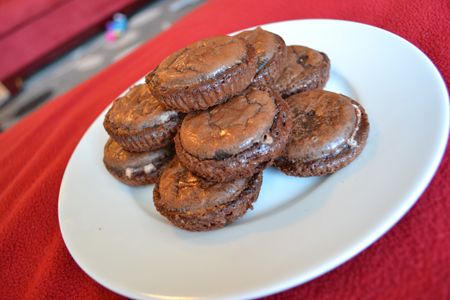
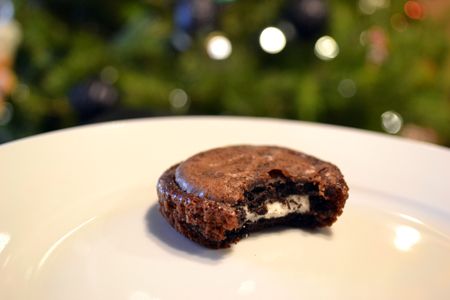
We did lots of cookie baking this Christmas.  I made Brownie Covered OreosButter cookies, and Hot Cocoa cookies to give out this year.  The Brownie covered Oreos were OK - not as delicious as they sound!  And certainly not too great if even slightly overbaked.  I'd recommend using more brownie batter on each oreo and cutting down the baking time.  The Butter Cookies were a hit - one of the best cookie press recipes I've made.  And the Hot Cocoa cookies were sticky and delicious.. and tasted just like Hot Cocoa!


Brownie Covered Oreos, insired by Picky Palate


Photobucket

Photobucket


Prepare your favorite brownie recipe (or batter from a box mix) and leave the batter in the bowl.  
Prepare a cupcake pan - either use cupcake liners or thoroughly grease the pan.
Dip oreo entirely in the brownie batter.  Shake off excess batter and put in the prepared pan.
Bake at 350 for about 8 - 12 minutes.  Don't overbake!  There isn't much batter that needs to bake, so these will go quick!  If they are too well done, they will be far too hard and pretty much inedible! (I know, b/c I did this the first time!)


Hot Cocoa Cookies, inspired by How Sweet It Is


Photobucket


Ingredients:
2 sticks butter, room temp
1 1/2 cups sugar
2 eggs, room temp
1 tsp pure vanilla
2 cup flour
1/2 cup unsweetened cocoa powder
1 tsp baking soda
1/4 tsp sea salt
1/4 cup fluff
3/4 cup semisweet chocolate chips
3/4 cup mini marshmallows


Cream the butter, sugar, eggs and vanilla until fluffy.  
In a separate bowl, whisk together the flour, cocoa powder, baking soda and salt.  
Add the flour mixture to the butter mixture and mix until combined.  Stir in fluff.
Fold in the chocolate chips and marshmallows.  Cover and refrigerate for 1 hour.

Preheat to 350.  Roll 1 inch balls from the chilled dough and bake on a parchment lined cookie sheet for 10-12 minutes.  Let cool on the cookie sheet for 5 - 10 minutes, then lift the parchment from the cookie sheet and place on a cooling rack to cool completely.


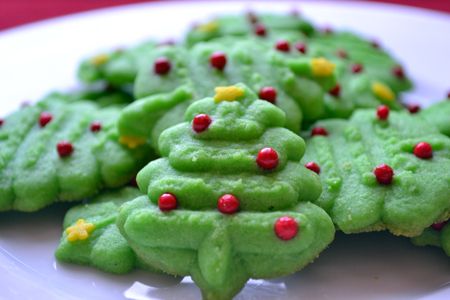
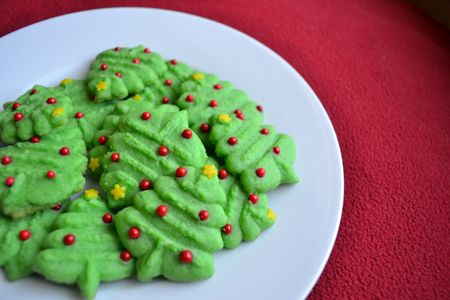
Butter Cookies, inspired by Martha Stewart's Cookie Press Cookies 

Photobucket


Ingredients:
3 sticks butter, unsalted, room temp
1 cup sugar
2 large egg yolks, room temp
3 3/4 cup flour
1/4 tsp sea salt
1 tsp pure vanilla
colored sugars and sprinkles for decorating


In the bowl of an electric mixer with the paddle attachment, cream butter, sugar and egg yolk until light and fluffy.  In a separate bowl, whisk together the flour and salt.  Add to the butter mixture.  Mix until combined, then add vanilla and mix.  If desired, all food coloring.
Fit your cookie press with your preferred shape disk and fill with dough.  Press out onto an un-lined cookie sheet.  Sprinkle with sugars and sprinkles and desired.  Chill in the refrigerator for 30 minutes.
When chilled, bake in a pre-heated oven at 350 for 7 - 10 minutes.  Let cool on the sheet for 5 - 10 minutes then transfer to a wire rack to cool completely.  

Photobucket


Photobucket


Photobucket


Photobucket

Saturday, December 18, 2010

Nutella Chocolate Chip Cookies

Photobucket

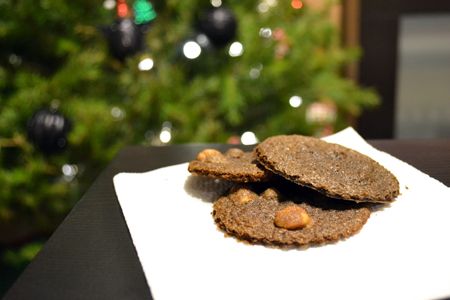
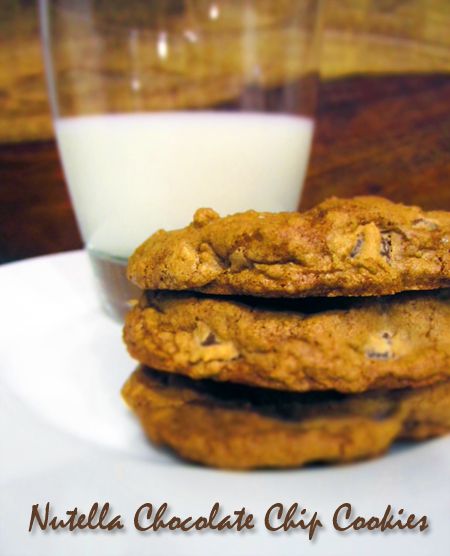
Today, we went to a lovely local outdoor market with our Smart Baker goods -  the aprons, towels and cupcake and dessert towers.  It wound up pretty cold and rainy and after a few hours it was postponed until tomorrow.  So we'll give it another go then!  But for now, we are home drinking hot chocolate and eating these Nutella Chocolate Chip Cookies to warm up while we fill some custom apron orders for the holidays.  


These cookies are delicious with just a hint of nuttiness from the Nutella.  The nutella is very subtle and doesn't make the cookies too chocolately.  Daniel, the not-such-a-chocolate-lover, loved them and didn't know there was nutella in it until I told him.  


Nutella Chocolate Chip Cookies, adapted from Kirbie's Cravings
Ingredients:
2 C all purpose flour
1 tsp baking soda
1/4 tsp sea salt
1/2 C unsalted butter
1/2 C sugar
heaping 1/2 C light brown sugar
2 large eggs, room temp
1 tsp vanilla
1/4 C nutella 
1/2 C chocolate chips


Preheat to 350 and line cookie sheets with parchment paper.
In a large bowl, whisk together flour, baking soda and salt. Set aside.
In the bowl of an electric mixer, cream butter together with the sugars. Add eggs and vanilla and mix until just combined.
Gradually add in the flour mixture and mix until just combined. 
Add in the nutella and mix until just incorporated. Add in the chocolate chips.
Using a 1 Tablespoon cookie scoops, place heaping scoops onto the prepared cookie sheet about 2 inches apart.
Bake about 7 - 12 minutes.  Let cool on the cookie sheet for 5 minutes and then remove to a cooling rack to cool completely.

Photobucket

Monday, December 13, 2010

Martha's Double Chocolate Brownies

Photobucket

My master's degree is now complete!  I had my last day of student teaching on Friday and now I begin my job search.  I'm both very excited and kind of nervous to begin this next step!
  
This past weekend I had no lesson plans to create, no artwork examples to make, and no papers to write.  It was a strange feeling!  So I found myself with time to get back in the kitchen and start baking again.  And now, it is Monday morning at 6:50am and even though my student teaching is over, thanks to my internal alarm clock which has been set to a teacher's schedule for the last 14 weeks, I am wide awake.  Perfect time to update my blog (which had been a bit neglected towards the end of my graduate career)!
  
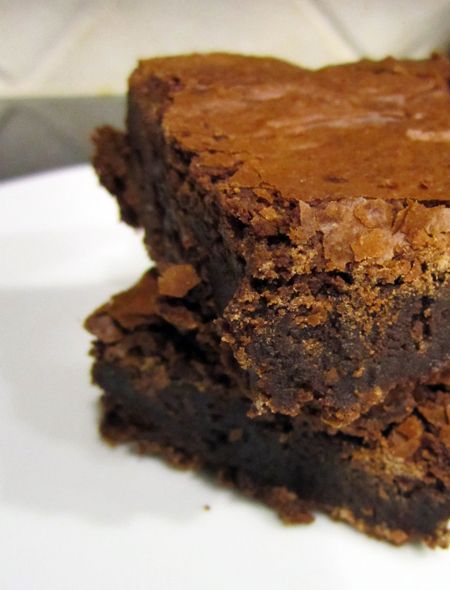
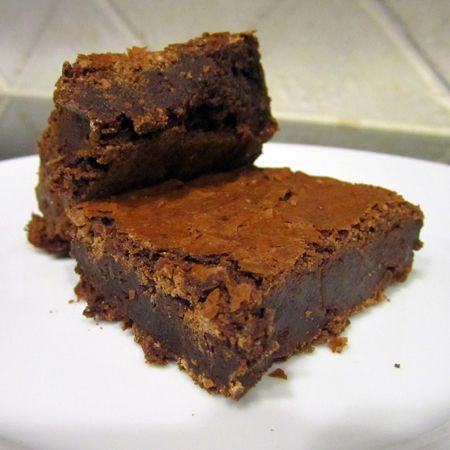
Like most people in the universe, I just can't get sick of brownies.  This time I tried a new one, Martha Stewart's Double Chocolate Brownies.  Because I didn't have all the required ingredients, I made slight changes to the recipe.  I was scared at first because the brownie batter was MUCH thicker than other brownie batters I've made.  It seems my fears were unfounded because these were terrific.  Moist and fudgey, nice and sturdy, and a delicious slightly crackly crisp top.  


Martha's Double Chocolate Brownies, adapted
ingredients:
5 tablespoons unsalted butter, softened
6 ounces coarsely chopped quality dark chocolate (I used Callebaut)
1 ounce unsweetened chocolate, chopped
3/4 cup all-purpose flour
1/4 teaspoon baking powder
1/4 teaspoon sea salt
1 cup sugar
2 large eggs, room temp
2 teaspoons pure vanilla extract


Preheat to 350 and line a greased 8 or 9 inch square baking dish with parchment.  
Combine butter and chocolates in the top of a double boiler set over simmering water.  Stir until butter and chocolate are melted and mixture is smooth.  Remove from heat and allow to cool slightly.
In a separate small bowl, whisk flour, baking powder and salt together and set aside.  
In the bowl of an electric mixer, beat together the sugar, eggs and vanilla on medium speed until the mixture is pale (~4 minutes).  Add the chocolate mixture and beat until just combined.  Add the flour mixture and beat until just combined.
Pour batter into prepared pan and smooth with an offset spatula.  Bake about 30 minutes or until a cake tester comes out clean.  Let cool in pan 15 minutes then remove to cool completely on a wire rack before cutting.
Photobucket
*TIP:  Did anyone know you can quickly soften butter in a water bath?  
I'm pretty bad at remembering to take butter out of the refrigerator before baking so I've tried a few different shortcuts.  I've attempted softening it in the microwave set to a low power... but there are always some melty spots while other spots are still frozen.  I've tried that pounding method where you beat the butter to death with a rolling pin, but that is better for getting out frustration than it is for softening.  I just learned you can put your wrapped butter in a zip lock bag and let it sit in a sink full of room temperature water to let it soften quickly.  Within 5 - 10 minutes, your butter should be fully softened.  I've used this technique to thaw meat - I wonder why it took my so long to realize I could do it with butter.  Now, I fill up my sink with water and throw in my butter while I measure out my ingredients and prepare my baking pan.  By the time I'm done, the butter is usually softened.

PS - I just received samples of POM Wonderful from the nice people at POM in Los Angeles.  You can look forward to some Pomegranate dessert recipes in the near future!  I plan on making some to bring to a Holiday Sweets Swap.
Photobucket

Saturday, December 11, 2010

Scrambled Eggs

Fellow foodies and Beatles lovers alike will appreciate this.  Paul McCartney sings Yesterday with Scrambled Eggs as a placeholder.  Gotta love it.  Thank you, Gastronomista

Tuesday, December 7, 2010

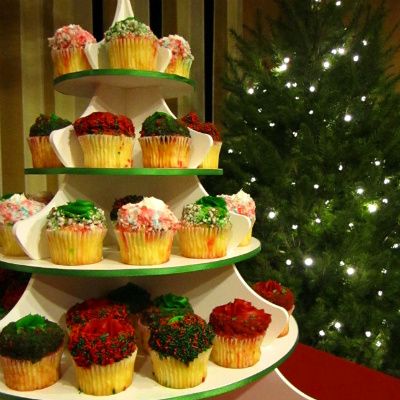
Christmas Tree Cupcake and Treat Tower

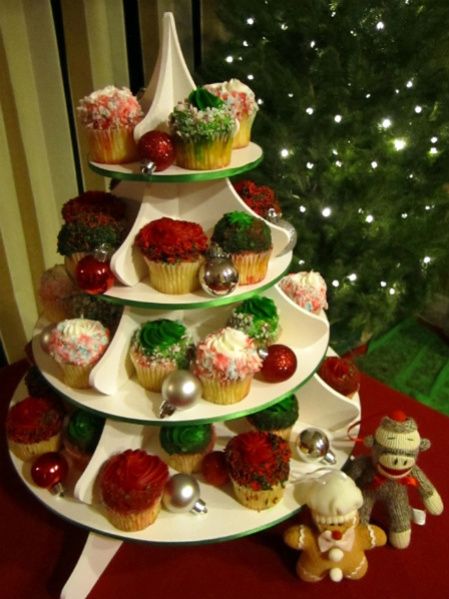
Check out how cute our Christmas Tree Cupcake & Dessert Tower is when it is all decked out for the holidays!

Photobucket

I can't wait to display my Christmas goodies on it!  Maybe I'll alternate tiers - Christmassy cupcakes on some and brownies on others.  Or maybe I'll put Christmas tree Cake Pops on it (you've seen Bakerella's book right?)  So excited to show it off!

Photobucket

It can hold up to around 56 cupcakes and can be made smaller to hold smaller amounts (for Christmas festivities where 56 cupcakes is a little excessive)  What do you think of it?

Thursday, November 25, 2010

Happy Thanksgiving!

Photobucket

I hope you all have a Happy and Healthy Thanksgiving!  

Photobucket

Photobucket

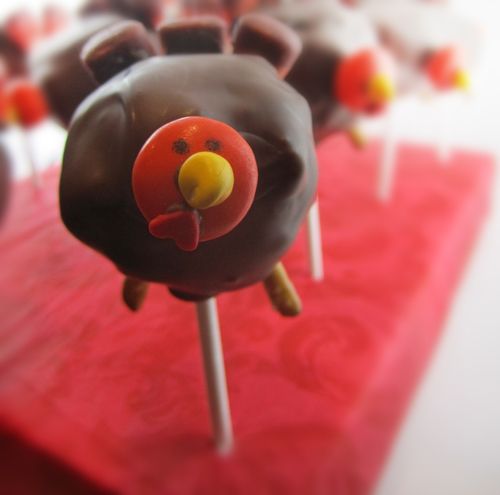
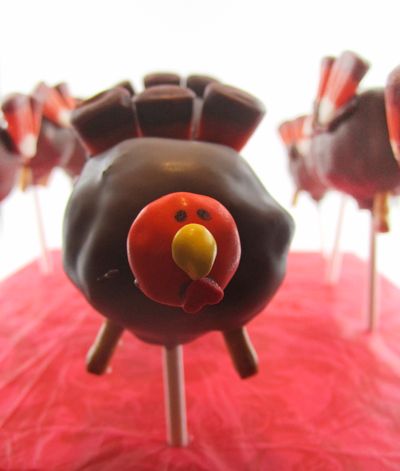
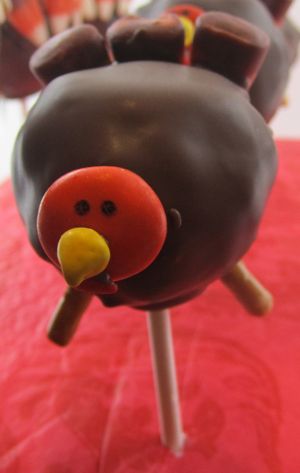
Here are some Turkey Cake Pops (from Bakerella's Cake Pops book) I made for our Thanksgiving dinner.  What are you making this year?

Sunday, November 21, 2010

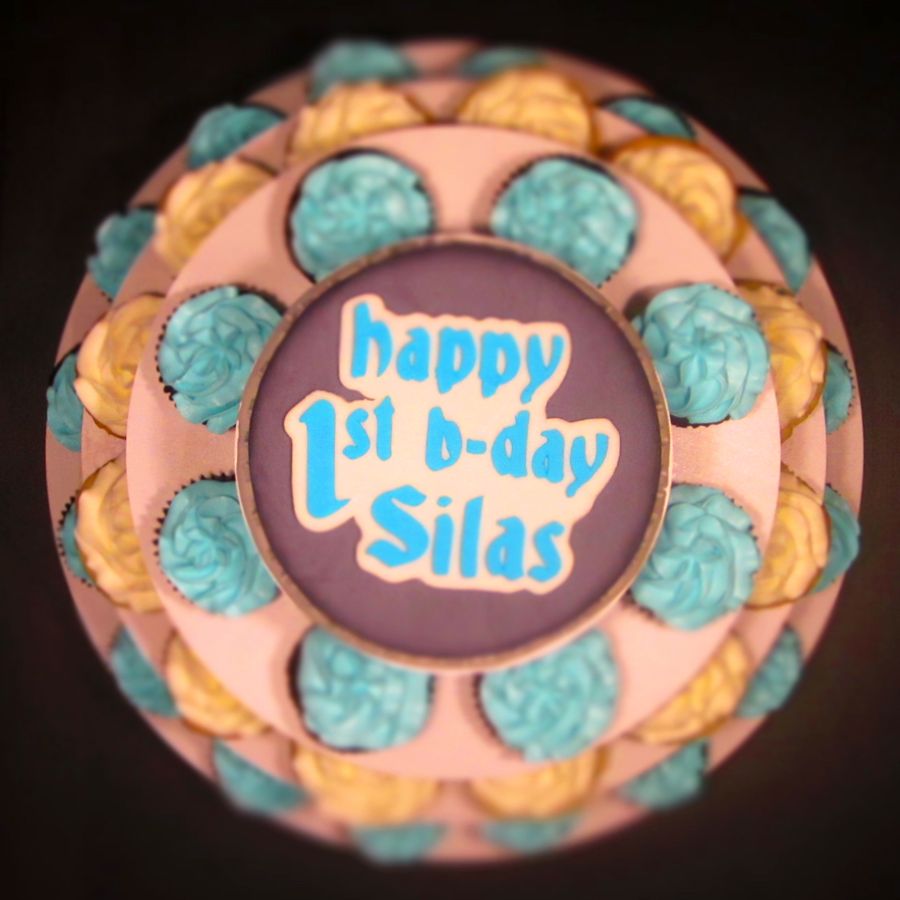
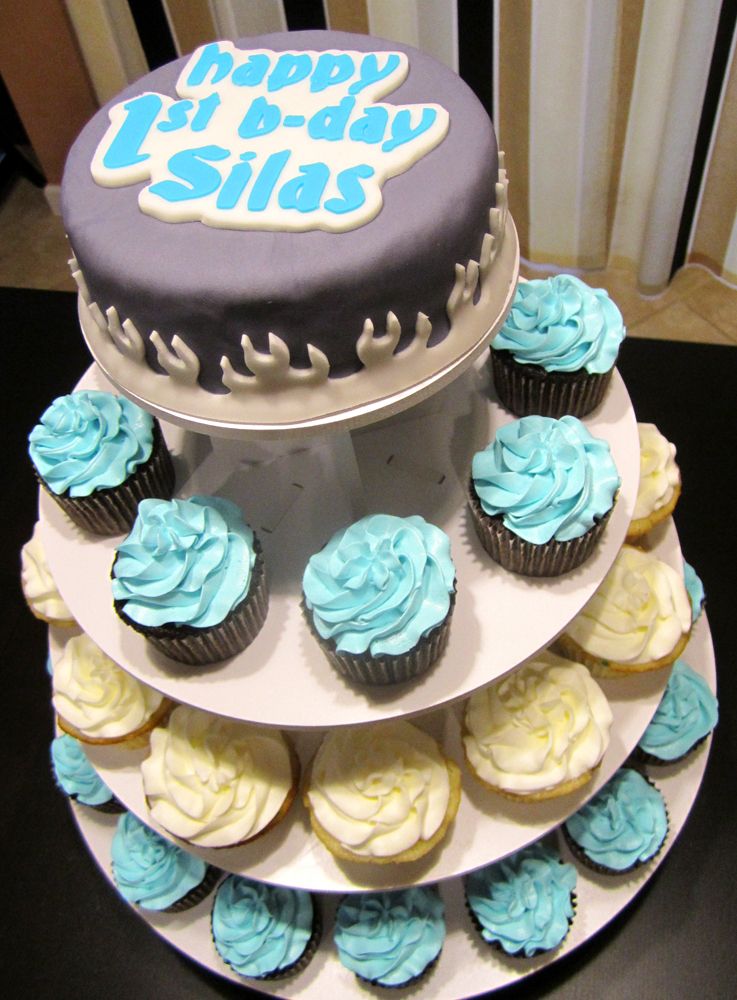
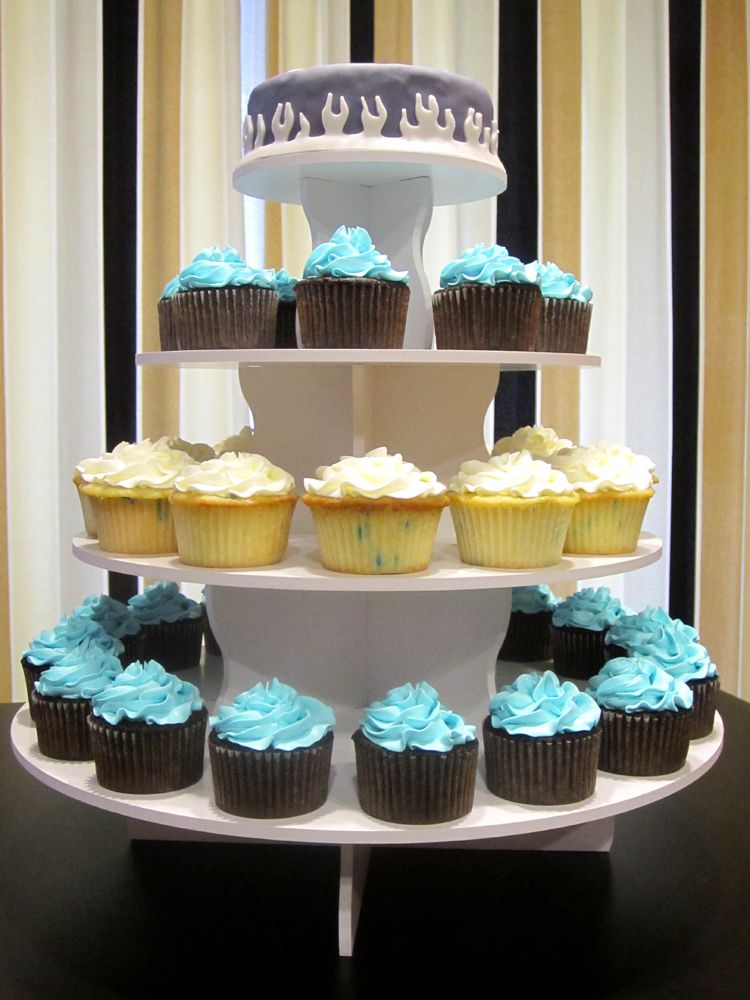
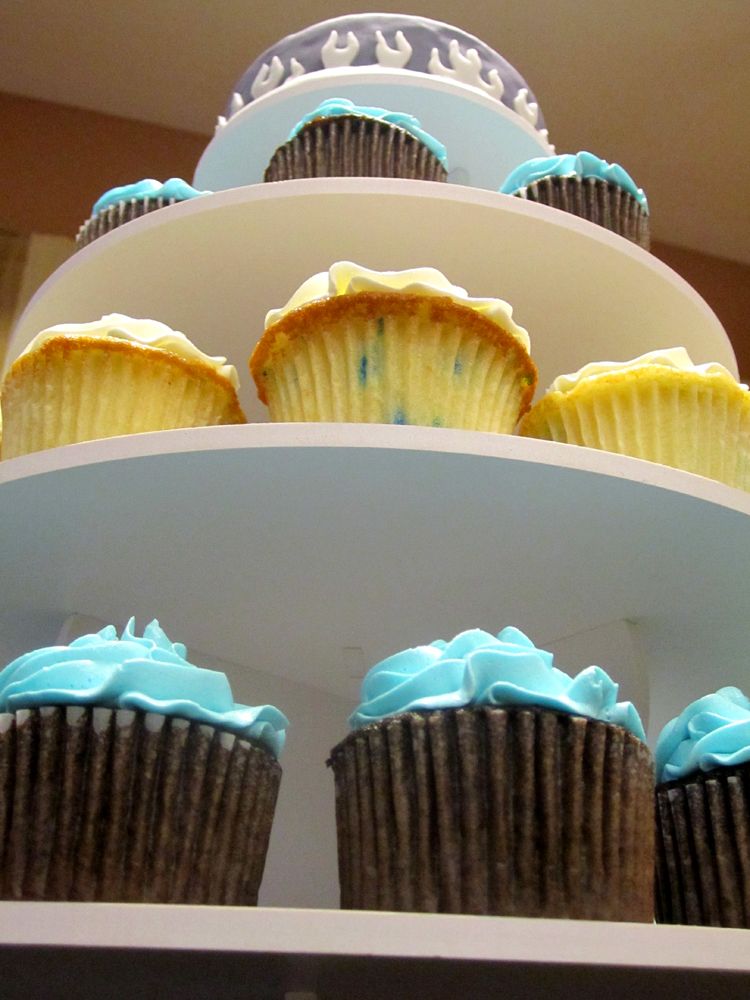
First Birthday Cupcake Tower

Lately, there has been a lot of Cupcaking going on around here.  Just last weekend was my nephew's First Birthday Party!  For the celebration we made the little man a Cupcake Tower to match the theme for his party ("Lil Rebel").  The colors were Gray, White, and Blue.  I was so excited to get to use our Cupcake Tower again!  For more info on the cupcake tower, visit my store here: www.TheSmartBaker.com

This is what we came up with!

Photobucket

Photobucket

Photobucket

Photobucket

Photobucket

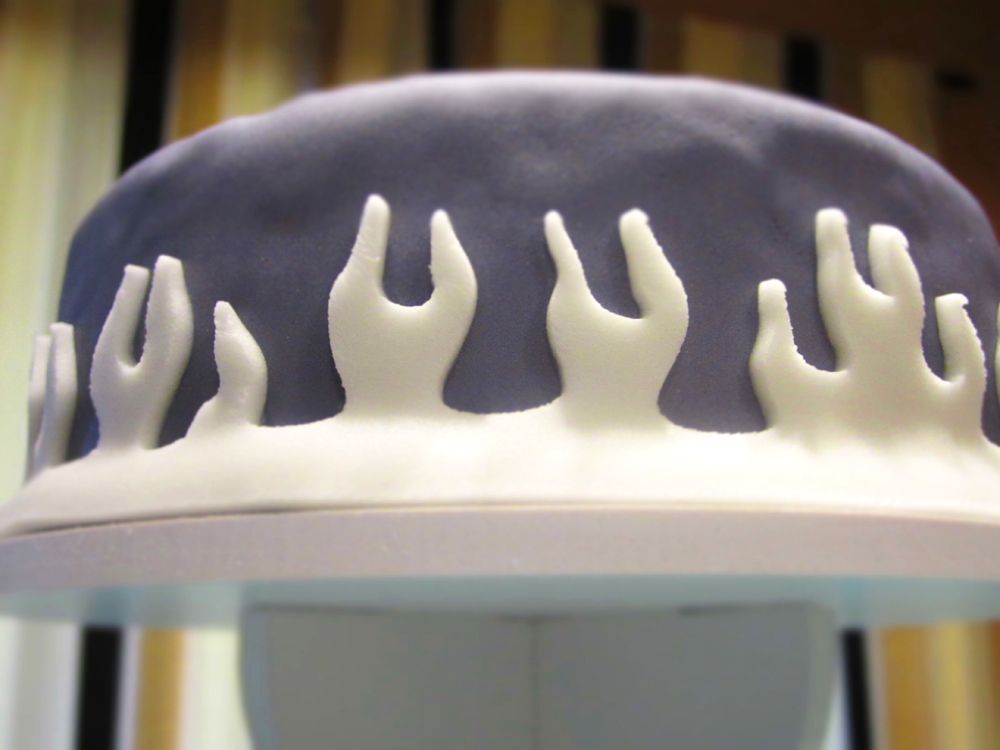
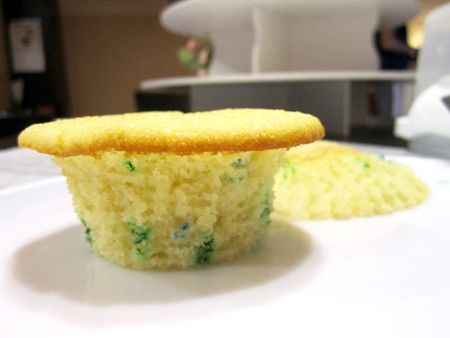
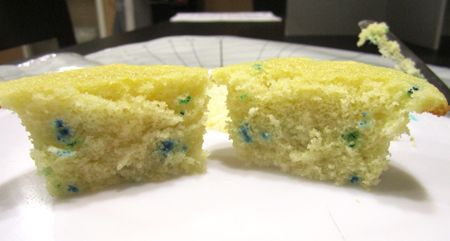
We made chocolate and vanilla cupcakes, both with buttercream frosting - but to make the vanilla look a little more fun, we turned it into Confetti cupcakes by mixing a small spoonful of blue sprinkles into the batter just before going in the oven.  It added a nice little touch!  The top tier is a 6 inch round cake decorated in fondant. 

Photobucket


Photobucket

I can't wait to keep using my Cricut Cake and my Cupcake Tower!  We took off the bottom tier of the Five Tier Round Cupcake Tower, and put on the optional fourth tier bases - and it became the perfect size for this party!  I must say, I am quite proud of our work on this one. 

Thursday, November 18, 2010

My Wedding Cake!

Photobucket


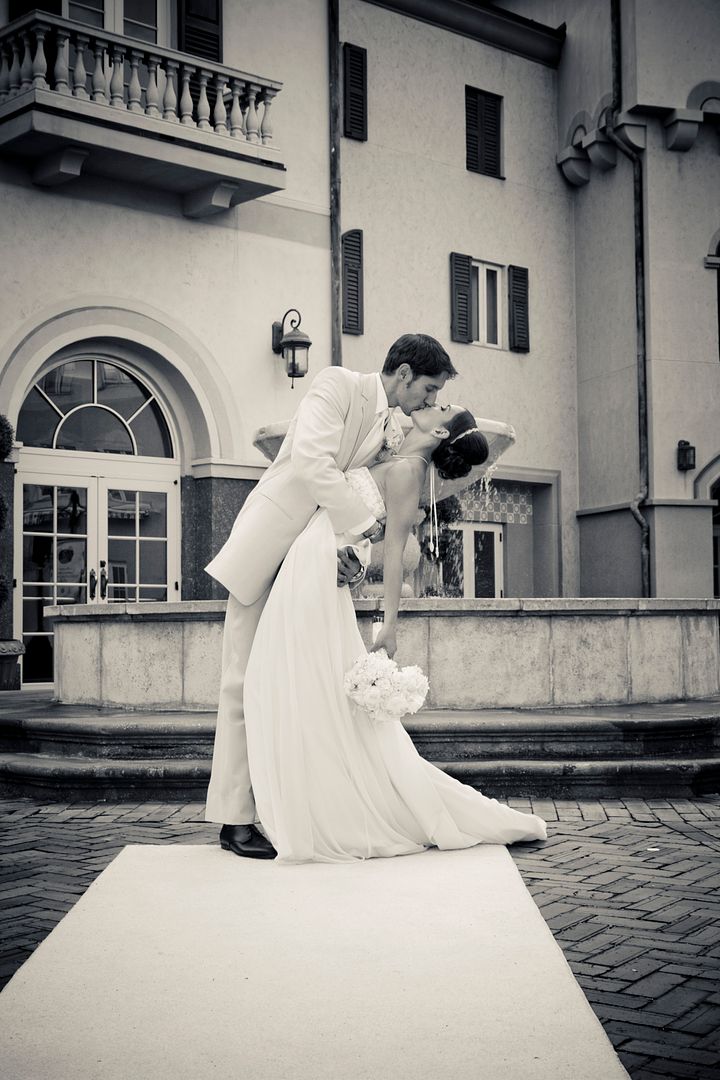
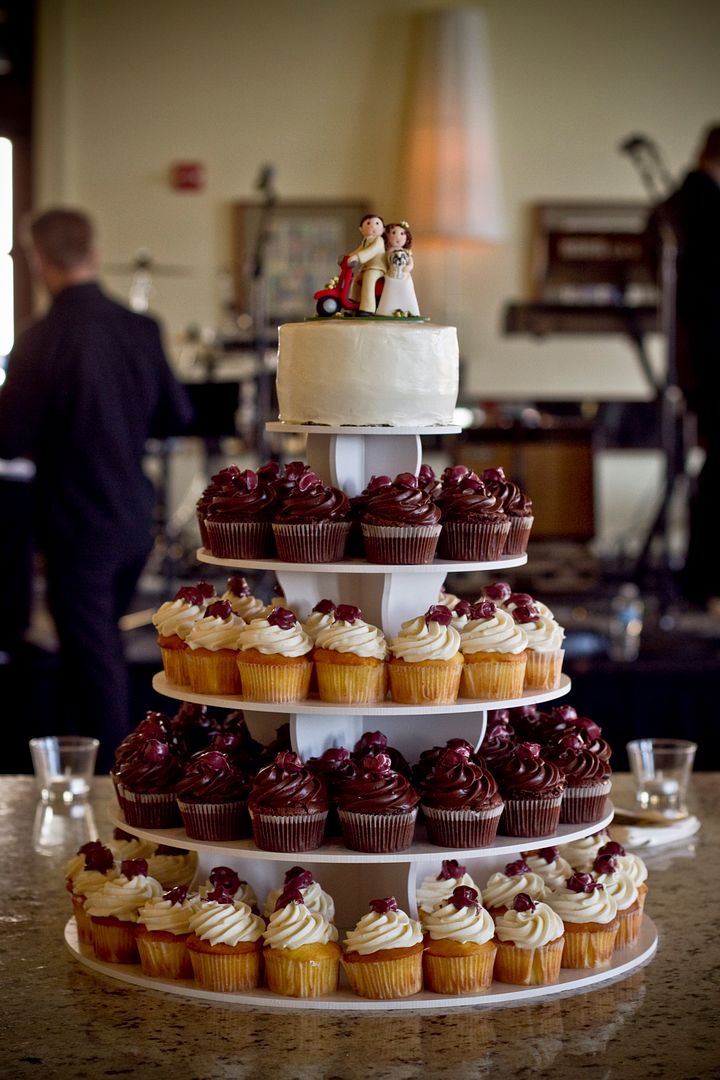
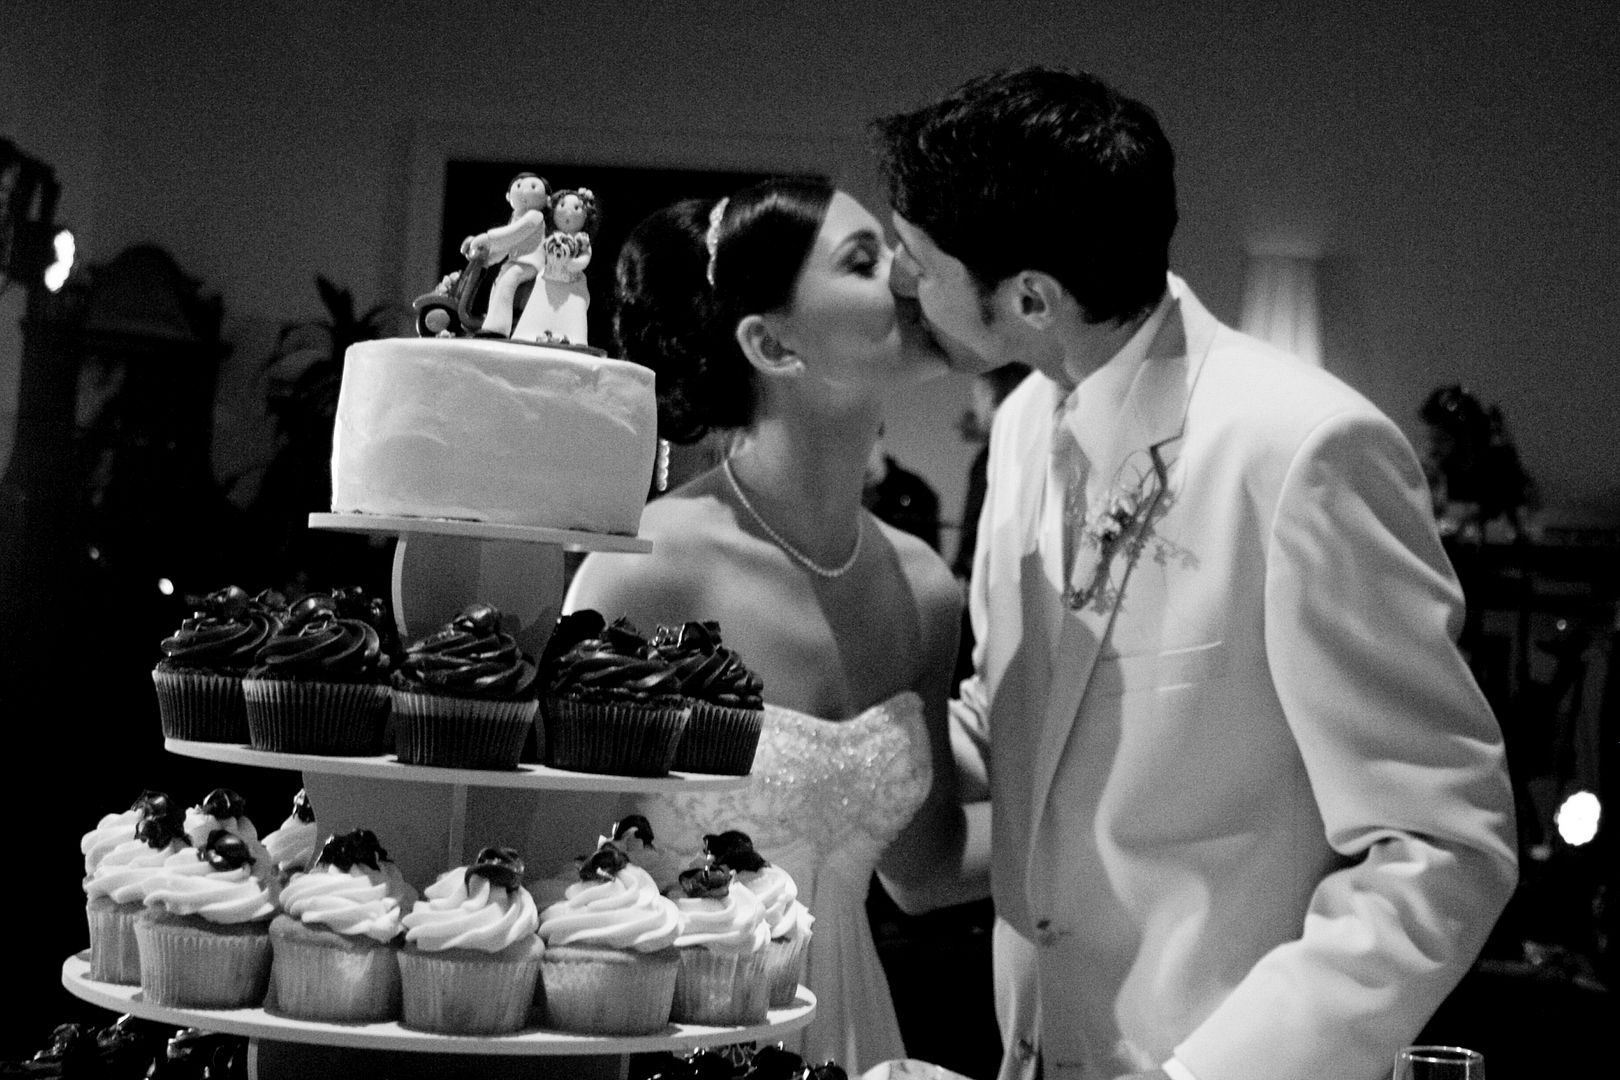
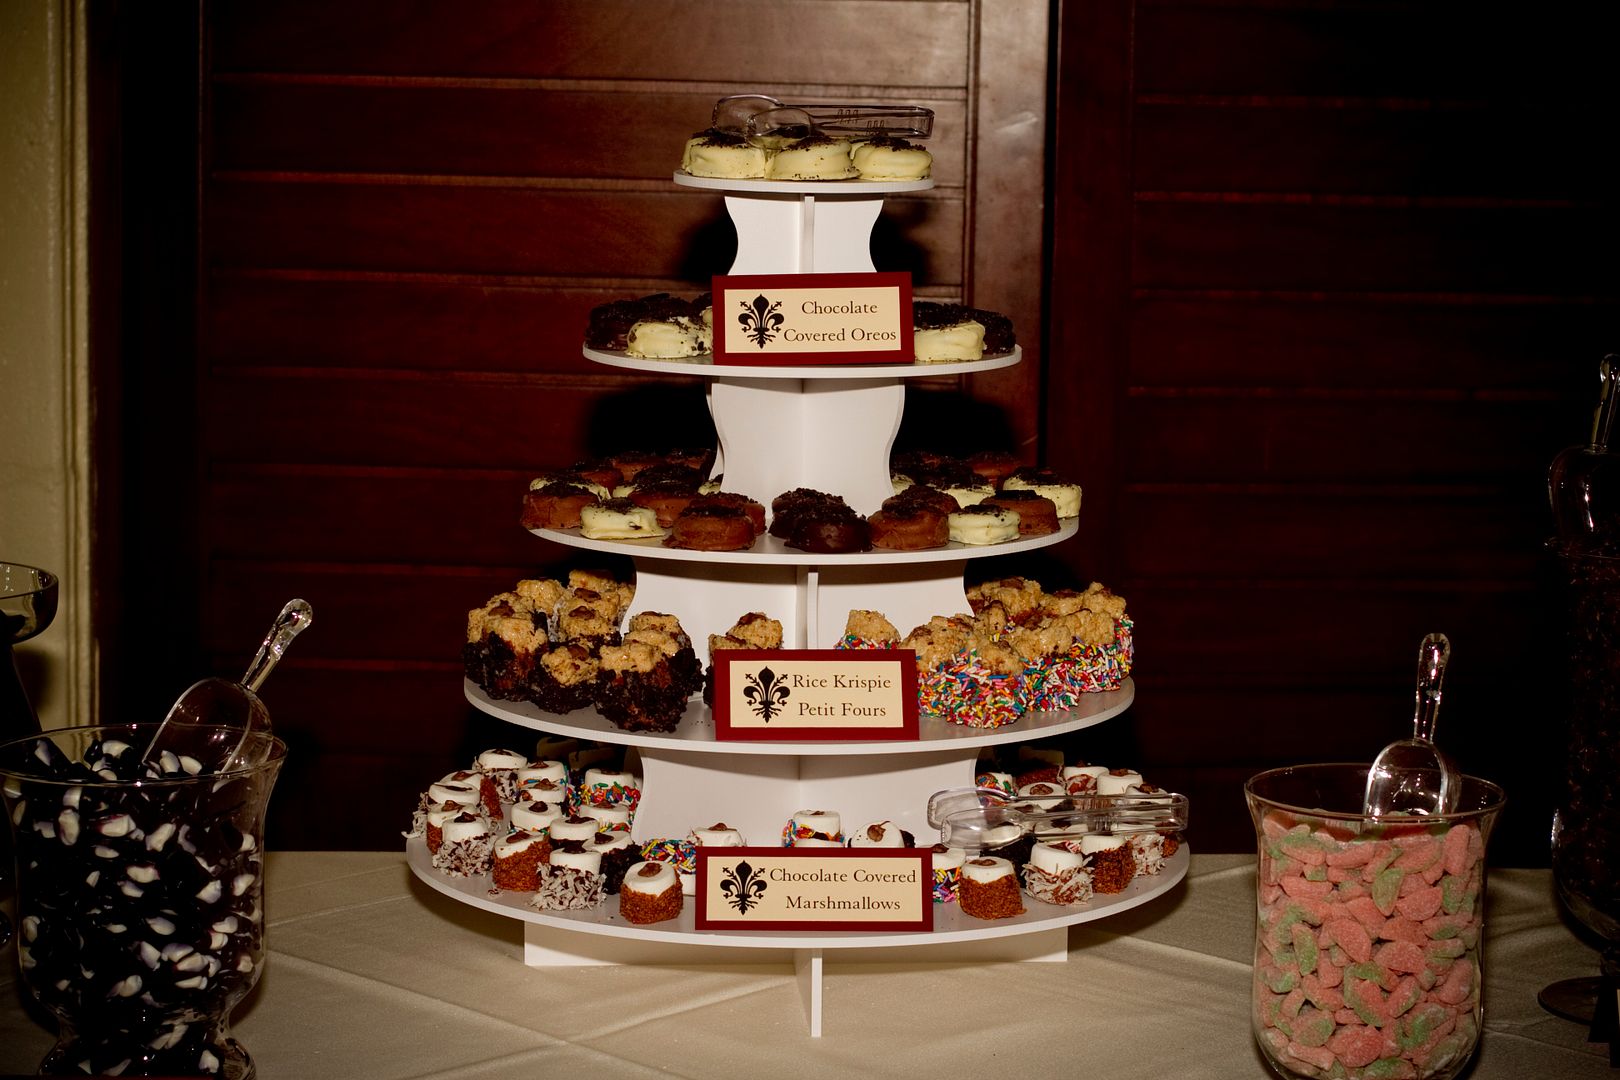
I wanted to share photos of my wedding "cake" with you all!  If you are reading this blog, you're likely as obsessed with desserts as I am, so I know you'll appreciate these. :)  And no, I did not wind up making my own cupcakes - as many people warned me not too!  I think it was a very wise decision.  The cupcake tower structure that the cupcakes are sitting on are our latest product on www.TheSmartBaker.com.  It worked wonderfully at the wedding!  We used it in our candy buffet, too for our hand-dipped chocolate covered items.  Yum!  Take a peek!!


Photobucket

Photobucket
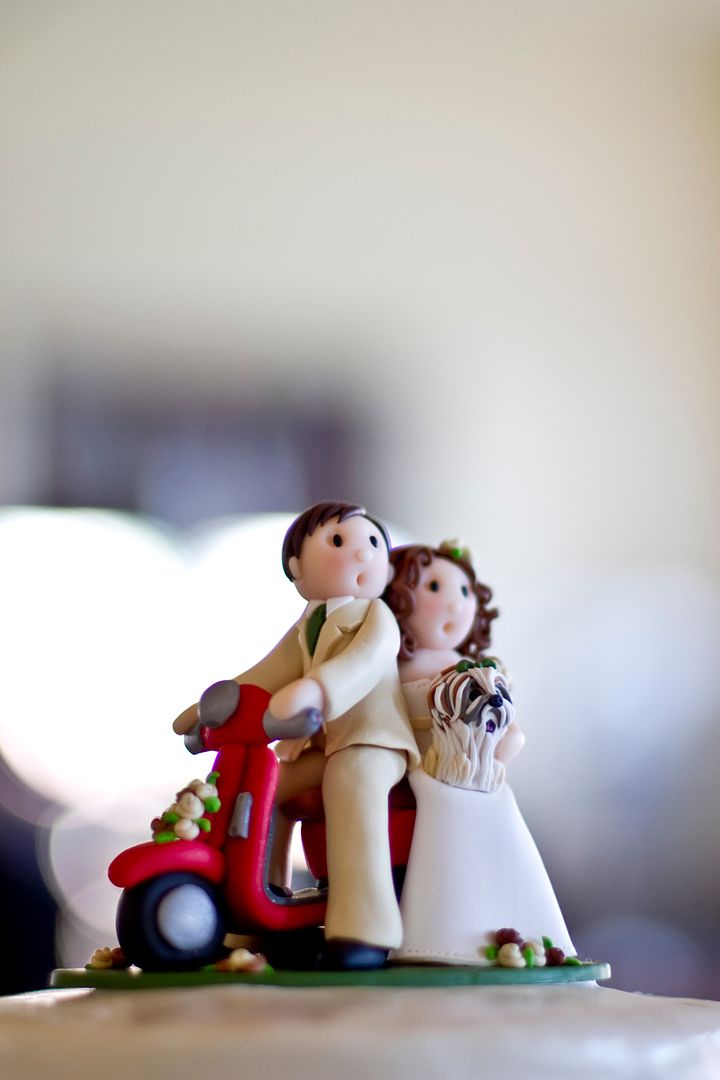
My cake topper!  Yep, thats my pup on it, too :)

Photobucket

Photobucket
Here is the tower for the candy buffet.  We had around 40 pounds of other candy, too - like sour watermelons, chocolate covered pretzels, yogurt pretzels, chocolate covered gummy bears, neon sour worms, mini gummy bears, jelly rings, sour belts, and peachy penguins.  Guests got to take home a box full of candy!  We got all of our candy from www.AJsCandyCastle.com


Sunday, November 7, 2010

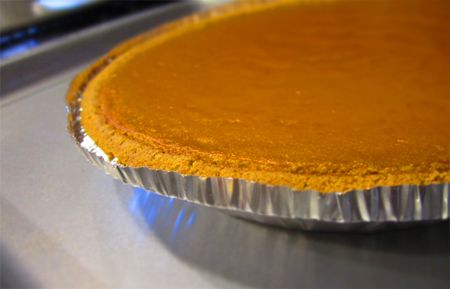
SMS: Ginger Custard Pumpkin Pie

Photobucket

This weekend it began to feel like Fall in Florida.  Up until now, it was still a consistent high 80's - 90's.  But Friday morning started off chilly and it has been long-sleeves weather ever since.  It is definitely a nice change!  And what better way to make it feel extra Fall-ish than to make a Pumpkin Pie.  

Sunday, October 17, 2010

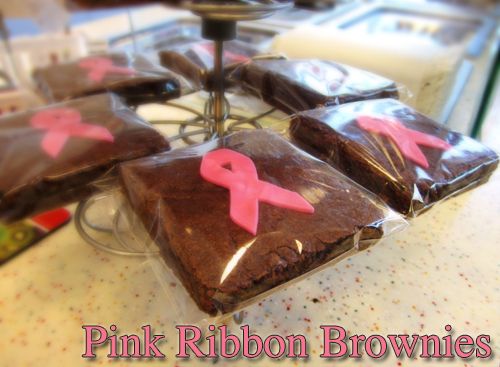
Pink Ribbon Brownies

Photobucket
For our engagement party, we received a Cricut Cake!!!  If you are familiar with the Cricut machines for paper, it basically is a little plotter that allows you to cut out any shape you want.  The Cake version can cut sheets of frosting, fondant and gum paste and makes fancy cake decorating 900 million times easier.  We finally got to use our new machine when we made Brownies to be sold to benefit Making Strides Against Breast Cancer.

Sunday, October 10, 2010

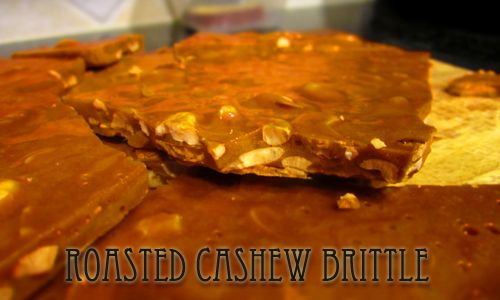
SMS: Roasted Cashew Brittle

Photobucket

This week, it's my turn to host Sweet Melissa Sundays!  Last time I hosted it was August 2, 2009 so I was so excited to finally host again.  We have been baking along to the Sweet Melissa Baking Book since April of 2009, so a good deal of the recipes from the book have already been selected and baked.  We've made so many delicious things over the past year and a half!   Can you believe we've been doing this that long already?

For the recipe this week, I selected the Roasted Cashew Brittle.  I've never made brittle before and I love cashews so I thought this would be a fun recipe.  I prepared the recipe word for word from the Sweet Melissa Baking Book, no substitutions or changes.  I'm hosting, so I didn't want to mess anything up!  It was actually a rather quick and easy process.

Friday, October 1, 2010

Cookies On Demand


Photobucket

There are two reasons I'm calling these chocolate chip cookies "Cookies on Demand".  
1- The recipe doesn't require softened butter.  So no waiting for butter to come to room temperature, you can use it straight out of the fridge.
2- I prepared the recipe, rolled the dough into balls and baked a few to have that night.  Then I froze the rest of the dough balls on a cookie sheet until they were hard, and placed them in airtight container where they stayed until I had a cookie craving.  Want a cookie?  Just grab two (because no one can eat just one fresh baked cookie) out of your freezer, pop it on a cookie sheet and bake it up.

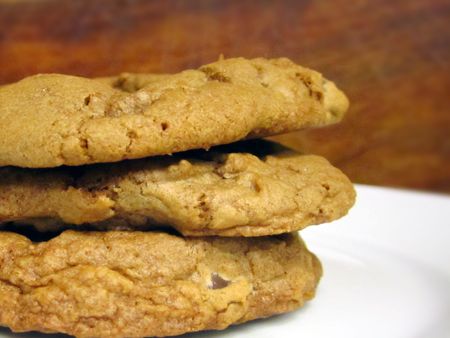
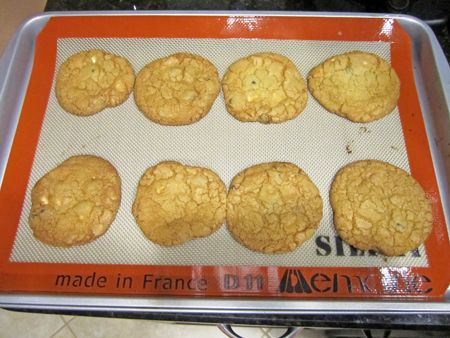
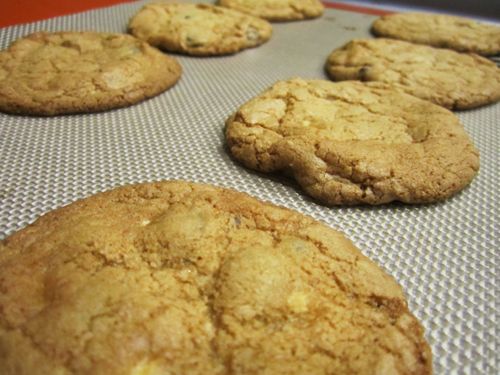
These cookies have a nice sturdy, crispy exterior and a perfect chewy interior.  They don't flatten out all the way while baking and have a little bit of thickness to them.  Pretty close to perfect if you ask me.

Cookies on Demand, adapted from The Ultimate Stand Mixer Chocolate Chip Cookie recipe
makes about 25-30 cookies
11.25 ounces all purpose flour (about 2.5 cups)
1 1/4 tsp baking soda
3/8 tsp fine sea salt
8 ounces unsalted butter, cold
1 cup firmly packed light brown sugar
3/4 c granulated sugar
2 large eggs
1 3/4 teaspoons pure vanilla extract
1/2 C white chocolate chips
1 C hershey's dark chocolate chips

Preheat to 400 F. In a medium bowl, whisk together flour, baking soda and salt.
In the bowl of an electric mixer fitted with the paddle attachment, beat the cold butter.  Add both sugars and continue to beat for 4-5 minutes on medium.
In a separate bowl, mix eggs with vanilla.  Very slowly (over about 4-5 minutes) add this to the butter mixture.  
Stir in the dry ingredients by hand.  Lastly add in the chocolate chips.
Shape the dough by the mounded tablespoon.  
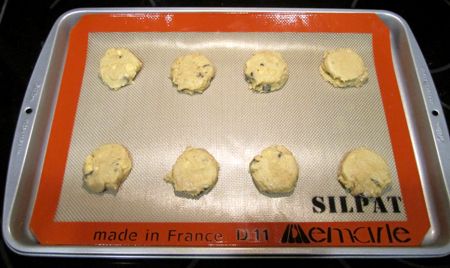
--If you are making them right away, place dough balls on a parchment or silpat lined cookie sheet and bake for about 6-9 minutes, or until edges are golden brown but still pale in the center.  Allow to sit on the cookie sheet for 5 minutes before removing to cool completely on the cooling rack.  
--If you are making them to freeze them and have On Demand, lay out the dough balls on a parchment lined cookie sheet and place in the freezer until completely firm.  When hard, place in an airtight container until ready to bake.  If baked from frozen, bake at 400 F, but for 8-10 minutes.

Photobucket

Photobucket

Photobucket

Tuesday, September 28, 2010

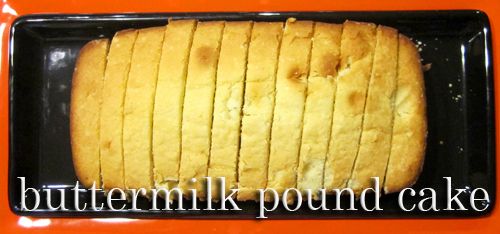
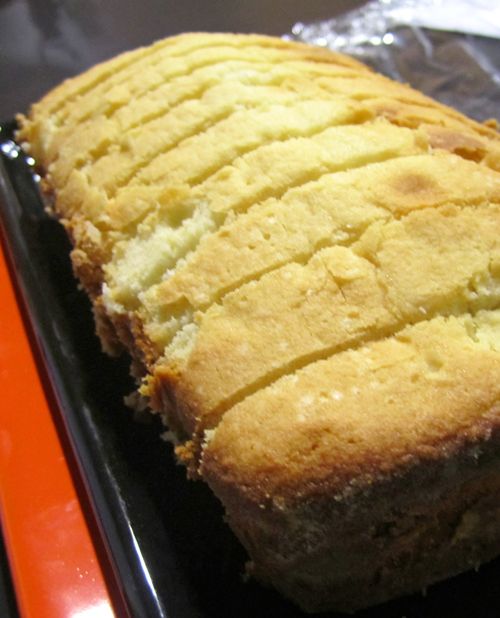
Buttermilk Pound Cake

Photobucket

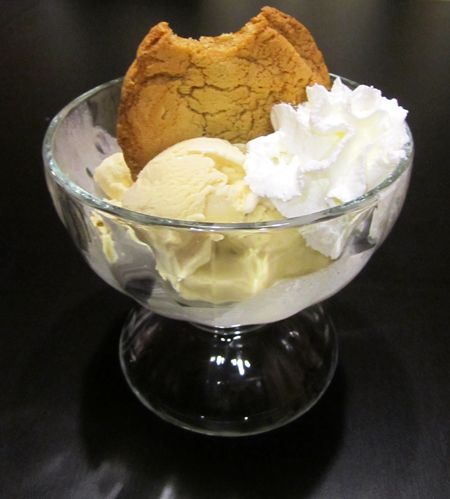
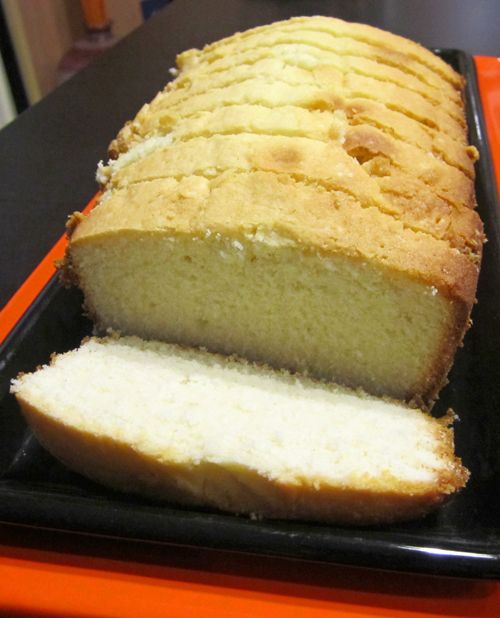
Desserts don't always have to be elaborate or complicated.  Sometimes classics like a good vanilla pound cake are enough to make everyone happy.  Who doesn't like pound cake?  This pound cake is just right - not too dry, not too moist; not too light, not too dense.  It's right in between, and perfect when served with a scoop of your favorite ice cream on top.  


Buttermilk Pound Cake adapted from Alton Brown
Ingredients:       *the measurements below are by weight, not volume
6 ounces unsalted butter, softened (+ more for greasing pan)
8 ounces* cake flour
8 ounces* sugar
2 large eggs, room temp
1/2 tsp vanilla extract
1/8 tsp almond extract (optional)
1/4 tsp fine sea salt
1/2 cup buttermilk, well shaken


Preheat to 375 F.  Grease a loaf pan with butter and coat in flour (I used a 9x5x3 loaf pan but a 8.5x4.5x2.5 would be ok).  
In the bowl of an electric mixer, cream the butter and sugar together on medium until mixture is very fluffy and very light in color (about 6 minutes!).  With mixer on low, add eggs one at a time.  Mix for 1.5 minutes.  Add vanilla and salt and continue to beat for 30 seconds.
With mixer on low, add flour and buttermilk alternately, beginning and ending with flour.  After the last of the flour is added, beat for 30 seconds on medium.
Spread batter into the prepared loaf pan and smooth it out using a spatula. Bake for 35-40 minutes or until the crust is golden brown and a toothpick inserted into the center comes out clean.  Allow to cool in the pan on a rack for 10 minutes and then invert and remove from the pan to cool completely on a wire rack.  


Photobucket


Photobucket

Saturday, September 25, 2010

Best Buttermilk Pancakes


Photobucket

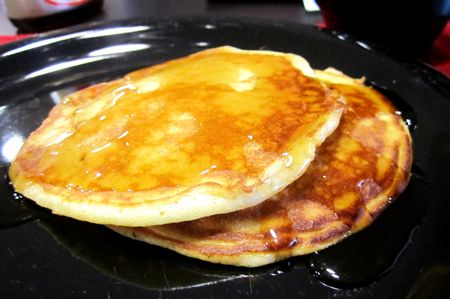
For last week's Lemon Blueberry Buttermilk Pie, I bought the smallest size of buttermilk the grocery store had to offer, but I still had quite a bit leftover with nothing to do with it.  So what do you do when you have extra buttermilk on a Sunday morning?  Make buttermilk pancakes of course.  I used Aida Mollenkamp's recipe for Cakey Buttermilk Pancakes and I think I've found a new favorite pancake recipe.  No other from scratch pancake recipe I've prepared has come out this good.  Plus, you can prepare it the night before, re-stir it in the morning and pour it on your hot griddle for ready-to-eat pancakes in minutes.  Sunday morning breakfast heaven.
This scaled down version made about 5 or 6 good sized pancakes, enough for two people.  For the full scale recipe, visit Food Network's site here.

Favorite Buttermilk Pancakes adapted from Aida Mollenkamp


  • 5/8 C all purpose flour
  • 5/8 C well shaken buttermilk
  • 1/4 C melted unsalted butter (plus more for greasing the griddle)
  • 1 large egg, room temperature
  • 1 tablespoon granulated sugar
  • 1/2 teaspoon sea salt
  • 1/2 teaspoon baking soda
  • 1/2 teaspoon baking powder


In a medium bowl, whisk all ingredients together until combined and moistened thoroughly (some small lumps remaining are ok). Cover and store in the refrigerator to rest up to 12 hours before using. Right before using, stir briefly before using to loosen it up a bit - batter will have thickened up during rest time.
Heat a griddle over medium heat.  Melt 1 tablespoon butter on the griddle.  Being generous with the butter is what gives them their slightly crispy exterior.   Pour 1/4 cup batter for each pancake and cook until bubbles cover the top, about 3 minutes. Flip and cook until golden brown, another 1 minute. Repeat with remaining batter.  Serve immediately with maple syrup, powdered sugar, whipped cream, fresh fruit or anything else you can possibly think of.

Sunday, September 19, 2010

SMS: Lemon Blueberry Buttermilk Pie

Photobucket

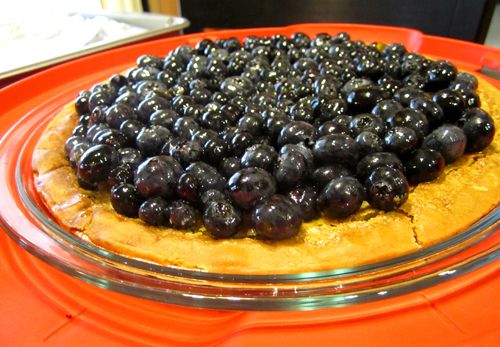
This week, Melissa of Lulu the Baker selected Lemon Blueberry Buttermilk Pie as the recipe for Sweet Melissa Sundays.  Thanks for picking this recipe, Melissa!  This was a fun one.  I don't think I'd ever made a buttermilk pie before!


I prepared this recipe exactly as Melissa Murphy says in the Sweet Melissa Baking Book - no substitutions and alterations!  In fact, it was the first time I baked with actual buttermilk instead of substituting buttermilk powder. It was almost a success!  (and the buttermilk pancakes that were the result of having left over buttermilk were VERY much a success... I think I may have found a new favorite pancake recipe! More on that later!)   I simply decreased the amount of blueberries for the topping to 12 ounces because I thought 1.5 pints was a bit of overkill.  


Everything went very well, though there was a significant amount of clear liquid (butter maybe?) flowing out of the pie and onto the cookie sheet during the last minutes in the oven.  And I think the liquid made the crust a bit too soggy, because it wouldn't come out of the pie plate!  It did wind up being quite a mess, but it was a DELICIOUS mess.  Everyone enjoyed it at dinner tonight!


Thanks for hosting, Melissa!  I liked this one quite a bit.  Go to Melissa's blog Lulu the Baker for the recipe.  And be sure to visit the list of this week's participants to see if the other bakers had a less messy experience than I did!

Sunday, September 12, 2010

Chocolate cake with Raspberry & Ganache filling

Photobucket

There is a sense of accomplishment when a completed cake makes it to the table.  I prepare the batter while the fiancee usually greases and flours the pans.  I keep a watchful eye on it in the oven and prepare the frostings and fillings while leveling the layers and applying the frosting is done by the boy (or else there is generally some screaming and crying going on from my end).  So cakes are a task we complete together.  After it is all done, the garnish is put on top and it is ready to be served, we're both pretty proud to show off the finished product to the family.  The process is sometimes frustrating, usually messy and always fun.  So while cakes take a bit more time and effort than say, cookies or brownies, making a big fancy cake from start to finish every once and a while is a welcome request.  

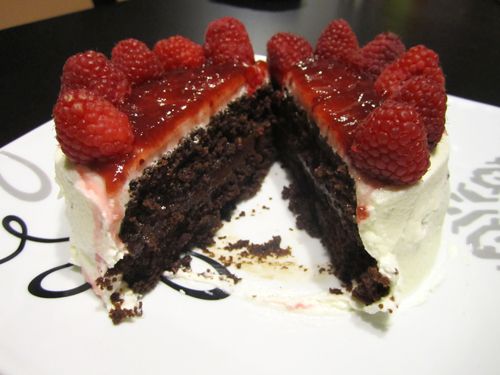
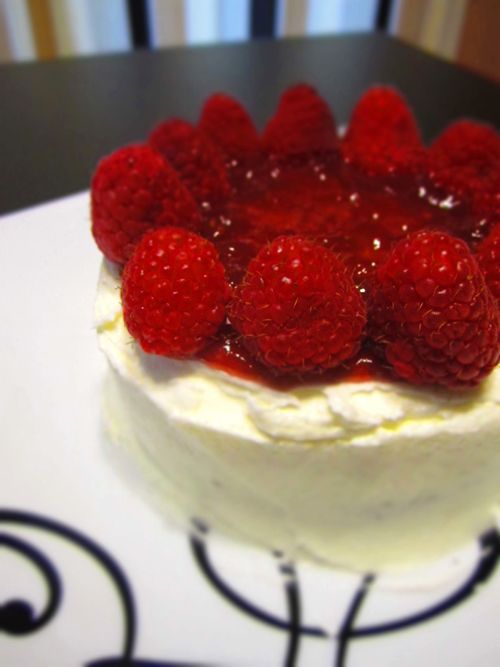
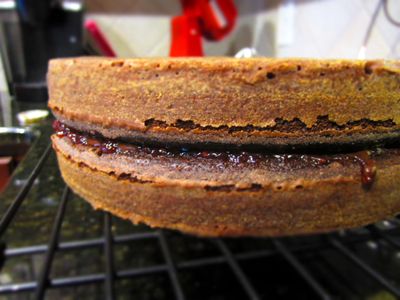
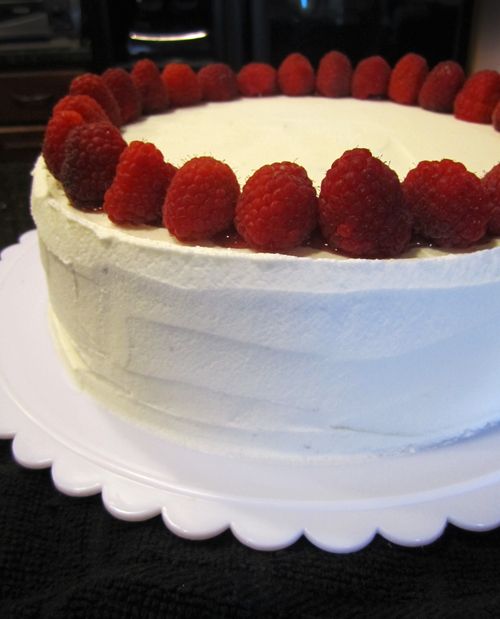
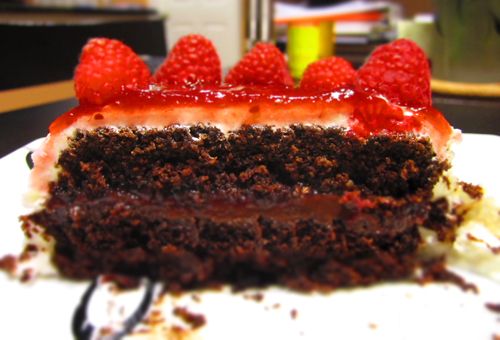
Last weekend we made this one and it received great reviews from everyone who tasted it.  It was a birthday cake for a friend who likes chocolate and raspberry.  I made a two layer moist chocolate cake, put a generous amount of red raspberry preserves and some rich chocolate ganache in the middle, and frosted the whole thing with vanilla buttercream.  I'd say it was a success.  If you have a chocolate raspberry lover in your life, you might want to make this cake for them.

Photobucket

Chocolate cake with Raspberry & Ganache filling
Chocolate cake, adapted from Cookie Madness
ingredients:
1 cup boiling water
3/4 cup (75g) natural unsweetened cocoa
2 cups (260g) all-purpose flour
3 Tablespoons buttermilk powder (in place of actual buttermilk)
1 1/2 teaspoons baking soda
3/4 teaspoon fine sea salt
1 cup (200g) granulated sugar
1 cup (240g) golden brown sugar
1 cup (2 sticks) unsalted butter, room temp
4 large eggs, room temp
3/4 cup (6 ¼ oz) water, room temp (also in place of actual buttermilk)**
2 teaspoons vanilla extract

directions:
Preheat to 350 F or 325 F if using black cake pans. Grease and flour (2) 9 inch round pans and line with parchment
Combine boiling water and cocoa in a bowl and whisk until smooth. Set aside.
In a medium bowl, sift together dry ingredients (flour, buttermilk powder**, baking soda, and salt). Set aside.  In a small bowl, lightly beat the eggs with the vanilla and set aside.
In large bowl of an electric mixer, cream the butter and sugars together.  Beat in eggs/vanilla mixture. 
Stir room temperature water** into cocoa mixture.  Add this cocoa mixture alternately with dry ingredients in 3 additions, beginning and ending with dry ingredients.
Divide evenly between the two prepared pans.  Lightly spin the pans on a hard surface to distribute the batter.
Bake 28-38 minutes (see note) or until a toothpick comes out barely clean. Cool and frost.

**If you happen to have buttermilk, which I never do, you can omit the buttermilk powder with the dry ingredients, and then use 3/4 (6 1/4 oz) of buttermilk instead of water called for at the end of the ingredients list.

Raspberry and Chocolate Ganache Fillings:
ingredients:
for raspberry layer:
10 ounce jar raspberry "spreadable fruit" (I used Smucker's Simply 100% Fruit Seedless Red Raspberry Spreadable Fruit, but you could you could just use preserves also)

for ganache layer:
9 ounces bittersweet chocolate, chopped
1 1/8 cup heavy whipping cream

directions: 
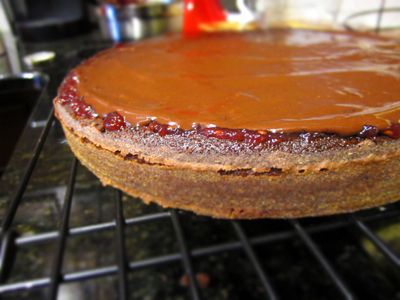
Place your leveled bottom cake layer on a cake plate.  Spread the red raspberry preserves onto this bottom layer to taste.  I used about 3/4 of the jar.
Place chopped chocolate in medium bowl. Bring heavy cream just to a boil in heavy medium saucepan.  Pour hot cream over the chocolate and let stand 1 minute, then stir until ganache is melted and smooth. Transfer ganache to medium bowl. Cover and refrigerate until ganache is thick enough to spread, stirring occasionally, for about 1 1/2 hours.  It should thicken to about the consistency of a heavy pudding and should not be runny.
Using an offset spatula, spread the ganache over the preserves, careful not to mix the two together too much - you want two separate layers.  Use as much ganache as you want - we probably used about 2/3 of the ganache recipe in this middle layer.  We froze the rest for later, but you could find other places to use it on this cake if you wanted.  For example, for some added chocolate, you could spread the remaining ganache on the top of the top layer and place the whole cake in the freezer for about 30 minutes until the ganache is set enough to be able to put buttercream frosting over it.

Vanilla Buttercream Frosting:
ingredients:
2 sticks unsalted butter, softened
4 c sifted confectioner's sugar
2 tsp clear vanilla
pinch of sea salt
1/4 c milk, optional
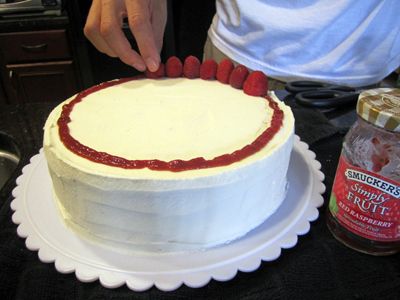
Fresh raspberries and Raspberry preserves for garnish

directions:
Place butter in the bowl of an electric mixer and turn on the mixer.
Add all confectioners sugar and keep speed on low.
When all sugar is incorporated in, add vanilla and salt. Let mix for 5 min. If frosting is too stuff, add the milk by the tablespoon until the desired consistency is achieved.

To garnish:
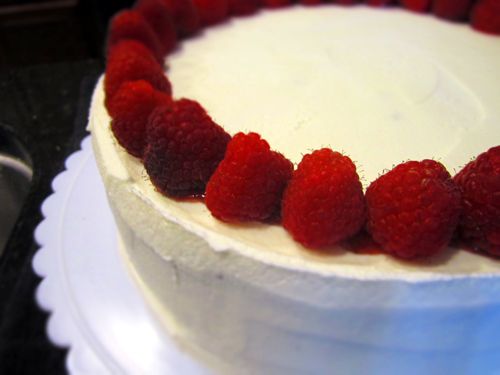
After frosting, pipe a thin line around the edge of the top of the cake.  This will act as your glue to put the fresh raspberries on.  For extra raspberriness, spread a thin layer of preserves across the top of the cake, inside the ring of raspberries.  This will be easier to do after the cake has been refrigerated for a bit and the frosting is set.
Keep the cake in a cake dome in the refrigerator.  Remove from the fridge about 2 hours before serving.

Photobucket
Raspberry Preserves and Chocolate Ganache

Photobucket


Photobucket
Adding the garnish

Photobucket

Photobucket

Photobucket


LinkWithin

Related Posts with Thumbnails