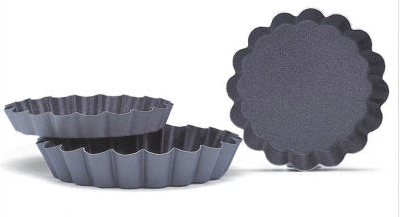
The first item I used was the Paderno World Cuisine Fluted Non Stick Tartlet
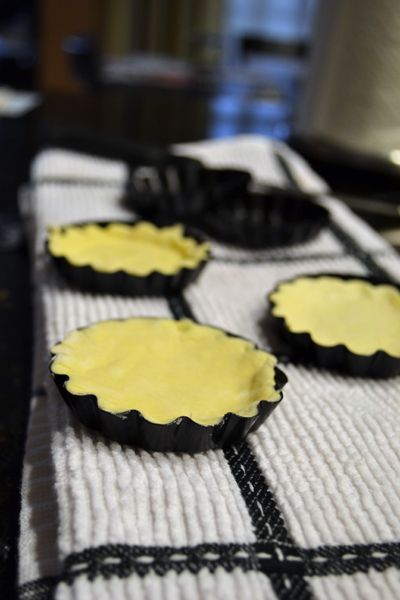
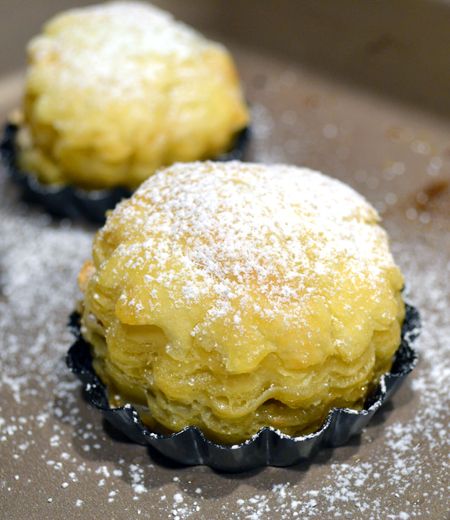
I got the 2.75 " diameter size. As a breakfast treat, I prepared little Puff Pastry Pockets inspired by Tracey's Culinary Adventures. Instead of putting the filling in the center of a puff pastry square and then folding it over, I prepared the little goodies in my new mini tart pans. I very lightly greased the pans with non-stick spray, but with one of them I actually forgot and just used it clean.
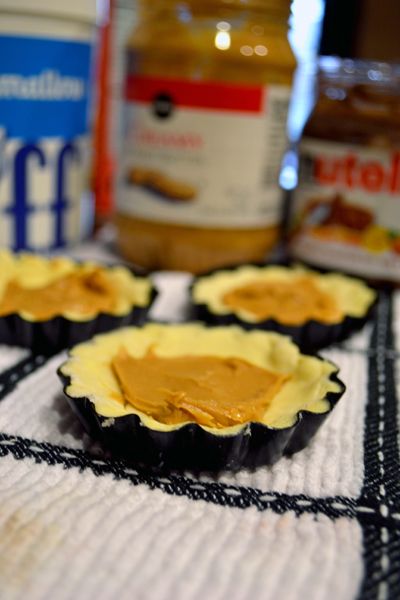
First I laid down a layer of puff pastry
Then I spoon a bit of peanut butter
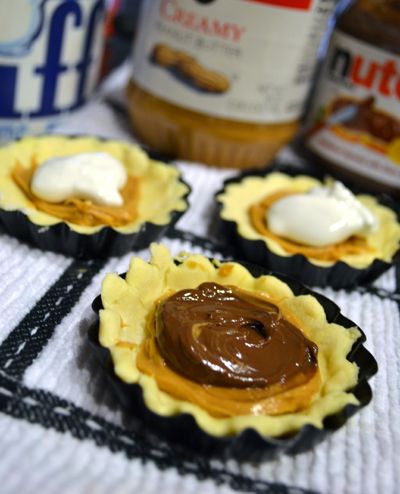
And topped two of them off with Marshmallow Fluff, and one of them with Nutella
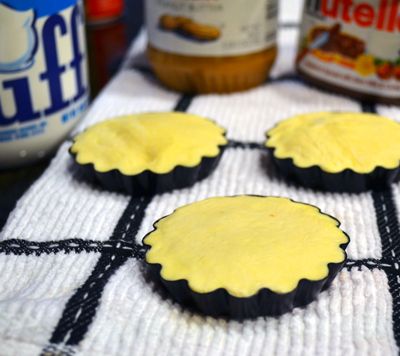
Put another layer of puff pastry to cover it
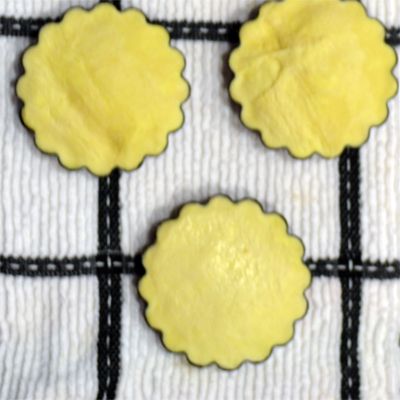
And then baked them up! About 15 - 22 minutes.
They popped right out of the pans with no problem, even the one that I forgot to grease with non-stick spray. I was quite happy with the way these pans worked! They seemed to heat very evenly as my little puff pastry pockets looked evenly baked. I am excited to use these Tartlet Pans again in the future! There is a little error on the website's description of this item, as it says they have removable bottoms but they actually do not.
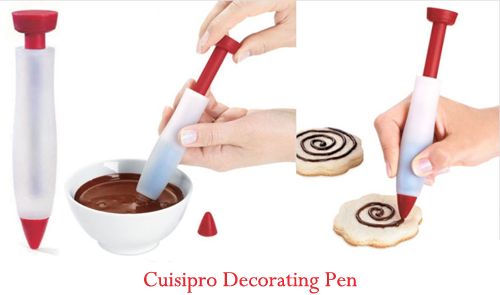
The second item I reviewed was the Cuisipro Decorating Pen.
The Cuisipro Pen is designed like a syringe to suck up sauces that can then be easily piped out just like you're writing with a pen. You can use the red tip to make fine lines and remove the tip for a wider line. But would it work the way it was described? I was eager to test this one out because I could really use an item like this! What baker wouldn't?
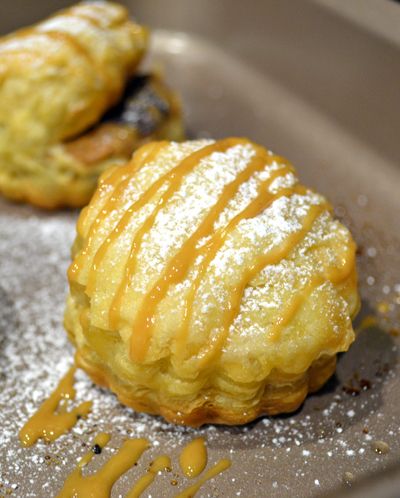
I whipped up a really simple little Peanut Butter Sauce (just creamy peanut butter and a little bit of melted butter mixed together) and used the plunger to fill up with Decorating Pen. Filling up the pen was a breeze, and within seconds I was piping my Peanut Butter sauce on to my Puff Pastry Pockets. It made a perfect drizzle! When I want a drizzle on my cakes, I'll definitely be putting this gadget to use. I even piped a little flower decoration on one of the Pockets to test out how it "writes" and I was pretty pleased with the results! (but forgot to take a picture). This would be a great tool for writing with chocolate sauce on a flat cake top or on a plate.
My only complaint with this item is that it is a little difficult to clean. I noticed after the first cleaning that it still had a bit of Peanut Butter in the crevices, so I cleaned it again very thoroughly... and after that I still saw some PB inside! So it takes some effort to clean, but it is well worth it. This slight fault wouldn't stop me from using this item.
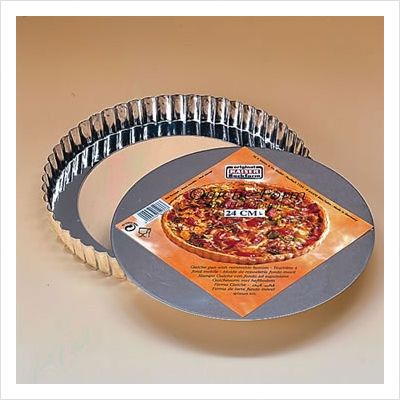
The third item I used was the Kaiser Bakeware Tinplate Quiche Pan with Removable Bottom.
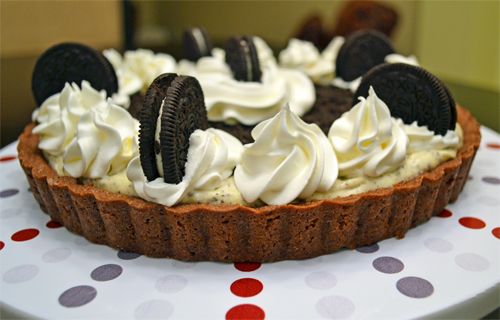
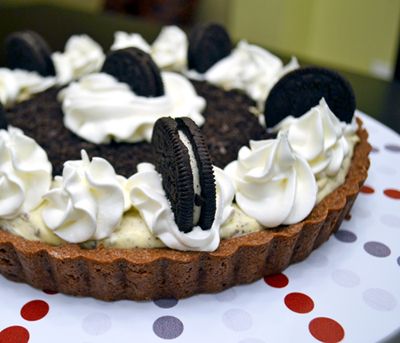
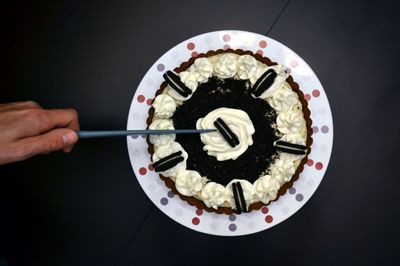
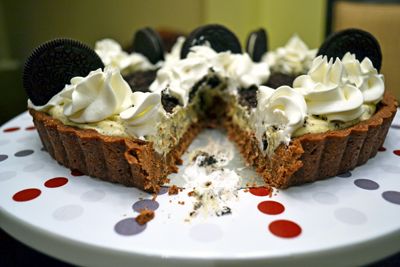
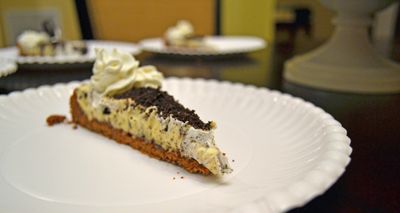
I must have had tarts on the brain when I was picking what items to review, because in addition to the mini tartlet pans, I also got this standard size quiche (or tart) pan. How does Oreo Pudding Tart with Chocolate Cookie Crust sound??
Oreo Pudding Tart with Chocolate Cookie Crust
Chocolate Tart Dough, adapted from Martha Stewart
Ingredients:
1 1/2 cups all purpose flour
1/4 cup unsweetened cocoa powder
1/2 cup granulated sugar
1/2 tsp fine sea salt
1 stick unsalted butter, chilled, cut into small cubes
2 large egg yolks
1 3/4 tablespoons ricotta cheese
1/2 tsp milk
1/2 tsp pure vanilla extract
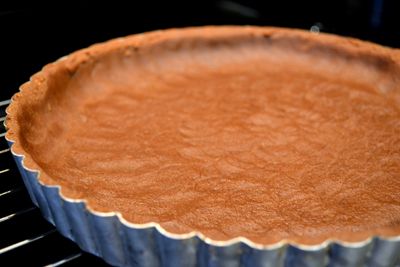
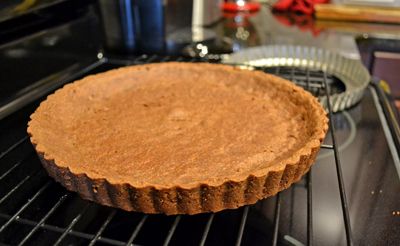
In the bowl of a food processor, combine the flour, cocoa, sugar and salt. Pulse to combine. Add cubes of butter and pulse until mixture resembles coarse meal. In a small cup, combine the ricotta and milk and stir until combined and thinned slightly. Then add the yolks and vanilla to the ricotta mixture and stir. Add these liquid ingredients into the flour mixture and process until it comes together into a dough. Chill about 20 minutes and then press into a lightly greased 9.5" tart pan. Chill it about 20 more minutes and then blind bake the crust for 20 - 22 minutes in a 350 degree Pre-heated oven.
Once again, this tart pan's non-stick-ability worked perfectly. The chocolate tart crust was very easy to remove after it was baked. The removable bottom made it a cinch!
Oreo Pudding Filling:
Ingredients:
Jello Vanilla Pudding Mix (the six 1/2 C serving size box)
2 cups whole milk
3 ounces (+ additional for decorating) thawed cool whip
1 sleeve of oreos, chopped fine
Combine the pudding mix and the milk and whisk for 2 minutes. Fold in the Cool whip and about 3/4 of the chopped oreos. Pour into the cookie crust (you may have some extra filling so pour it into 4 small ramekins to eat later!). Smooth with an off-set spatula and chill. Decorate with additional Cool Whip, reserved oreo crumbs and whole oreo cookies. Allow to chill in fridge for 4 hours or (1 1/2 hours in the freezer if you're short on time like I was).
The Kaiser tart/quiche pan worked flawlessly. I can't wait to use this one again! I was very happy with everything about the CSN order I placed. The items arrived very quickly, and the products themselves were of a terrific quality. I'd recommend all of these products.





5 comments:
What a great review! Everything looks delicious.
Oh wow! I've been on a bit of an oreo kick recently and this tart looks like it might have to make an appearance in my kitchen! Thanks for sharing!
Wow. Looks like a fun week in your home! I love how beautiful your little puff pastry tarts rose!
Oh wow it all looks so good! Oreos yum!!
Oh man! I need some of these pans in my life.
Post a Comment