Recent Posts

Monday, November 10, 2008

Iced Pumpkin Cookies

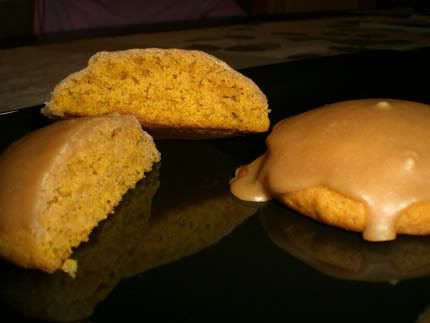
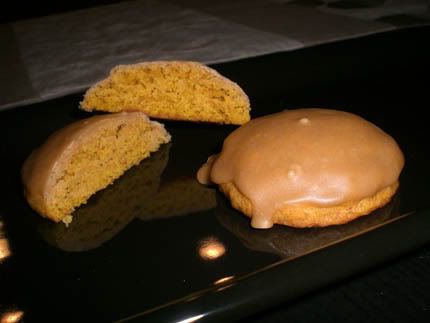
Mm..fall. More pumpkin recipes! I had half a can of Pure Pumpkin left from the Pumpkin Cupcakes, so I decided to use it! Turns out to have been a good decision, because these cookies are delicious.


The recipe came from FoodNetwork.com's Iced Pumpkin Cookies but I chose not to do the accompanying icing, but rather a different one which I will post below. I scaled the recipe down to use half of the pumpkin puree I had left (I have glorious things planned for the remaining portion).

Pumpkin Cookies adapted from FoodNetwork.com
Ingredients:
1 stick butter, soft
1/2 C granulated sugar
1/2 C Pure Pumpkin
1/2 an egg (I know, I'm so annoying)
1/2 tsp pure vanilla
1 C A.P. Flour
1/2 tsp baking powder
1/4 tsp baking soda
1/4 tsp salt
1/2 tsp cinnamon
1/4 tsp nutmeg

Preheat to 350. Cream the butter and sugar together until light and fluffy. Add the pumpkin, egg, and vanilla.
In a separate bowl, combine flour, baking powder, baking soda, salt, and spices. Stir this in to the butter mixture.
Drop by tablespoons on to a baking sheet lined with parchment.
Bake about 15 minutes or until lightly golden.

Icing for Pumpkin Cookies
Ingredients
:
1 1/2 Tablespoons butter (does not have to be softened)
2 Tablespoons of milk
1/4 C packed light brown sugar
5/8 Tsp pure vanilla (one quarter + one eighth)
1/2 C of confectioner's sugar

In a small saucepan, melt the butter together with the brown sugar and milk on medium heat. Stir until it is thoroughly combined and dissolved. Remove from heat and let sit for about 5 minutes to let it cool. Add the confectioner's sugar and milk and stir until combined. Fill a small bowl with the icing, and take cooled Pumpkin Cookies, and dip them up side down into the icing. Set on to parchment and allow to set (though it is just as delicious while the icing is still wet!! :)


Happy delicious Pumpkinny Autumn, everyone!

Saturday, November 8, 2008

Ahh, Blogging

Hello kind readers,
If you are like me, and if you are reading this you probably are, you enjoy blogging. You get joy out of updating, seeing people comment, and reading and commenting on other blogs. You do it for fun. For the joy of doing it. If there is one thing for sure, you don't do it for the money. But what if you COULD?

Well... I can't. And most people cannot either. But my sister has the opportunity to be able to do so. She has been deemed a finalist in a student blogging contest worth $10,000! If you enjoy medieval things, funny things, and sisterly things, then please, visit my sister's blog: Per Omnia Saecula. She is a PhD student in Medieval things, and blogs for the pure joy of it. If you think her blog is worth 10,000 please click here to vote for her.

Thank you! And happy weekend. :)
-Stephanie

Pumpkin Cupcakes with Honey-Caramel Buttercream Frosting


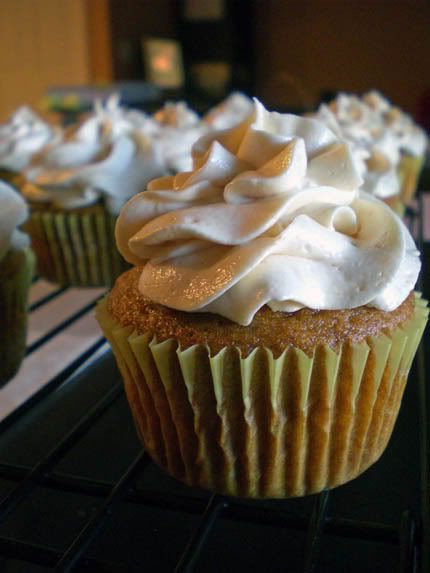
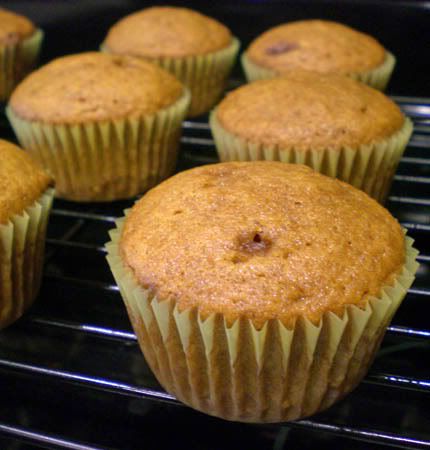
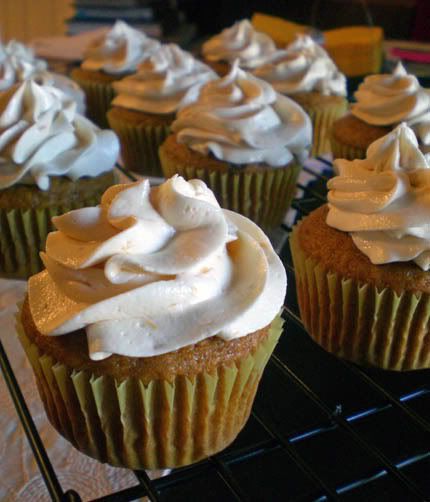
It's Fall! Though it doesn't feel like it so much here in Florida, judging from all the Thanksgiving (and Christmas) decorations that adorn the stores, it must be fall. Oh and plus, it's my birthday on Sunday, so its gotta be that time of year :) I am still enjoying the lull in my thesis work, so I had time to make a batch of Cupcake-of-the-Weeks. And this week.. mmboy. These are the best I've made in a while. Even Daniel was quite taken aback by these absolutely delicious fall-ish Pumpkin Cupcakes with Honey-Caramel Frosting. The pumpkin cupcakes were very moist, with subtle spices, and the frosting was abbbbsolutely gorgeous. Sweet, slightly caramelly & honey-y, with flecks of caramel streaked throughout. I know, you're jealous.

Pumpkin Cupcakes adapted from MarthaStewart.com. Makes 12 cupcakes.
Ingredients:
1 stick butter
1 cup Cake flour
1/2 tsp baking soda
1/2 tsp baking powder
1/2 tsp salt
1 tsp cinnamon
1/2 tsp ground gingers
Heaping pinch (if that even exists) of Nutmeg
2 eggs, room temperature
1/2 C light brown sugar
1/2 C granulated sugar
about 7 - 7.5 ounces canned Pure Pumpkin
1/2 tsp maple syrup

Preheat to 350. Put paper liners in 12 wells of a cupcake pan.

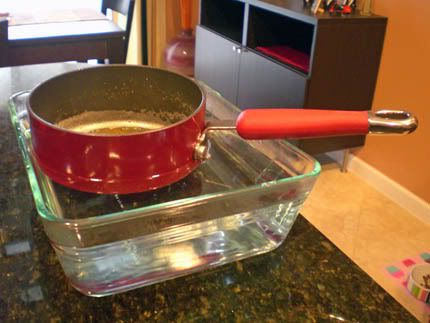
In a small pot, melt the butter over medium-low heat. Once it has all melted, slowly raise the temperature up to medium, stirring occasionally. Cook until it turns brown (for more instructions on that, see this site and this site). Make sure to keep an eye on it, because it takes a little bit of time... but it goes from yellowy to brown real quick! I followed that second instructional site on how to brown butter... and when it reached the desired color, I took my pot off the store and shoved it in to cold water to stop the cooking immediately:


Set melted brown butter aside and let it cool.
In a small bowl, combine the flour, baking soda, baking powder, and spices together. Whisk to combine.
In another bowl, beat the eggs lightly. Whisk in the two sugars and the cooled butter. Add the dry ingredients and whisk/fold it in...Do not overmix! Whisk in pumpkin and maple syrup.

Bake about 20 minutes, when a toothpick inserted into the cakes should come out clean. Allow to cool for 5 minutes in pan on wire rack, then remove cakes and set directly on wire rack to cool.


Honey-Caramel Buttercream Frosting enough to frost 12 cupcakes nicely.
1 stick of unsalted butter, softened
2 Tblspn honey
2 Tblspn melted Kraft Caramel bits, or whatever caramel you have on hand
1 teaspoon clear vanilla extract
2 cups confectioners sugar

Combine all ingredients in a medium bowl. Beat with an electric mixer slowly at first to incorporate all ingredients. Then, increase speed to high to get light and fluffy. Beat for 3 - 5 minutes.


s

Wednesday, November 5, 2008

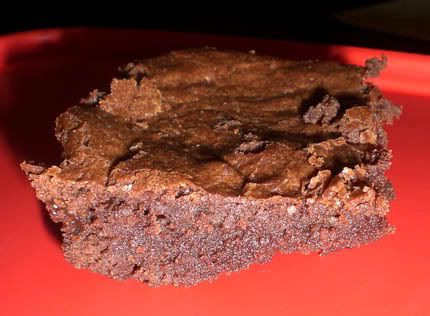
Election Day Brooklyn Brownies


I BAKED! Its been a while, but I got back in the kitchen. At least once. The first complete draft of my thesis has been sent off to my committee professors. All I can do now is wait until they respond with suggestions for revisions, or until my defense on Nov. 17th - whichever happens first. ...and do the rest of my school work (an italian paper, italian articles, prepare my defense presentation...). But on Tuesday after a full day of school, interning, and voting, and having dinner at Dan's parents, Daniel requested I make a small batch of brownies to go with our peanut butter ice cream. A delicious dessert to enjoy while watching the states on the map fill in red and blue!


Ymmmmmm.

For the brownies, I went with a new recipe I've been wanting to try out. I saw these brownies from Brooklyn's "Baked" Bakery on a favorite blog, Cookie Madness and wanted to give them a go.
This page has the recipe in full but I halved it and changed the chocolate proportion a teeny bit. Below is mine:

"Baked" Brownies, modified from Baked: New Frontiers in Baking
Ingredients:
.625 C (1/2 C + 1/8 C) flour
1/2 tsp salt
1 tblspn cocoa powder
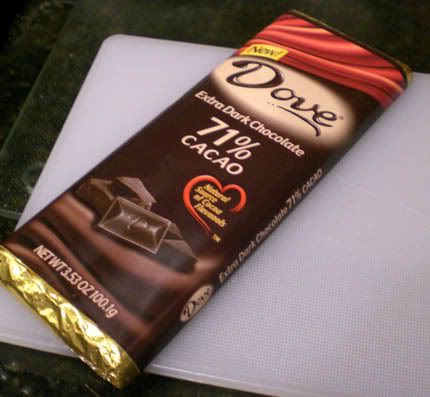
3.5 oz dark chocolate (I used Dove 71% cacao)
1.5 oz semi-sweet chocolate
1 stick buter
1/2 tsp espresso powder
3/4 C granulated sugar
1/4 C packed light brown sugar
2.5 eggs
1 tsp pure vanilla extract

Preheat to 350. Non-stick spray a glass pyrex dish approx 10 x 8 (it doesn't have the dimensions on it.. it is 10 x 8 if you measure the top, or 6.5 x 8 if you measure at the bottom of the dish... its about half the size of a 9 x 13)

Whisk flour, salt, and cocoa powder together in a small bowl and set aside.
Put the chocolates, butter and espresso powder in a dish set on top of a saucepan of simmering water. Stir occasionally until it is completely melted. Turn off the heat, but keep the dish over the water and add the sugars. Whisk until completely combined, then remove the bowl from the pan. Let the mixture cool a bit before going to the next step.
Add the eggs to the chocolate mixture, and whisk to combine, but to not overmix. Add vanilla and stir until incorporated.
Add the flour mixture to the chocolate mixture. Using a rubber spatula, gently fold the flour into the chocolate until it is mostly incorporated. Pour the batter into the prepared pan and smooth the top.
Bake in the center of the oven for 22 - 27 minutes or until a toothpick inserted into the center of the brownies comes out with a few moist crumbs sticking to it.

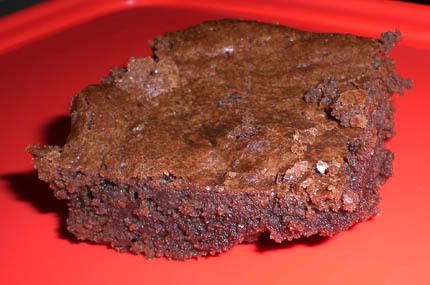
These came out quite good. Less sweet than my other brownies, but absolutely delicious. In between fudgy and cakey. Would make again! I hope these goodies last until my most-chaotic-stressful-semester-ever is over! 40 Days left until graduation (not that i'm counting).


Isn't this the most dramatic picture of a brownie you've ever seen?

Sunday, October 19, 2008

Piping Pretty Cupcakes!

So, a few readers have asked how I get my cute little frosting tops. This is the frosting recipe I use. The consistency always comes out perfect for piping on to cupcakes. I put it in a piping bag fit with the Large Coupler, and I'm not sure the exact number tip I use...I'm not near it right now...but it is one pretty close in size to the the 1M from Wilton. Other recommendations I have is to make enough or more than enough frosting to cover the cupcakes. You'll want to pile the frosting high to get that swirly-tower-of-frosting look. And you'll also want to start on the edge of the cupcake, spiraling inward... its hard to describe in words, so just watch! :)

Here is a video of Daniel piping some frosting on to our Turtle Brownie Cupcakes:

Saturday, October 18, 2008

Cupcakes for a Cause


WHEW! Life is moving very quickly. My thesis writing is thoroughly under-way (thus the absence of posts). The rough drafts of my first two body sections are done, and the first half of the very detailed outline for my next section is done. I have to finish the rest of that outline, actually write the section, do the same for the last body section, write an intro and conclusion, format it to UCF and the binding company's specifications, make a notice of defense to be signed by my committee members, write a proposal and get that signed by my committee members, have an initial format review, a final format review, a proposal review and a slew of other requirements... All before early - mid November. Ah hah hah! It's ok, I'm surviving. At the end, I will have a nice little bound book, written by yours truly, with its own call number for the library and everything. So it's worth it... I think. :)
Anyways, so that is why you haven't been seeing many posts lately. It's sad. But as soon as this is over, I'll be back in the kitchen, whipping up some goodies to try to make my boyfriend fat again.

For now, I'll show you what I have been doing in the kitchen. No new recipes, though. Mi dispiace, not yet.
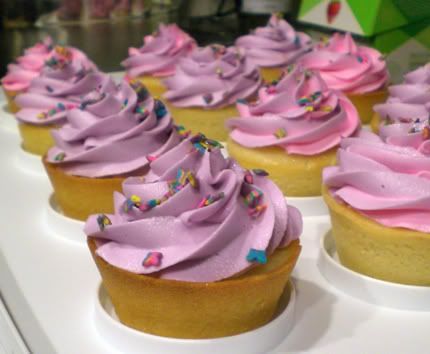
Last week, I had to do 25 cupcakes for birthday parties (woohoo!!). Luckily, all three parties wanted to same color combination, so it went rather swimmingly. All three little girls wanted pink and purple, so I started by making these cupcakes a little extra-special by putting pink heart shaped sprinkles right in to the batter:
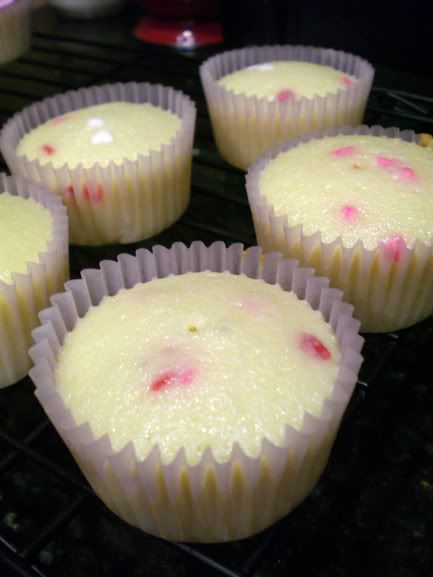
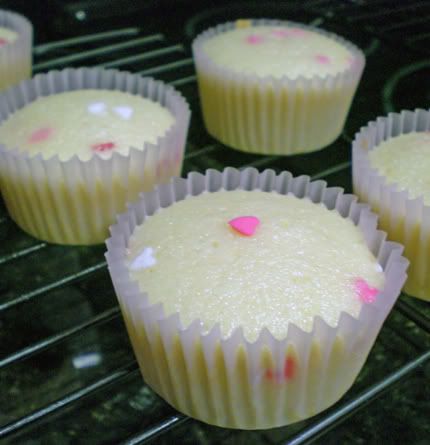

I figured all kiddies like surprises, and little girls would definitely like being surprised by seeing little pink hearts when they bite into their cupcakes :)

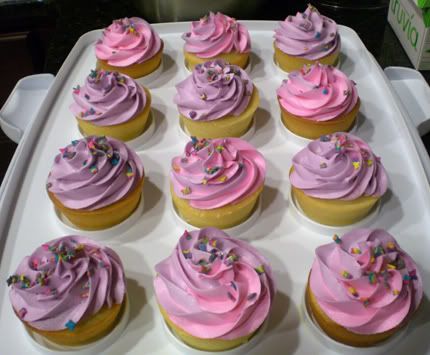
Then, I made two different color frostings: pink and purple, and I put them side by side in the piping bag:
>
It only takes a tiny bit more time, and it makes them look much much cuter. Topped 'em with some pinky-purply butterfly sprinkles, and you've got the quintessential cupcake for a little girl's birthday party.

Since I had to have 25 cupcakes for the parties, and my recipe makes 15 each, I had a few extra. With one of them...well...you can never have too much frosting, right?
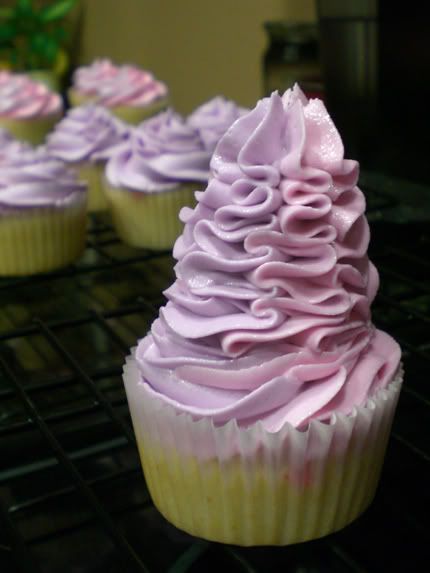

Haha, WRONG. No one ate that one. Daniel claims, "I don't know how to eat it." But you can really see the side-by-side colors in that one.

The other baking thing I did this week was the "Cupcake of the Week!" This week's flavor? Vanilla with Vanilla Buttercream! Nope, no fancy flavors this week! Because this week at the mall is Making Strides Against Breast Cancer. So, I made Pink themed cupcakes to go along with this event, and with each cupcake sold, 50% of the money goes to Breast Cancer.
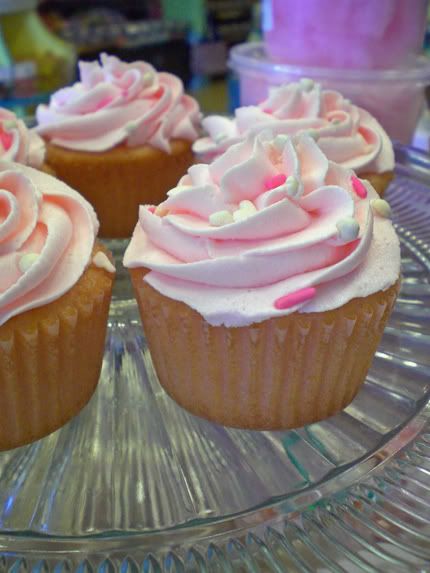
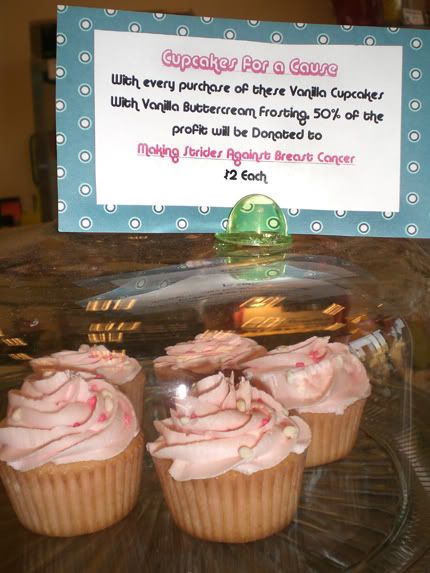


After the walk, the participants will probably be hungry and want a perfectly pink cupcake, right? Hopefully, they'll all be purchased up, and I can make a donation to making strides.

While I was making and baking those bad boys up, I figured I'd take some pictures to give a few simple little cupcakes tips to all you cupcake bakers out there. These are some no-brainer tips that you may or may not know already, but once I figured out these little methods, it made cupcake baking a little bit easier.

Tip #1: How to get evenly sized cupcakes
I like to put all my batter into a big zippy bag fitted with a piping tip. This way, I can squeeze the batter into the liners in the pan, and it won't be all lumpy. When piped in rather than scooped in to the pan, you can easily see if they are all equally filled up or not. It also makes for MUCH LESS MESSY cupcake batter distribution. No dripping from the measuring cup or spoon, you just squeeze out the batter, stop squeezing when you're done, and then move to the next liner... No drips on the pan between the wells.
BUTTT, if you're alone and baking cupcakes, How do you get that batter in a bag? YOU ONLY HAVE TWO HANDS, RIGHT?
What I like to do is fit my ziplock bag with the tip, take the tip and fold it upwards (positioned so that no batter will drip out of the tip due to gravity...stupid gravity), and lay the bag in a bowl:
really terrible picture warning:
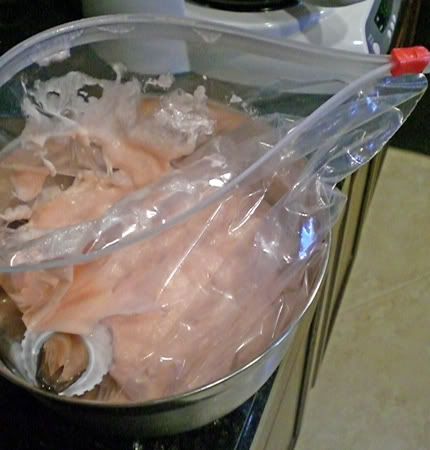
You can either spread the opening of the bag over the rim of the bowl, or just hold the bag open with one hand. Then, pour your batter in easily! :)

really really bad picture warning
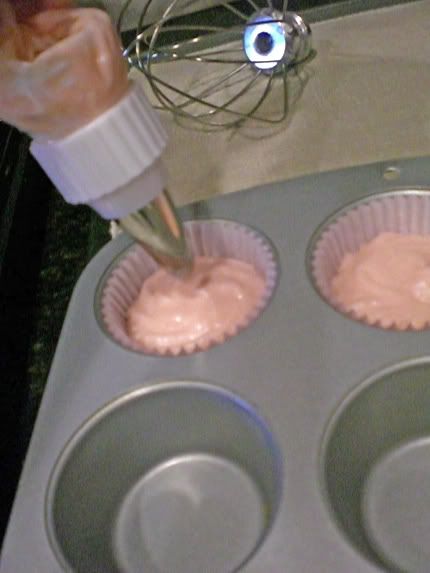
Then you just pipe your batter into your liners. See how much easier it is to tell if they're equally filled? It's nicely even and not lumpy.

Tip #2: How to get the cupcakes out of the pan easily
I usually let my cupcakes cool in the pan for just 1 - 5 minutes. This way, I don't scorch my fingerprints off, but I also don't allow the cupcakes to continue baking in the pan for that long. As soon as they get out of the oven, however, I take a toothpick and run it around the edges of the cupcake: releasing that top little blub of cupcake that may be stuck to the pan.
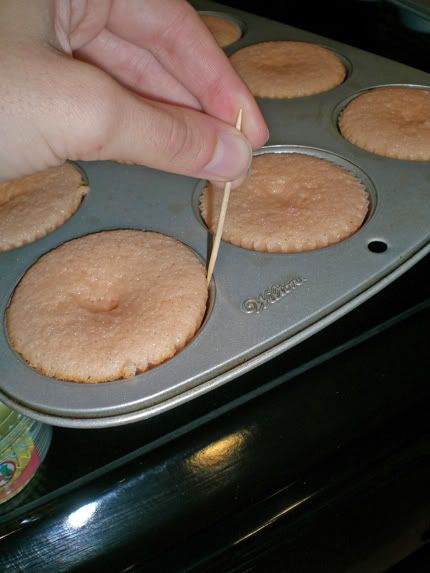
Then I let it cool for a tiny bit longer, and pop 'em out. Its much easier to get this cupcake rim un-stuck when they are still fresh out of the oven... no ripping or breaking. And then they literally just fall out of the pan. VOILA!

So those are my cuppity-cake tips. They're common sense, but it took me quite a few batches to figure them out. Maybe they can save you a little bit of time and aggravation in the kitchen. Happy Baking!!


Saturday, October 4, 2008

Halloween Cupcakes... I've lost it!


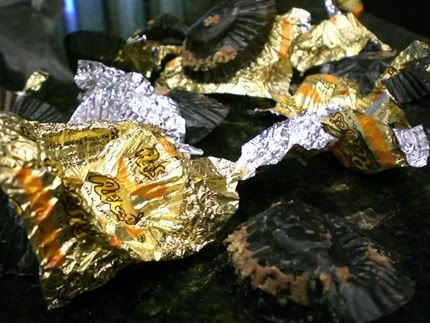
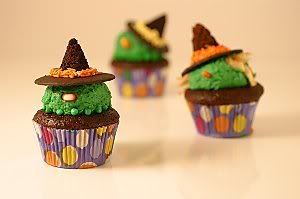
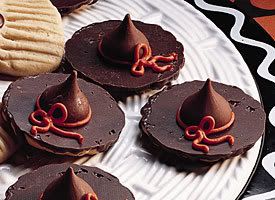
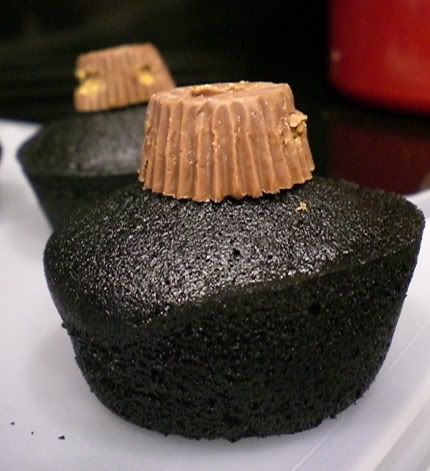
What's with all the candy wrappers? Is Stephanie having a meltdown? Is she doing some emotional bingeing?...No, not yet. The Reese's Wrappers are from my latest cupcake creation... or should I say my latest cupcake disaster?? It seems I've lost it! Last week's banana fluffernutter cupcakes were a little on the funny-lookin' side and this weeks? Well... you can see for yourself. The IDEA was to do something that combined these two ideas I found on the web...


And...


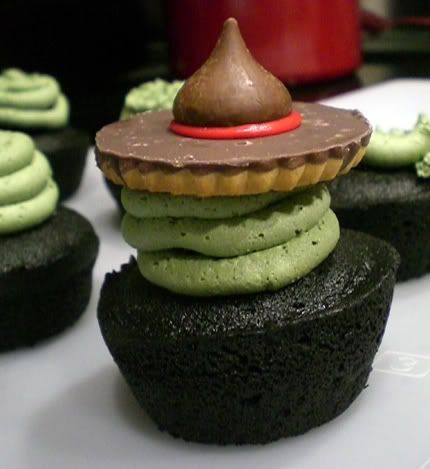
I was going to make little hershey kiss + cookie Witch hats, and put them on top of Green Witchy-Face frosting. I thought that maybe the Kiss + Cookie hat would be too heavy, so I added a Reese's Cup under the frosting for some structural support...


But, this is what Cupcakes turn out like when you are in a rush, and you've been running around various parts of the state since you woke up...


NNNNNNNNNNo. Not exactly what I was going for. My frosting was a little too stiff, and spirals was DEFINITELY not the way to go. Not to mention my "Witch Hats" look more like Sombrero's. ::Sigh::

Oh well... when life hands you lemons, make lemonade, right?

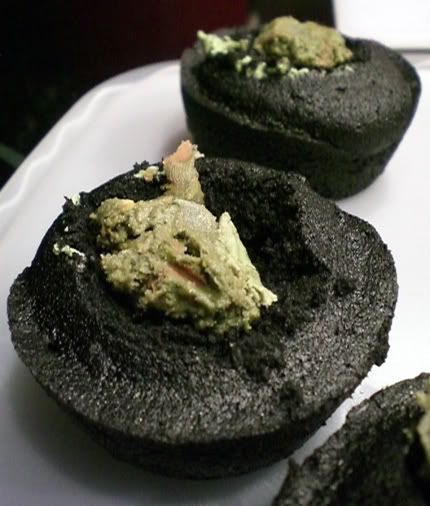
I took the little hats off and put them aside. They just were not gonna work. I took the frosting + hidden reese's cup and put them in my kitchenaid mixer. I mushed it with a fork, then blended it with the wire whisk. Result? A perfect creamy Peanut Butter cup filling!! And the Icky green color is perfectly ghoulish for halloween!!


Yeah I know... really gross.

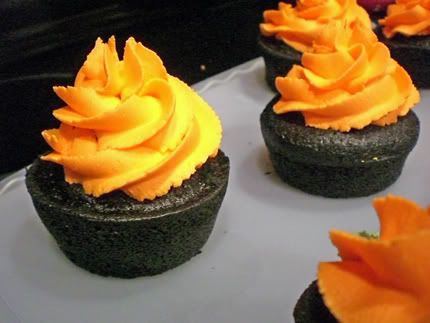
And luckily I had made some extra frosting, so I tinted it fluorescent orange, and VOILA. The Creepy Icky Green Halloweeny filling is perfectly until you bite into it. They're not exactly unique looking, but its better than throwing away an entire batch of ugly cupcakes! Plus, they taste pretty darn good.


"Spooky Chocolate Buttermilk Cupcakes, Topped with Vanilla Buttercream and... Surprise! There's a Treat inside! Ghoulish Green Peanut Butter Cup Cream Filling!" :)

Chocolate Buttermilk Cupcakes enough for a small batch of 7 regular sized cupcakes
from Billy's Reece's Chocolate Cupcake Recipe (I can't find it online anywhere, but this is him)
Ingredients
• 1/2 stick unsalted butter, softened
• 1/4 cup granulated sugar
• 1/4 cup brown sugar
• 1 large egg
• 1 1/2 ounces unsweetened chocolate, melted in double boiler and let to cool for 15 minutes
• 1/2 cup cake flour
• 1/4 teaspoon baking soda
• 1/4 cup buttermilk (room temperature)
• 1/4 teaspoon pure vanilla extract
• Optional black food coloring

Preheat to 350. Cream together butter and sugars. Add the egg and mix. Add the cooled melted chocolate and mix. Combine the flour with the baking soda in one small bowl, and combine the buttermilk and vanilla in another small bowl. Add this flour mixture to the wet mix alternately with the buttermilk mixture. Stir just until combined. If making black cupcakes like I did, add to the batter at the end. I needed about 1/4 ounce of black gel food coloring to achieve this color.

Bake in 350 degree oven for about 17-20 minutes. Let cool in cupcake tins for about 5 minutes, then remove to finish cooling on a wire rack.

Peanut Butter Cup Cream Filling
Ingredients

about 1/2 C - 3/4 C of the following buttercream frosting recipe
7 Reese's Peanut Butter Cups
Green and black food coloring

Mix it all up with a fork and/or a electric mixer, and fill middle of cupcakes.

Alternate Buttercream Recipe (this is not my usual buttercream recipe... its a little stiffer)
1/2 c solid veg. shortening
1/2 c butter, soft
1 tsp vanilla extract (clear, if possible)
4 c sifted confectioner's sugar (~1lb)
Food coloring, if desired

*Cream shortening and butter.
*Add vanilla, mix well.
*Add sugar, one cup at a time, beating on medium speed. Scrape down side of bowl often.
*Add milk, beating at medium speed until icing is light and fluffy. Add coloring if desired.
Keep if refrigerator and rewhip before using (if not used immediately).
Makes 3 Cups.

More Halloween cupcakes to come...

LinkWithin

Related Posts with Thumbnails