I'm catching up on overdue posts! Back in FEBRUARY (o dio mio, I
am behind) the glorious Donna of
My Tasty Treasures bestowed upon me the Kreativ Blogger award. Yeyy, Thank you Donna! So sweet! If you haven't yet, you should really go visit her blog. She's hilarious and always whippin up something new and delicious in the kitchen.
I am going to pass this award on to 5 bloggers whose sites I thoroughly enjoy visiting:
*
Elyse's Confectionery Creations*
honey & jam.*
Tami's Kitchen Table Talk*
The Cupcake Activist*
Three B's .... Baseball, Baking, & BooksNow, on to the cake. I am taking the
Wilton Cake Decorating Classes at Michaels. So far, I have completed Course 1 which "Focuses on basic skills and techniques, from icing prep and simple borders to roses". It is time consuming - there is quite a bit of prep work prior to going to class... course 1 required a cake baked and frosted prior to coming to each class, and also required you to bring several different containers of frosting in different colors & consistencies.... as well as the clean up time once you get home from class. But nevertheless, it was
definitely worth it. I really feel like I learned a lot, and more than anything else, it gets you over than FEAR of cake decorating. It was challenging and fun and very useful. Here are some pictures from course 1:
DING DING DING, ROUND 1, FIRST CAKE:
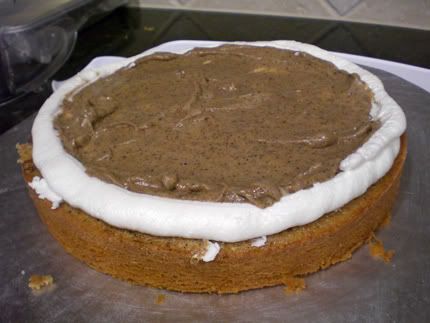
A neat little trick I learned during lesson 1 - How to properly add a filling in a 2 layer cake:
You take your "Thin Consistency Course Buttercream Frosting" (see my
post on Sugar Cookie Bars for the recipe and make a very thin layer on the top of your bottom layer.
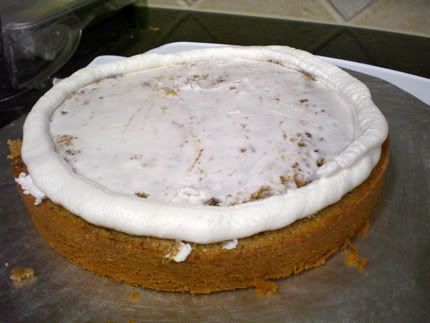
This makes it kinda waterproof, or pudding-proof or filling-proof if you will. It protects the porous cake from absorbing all of your delicious filling. Then pipe a thicker layer of Buttercream Frosting around the outside of the cake like this:
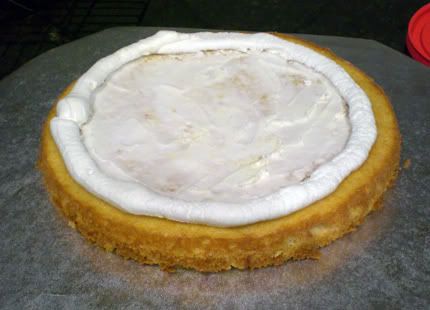
Now, you fill up your circle with your choice of filling (I chose the easy route and used a pudding cup :)

The little frosting dam you created earlier prevents filling leakage once you squish on your top layer...
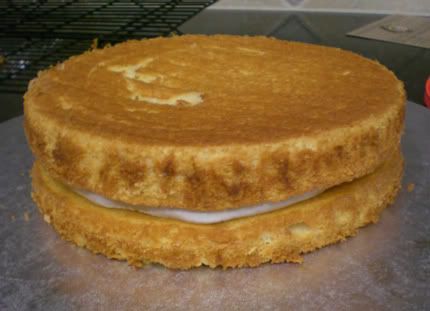
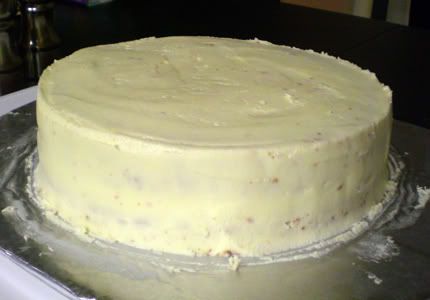
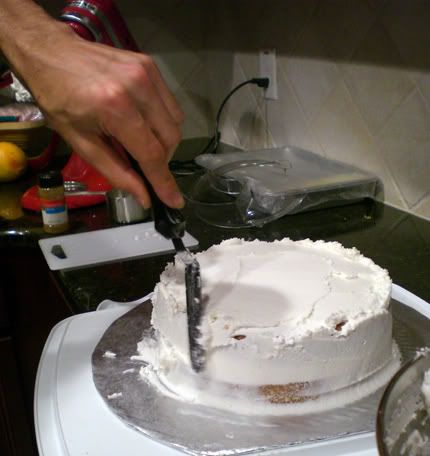
Next, attempt to ice your first 2 layer cake ever.. get fed up because you neglected to do a Crumb Coat (very. important.). Realize you earned your reputation as "The Angry Baker" for a very real reason. Shout expletives and wave your offset spatula threateningly until your more-patient and thoroughly-talented boyfriend offers to help/do the rest of it for you. Thank him and secretly be envious of his cake icing skills...
Finally, bring this cake to class and learned to transfer patterns and pipe decorations using the star tip:
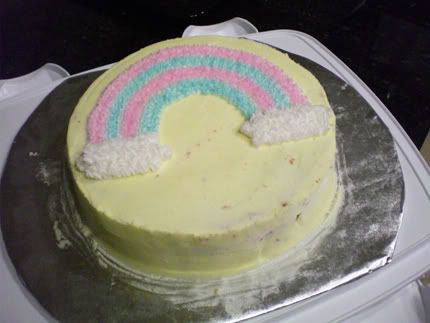
Not bad for a first timer, eh??
DING DING DING, ROUND 2, NEXT CAKE:
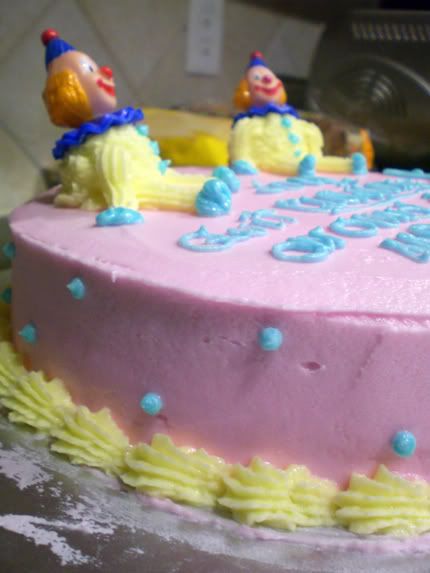
Check out the scallop shell border, and dot piping skills. Ohh yah baby.
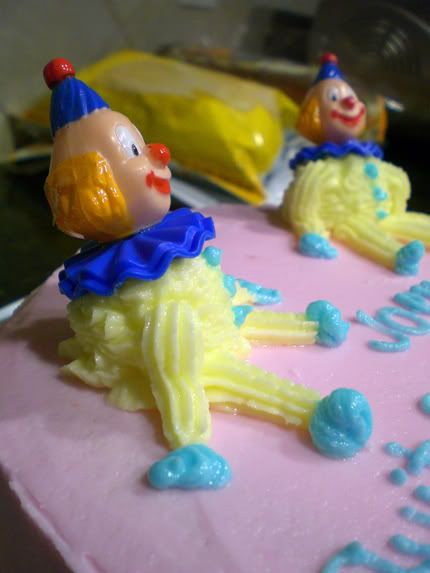
Ok, maybe the clowns could use some improvement.
and yes, Daniel did frost this one for me, too. he's really good, isn't he??DING DING DING, ROUND 3, LAST CAKE FOR COURSE 2:
And there's a RECIPE with this one! :)
The cakes baked for the previous lessons were a plain ol' white cake. Though they were gobbled up radidly, I thought I'd go with a fancier one for my final cake. Inspired by
Vanilla Sugar's Cinnamon Espresso Cake, I decided to alter the recipe to fit my Wilton Course Requirements.
Cinnamon Espresso Cake with Cinnamon Espresso Pudding Filling adapted from Vanilla Sugar, makes enough for (1) 2-layer cake.
Ingredients:
1 3/4 C minus 1 Tblspn sugar
2 1/2 Tblspn cinnamon
2 1/4 tsp espresso powder
2 1/2 C + 2 Tblspn flour
3 tsp baking powder
a dash of sea salt
1.125 C half and half (just estimate its 1 1/8 C)
3 eggs room temp
1 1/2 tsp vanilla
1 & 3/4 sticks butter, melted and cooled
1/2 C miniature chocolate chips
1 pudding cup
1. Preheat oven to 350F and prepare two 8 inch cake pans - use shortening to grease, and dust with flour, shaking out the excess
2. In a small mixing bowl, combine 3 tablespoons of the sugar, with 1 tablespoon of cinnamon, and the espresso powder. Set aside.
3. In a large mixing bowl, whisk the flour, remaining sugar, baking powder, remaining cinnamon and salt together until combined.
4. In a medium mixing bowl, whisk the half & half, eggs, and vanilla until blended together.
5. Pour the egg/cream/vanilla mixture over the flour mixture and gently whisk until almost combined but do NOT overmix!
6. Using a rubber spatula, fold in the melted butter just until the butter is incorporated.
7. Divide evenly between two mixing bowls (this will make the second portion much easier). Take one bowl and pour a little more than half of it into one of your prepared cake pans. Repeat with the other bowl of batter and the other cake pan. Spread evenly.
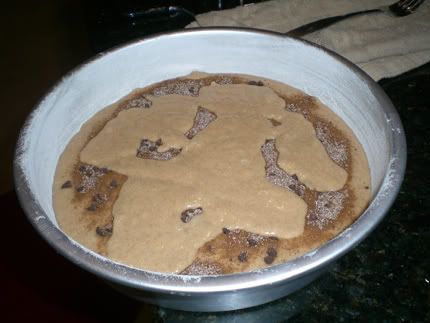
8. Sprinkle the mini chocolate chips over each of the cake pans and then top with the cinnamon-sugar espresso sugar mixture** (**Be sure to Reserve about 2 tablespoons of this mixture for use later). Top with the remaining batter but dolloping the batter on top of the cinnamon/expresso mixture.
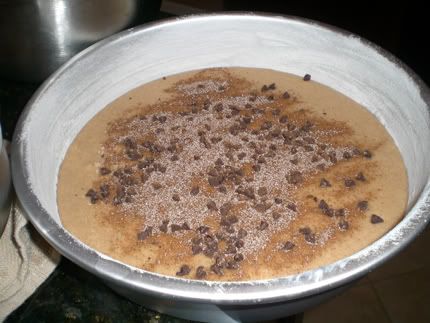
9. Go slowly and lightly, and use your wet fingers to spread it out as much as you can. You want As little of the cinnamon/expresso stuff showing as possible.
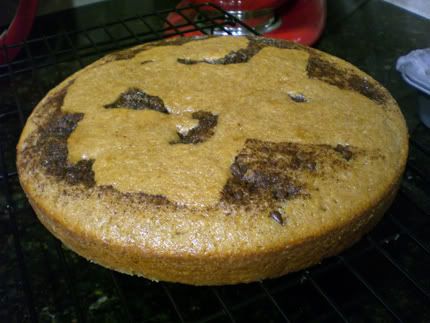
10. Bake for about 25 - 30 minutes at 350F, but start checking for doneness at like 22 minutes. Bake just until a toothpick comes out clean. Let the cake cool in the pan for 15 minutes, then turn out onto a wire rack. Turn it out again onto another rack so it is right side up.
For the filling:
When the cake has completely cooled, create a frosting dam as seen in Cake 1.
Take the reserved cinnamon-sugar espresso mixture and stir into the pudding cup.
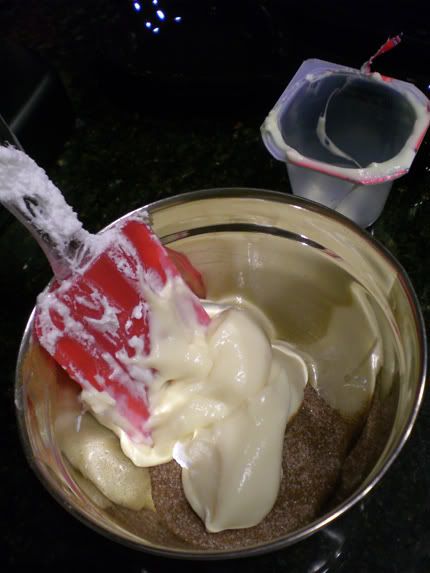
Fill your frosting dam with the cinnamon-sugar espresso pudding.
Top with your top cake layer and frost with frosting of your choice!*** (
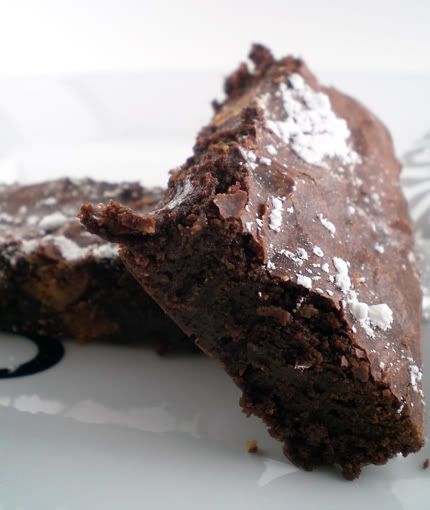
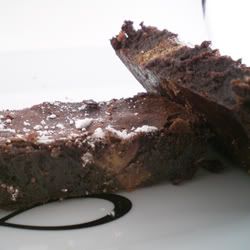
Warning - you may need to level your cakes off before layering them to avoid a cake hump. This may leave you with small scraps of cake filled with cinnamon-sugar espresso powder. Eat at your own risk, it's incredible addictive.)
***or make your boyfriend frost it for you as I did.. check out his skillllsss:
 PICTURE BELOW OF FINISHED CAKE AFTER DECORATING DURING OUR FINAL CLASS OF COURSE 1
:\
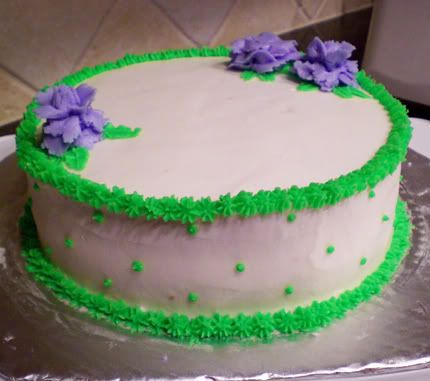
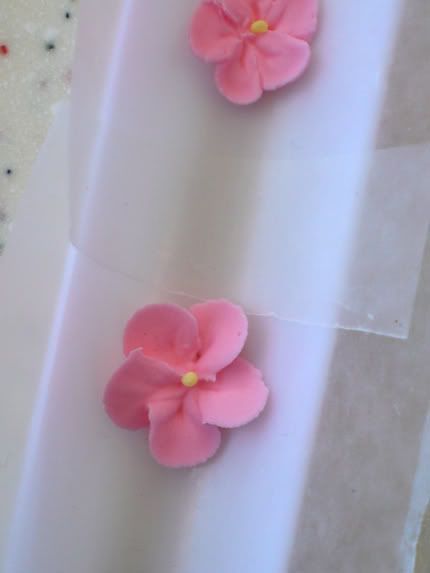
Ok...so my buttercream roses are PATHETIC. I blame it on being the only lefty in the class, quite a disadvantage. But my dots are cute, right?!
Aw, look how pathetic they are up close:
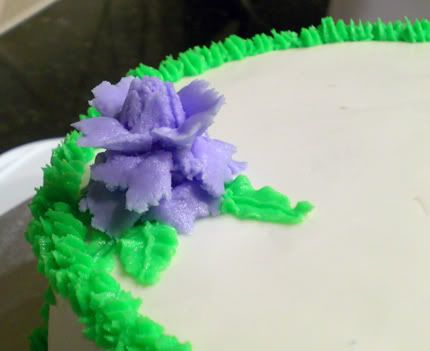

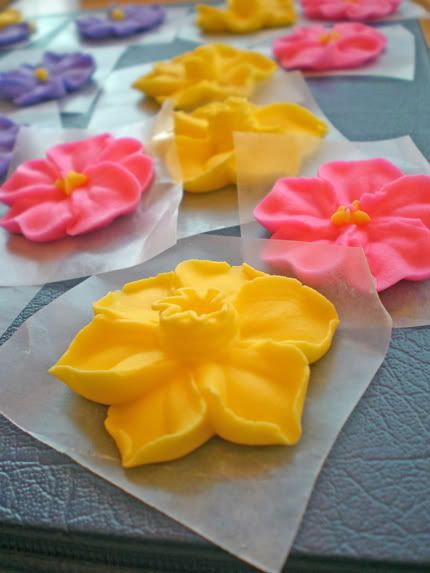
They're a bit wilty but oh well. We learn Royal Icing roses in Course 2, maybe that will be easier!
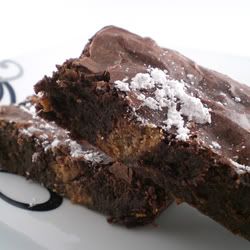
As for the Cinnamon Espresso Cake... delicious.
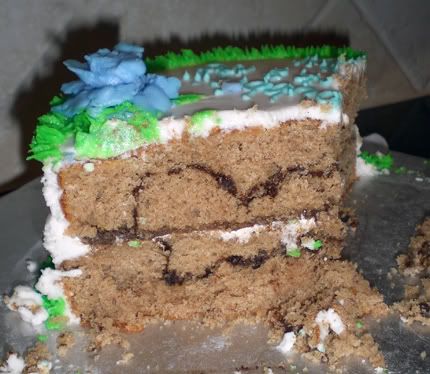
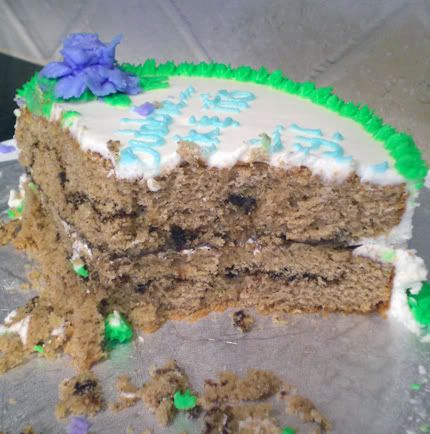
WHEW, Long post. Course 2 post to come soon!