Recent Posts

Monday, December 13, 2010

Martha's Double Chocolate Brownies

Photobucket

My master's degree is now complete!  I had my last day of student teaching on Friday and now I begin my job search.  I'm both very excited and kind of nervous to begin this next step!
  
This past weekend I had no lesson plans to create, no artwork examples to make, and no papers to write.  It was a strange feeling!  So I found myself with time to get back in the kitchen and start baking again.  And now, it is Monday morning at 6:50am and even though my student teaching is over, thanks to my internal alarm clock which has been set to a teacher's schedule for the last 14 weeks, I am wide awake.  Perfect time to update my blog (which had been a bit neglected towards the end of my graduate career)!
  
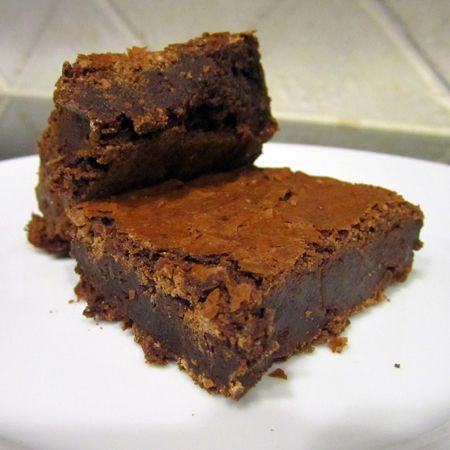
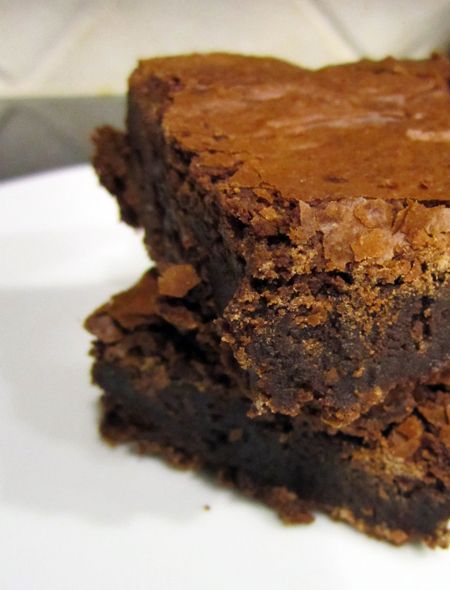
Like most people in the universe, I just can't get sick of brownies.  This time I tried a new one, Martha Stewart's Double Chocolate Brownies.  Because I didn't have all the required ingredients, I made slight changes to the recipe.  I was scared at first because the brownie batter was MUCH thicker than other brownie batters I've made.  It seems my fears were unfounded because these were terrific.  Moist and fudgey, nice and sturdy, and a delicious slightly crackly crisp top.  


Martha's Double Chocolate Brownies, adapted
ingredients:
5 tablespoons unsalted butter, softened
6 ounces coarsely chopped quality dark chocolate (I used Callebaut)
1 ounce unsweetened chocolate, chopped
3/4 cup all-purpose flour
1/4 teaspoon baking powder
1/4 teaspoon sea salt
1 cup sugar
2 large eggs, room temp
2 teaspoons pure vanilla extract


Preheat to 350 and line a greased 8 or 9 inch square baking dish with parchment.  
Combine butter and chocolates in the top of a double boiler set over simmering water.  Stir until butter and chocolate are melted and mixture is smooth.  Remove from heat and allow to cool slightly.
In a separate small bowl, whisk flour, baking powder and salt together and set aside.  
In the bowl of an electric mixer, beat together the sugar, eggs and vanilla on medium speed until the mixture is pale (~4 minutes).  Add the chocolate mixture and beat until just combined.  Add the flour mixture and beat until just combined.
Pour batter into prepared pan and smooth with an offset spatula.  Bake about 30 minutes or until a cake tester comes out clean.  Let cool in pan 15 minutes then remove to cool completely on a wire rack before cutting.
Photobucket
*TIP:  Did anyone know you can quickly soften butter in a water bath?  
I'm pretty bad at remembering to take butter out of the refrigerator before baking so I've tried a few different shortcuts.  I've attempted softening it in the microwave set to a low power... but there are always some melty spots while other spots are still frozen.  I've tried that pounding method where you beat the butter to death with a rolling pin, but that is better for getting out frustration than it is for softening.  I just learned you can put your wrapped butter in a zip lock bag and let it sit in a sink full of room temperature water to let it soften quickly.  Within 5 - 10 minutes, your butter should be fully softened.  I've used this technique to thaw meat - I wonder why it took my so long to realize I could do it with butter.  Now, I fill up my sink with water and throw in my butter while I measure out my ingredients and prepare my baking pan.  By the time I'm done, the butter is usually softened.


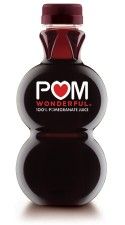
PS - I just received samples of POM Wonderful from the nice people at POM in Los Angeles.  You can look forward to some Pomegranate dessert recipes in the near future!  I plan on making some to bring to a Holiday Sweets Swap.
Photobucket

Saturday, December 11, 2010

Scrambled Eggs

Fellow foodies and Beatles lovers alike will appreciate this.  Paul McCartney sings Yesterday with Scrambled Eggs as a placeholder.  Gotta love it.  Thank you, Gastronomista

Tuesday, December 7, 2010

Christmas Tree Cupcake and Treat Tower

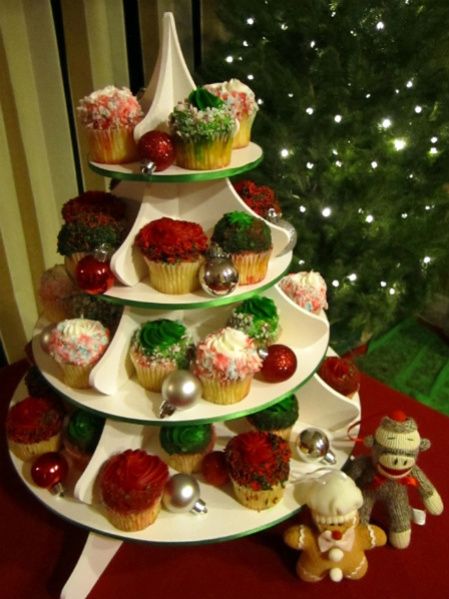
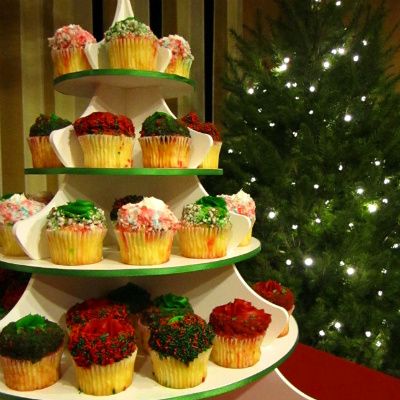
Check out how cute our Christmas Tree Cupcake & Dessert Tower is when it is all decked out for the holidays!

Photobucket

I can't wait to display my Christmas goodies on it!  Maybe I'll alternate tiers - Christmassy cupcakes on some and brownies on others.  Or maybe I'll put Christmas tree Cake Pops on it (you've seen Bakerella's book right?)  So excited to show it off!

Photobucket

It can hold up to around 56 cupcakes and can be made smaller to hold smaller amounts (for Christmas festivities where 56 cupcakes is a little excessive)  What do you think of it?

Thursday, November 25, 2010

Happy Thanksgiving!

Photobucket

I hope you all have a Happy and Healthy Thanksgiving!  

Photobucket

Photobucket

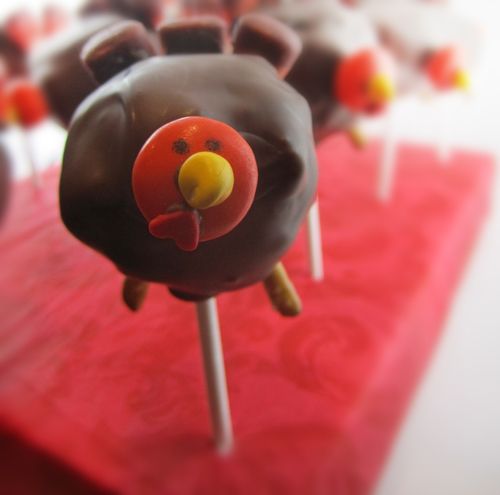
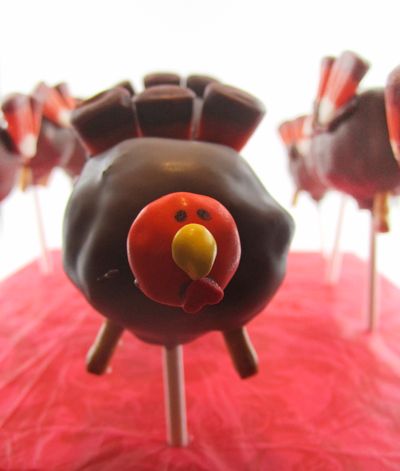
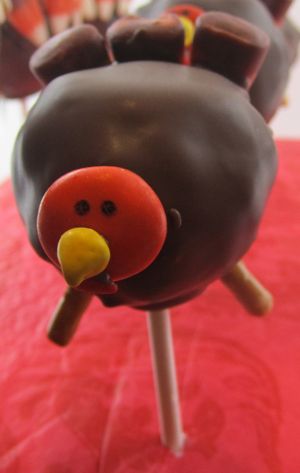
Here are some Turkey Cake Pops (from Bakerella's Cake Pops book) I made for our Thanksgiving dinner.  What are you making this year?

Sunday, November 21, 2010

First Birthday Cupcake Tower

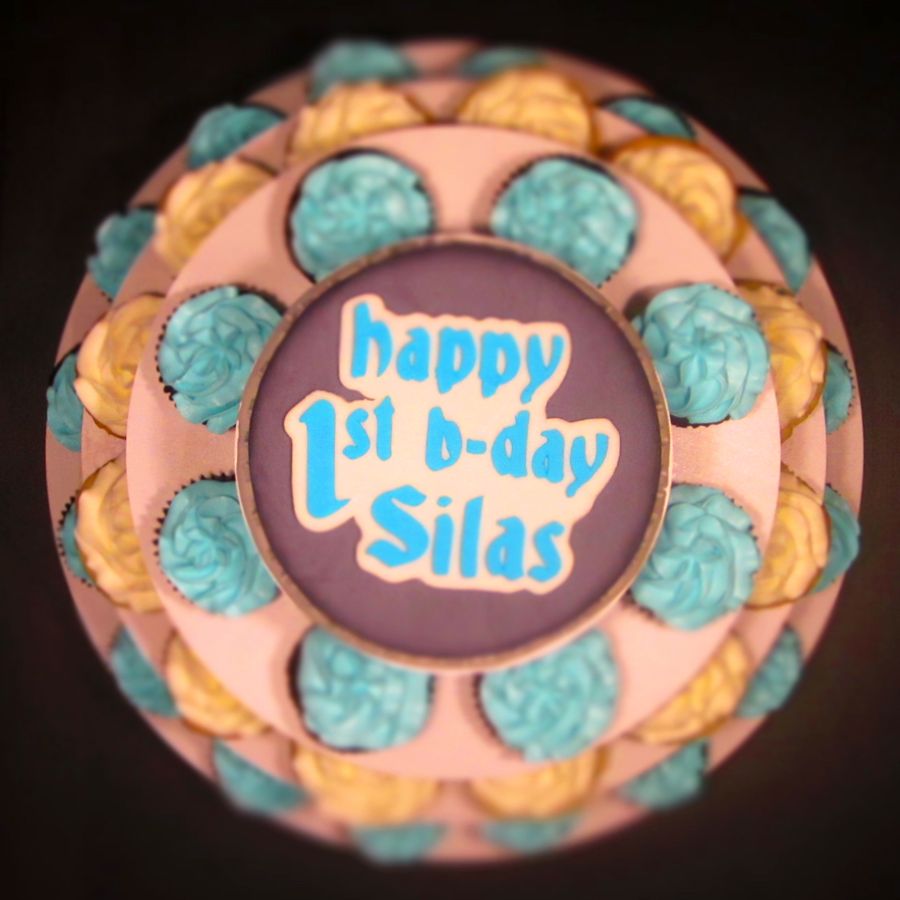
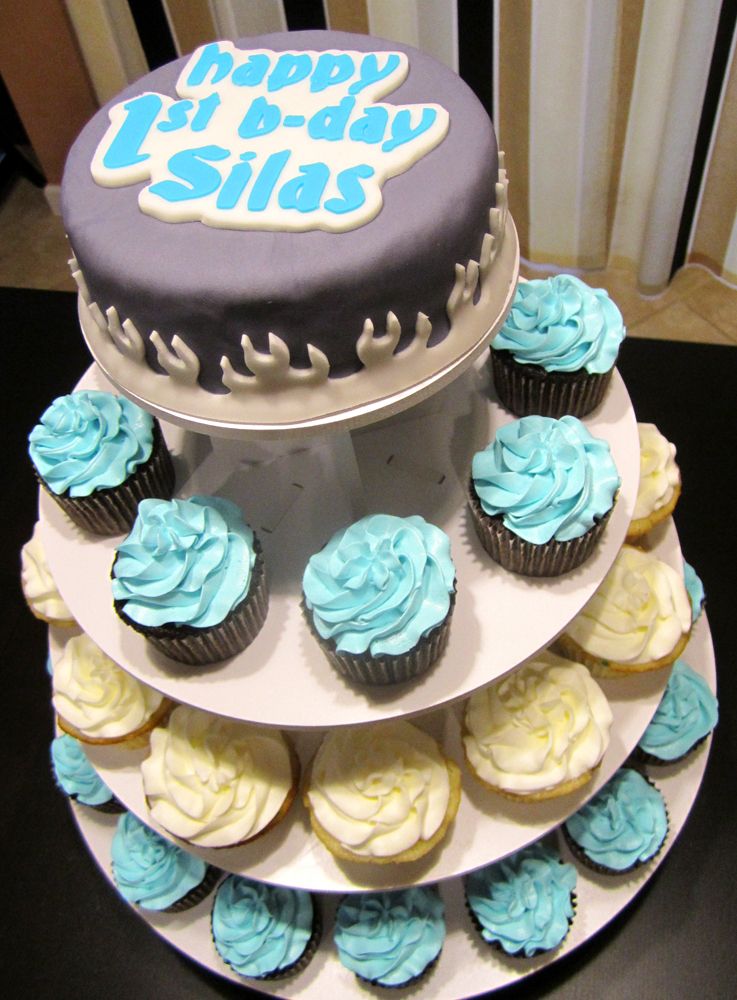
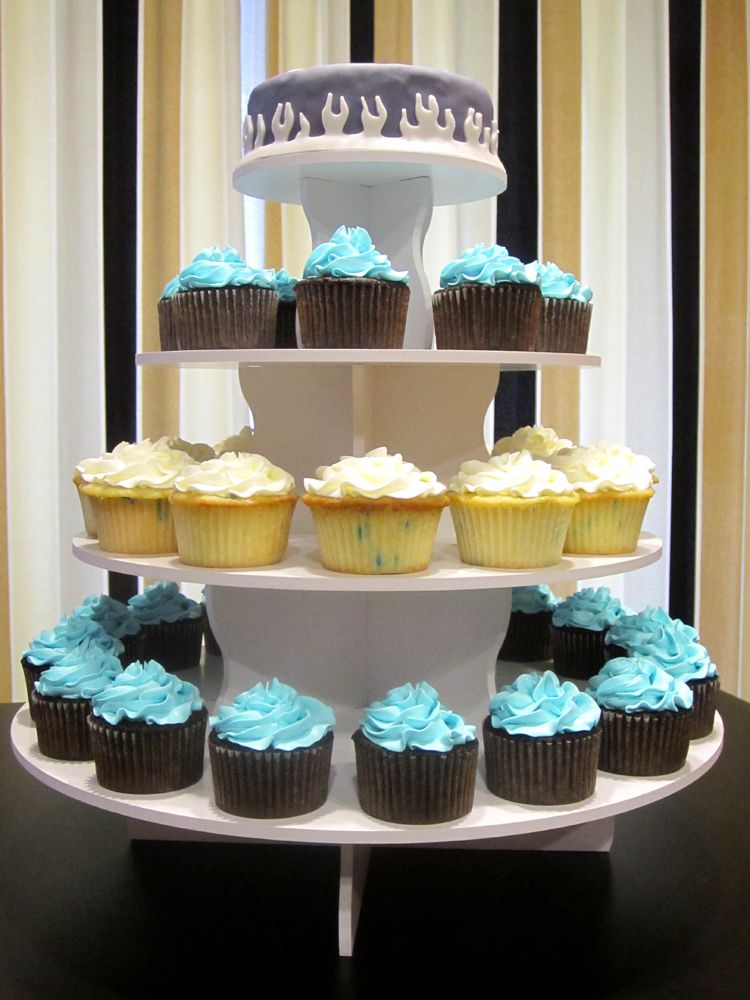
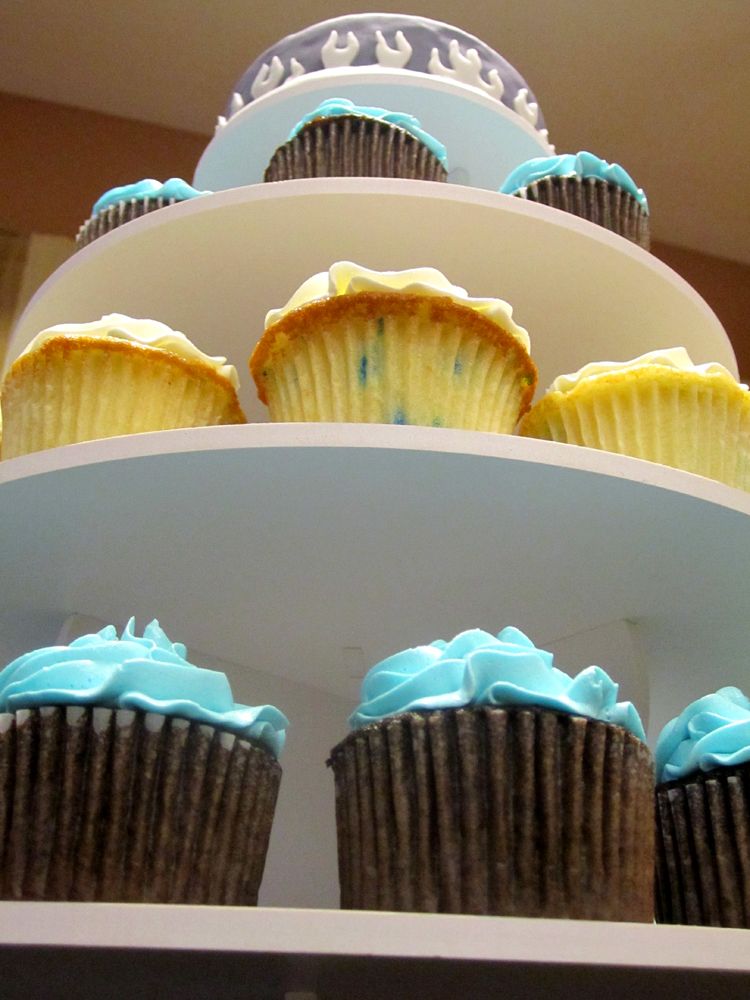
Lately, there has been a lot of Cupcaking going on around here.  Just last weekend was my nephew's First Birthday Party!  For the celebration we made the little man a Cupcake Tower to match the theme for his party ("Lil Rebel").  The colors were Gray, White, and Blue.  I was so excited to get to use our Cupcake Tower again!  For more info on the cupcake tower, visit my store here: www.TheSmartBaker.com

This is what we came up with!

Photobucket

Photobucket

Photobucket

Photobucket

Photobucket

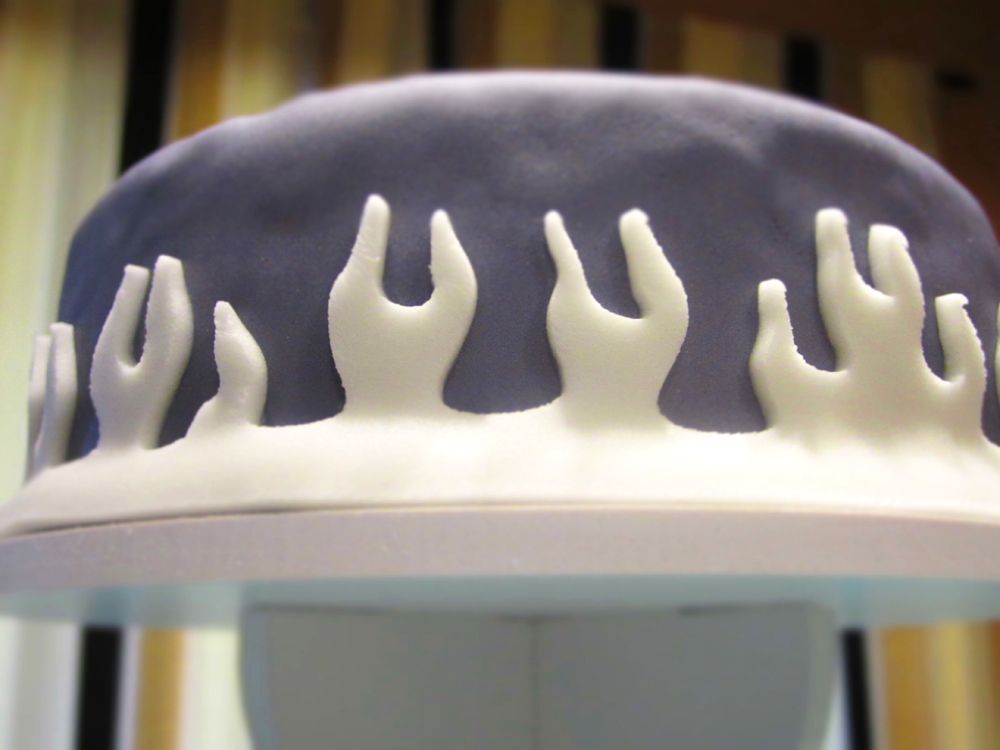
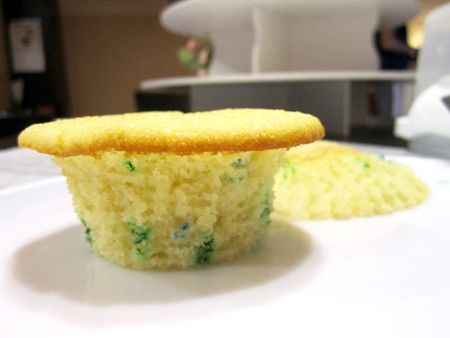
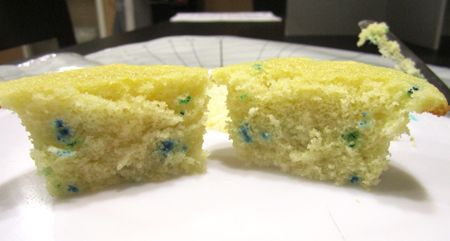
We made chocolate and vanilla cupcakes, both with buttercream frosting - but to make the vanilla look a little more fun, we turned it into Confetti cupcakes by mixing a small spoonful of blue sprinkles into the batter just before going in the oven.  It added a nice little touch!  The top tier is a 6 inch round cake decorated in fondant. 

Photobucket


Photobucket

I can't wait to keep using my Cricut Cake and my Cupcake Tower!  We took off the bottom tier of the Five Tier Round Cupcake Tower, and put on the optional fourth tier bases - and it became the perfect size for this party!  I must say, I am quite proud of our work on this one. 

Thursday, November 18, 2010

My Wedding Cake!

Photobucket


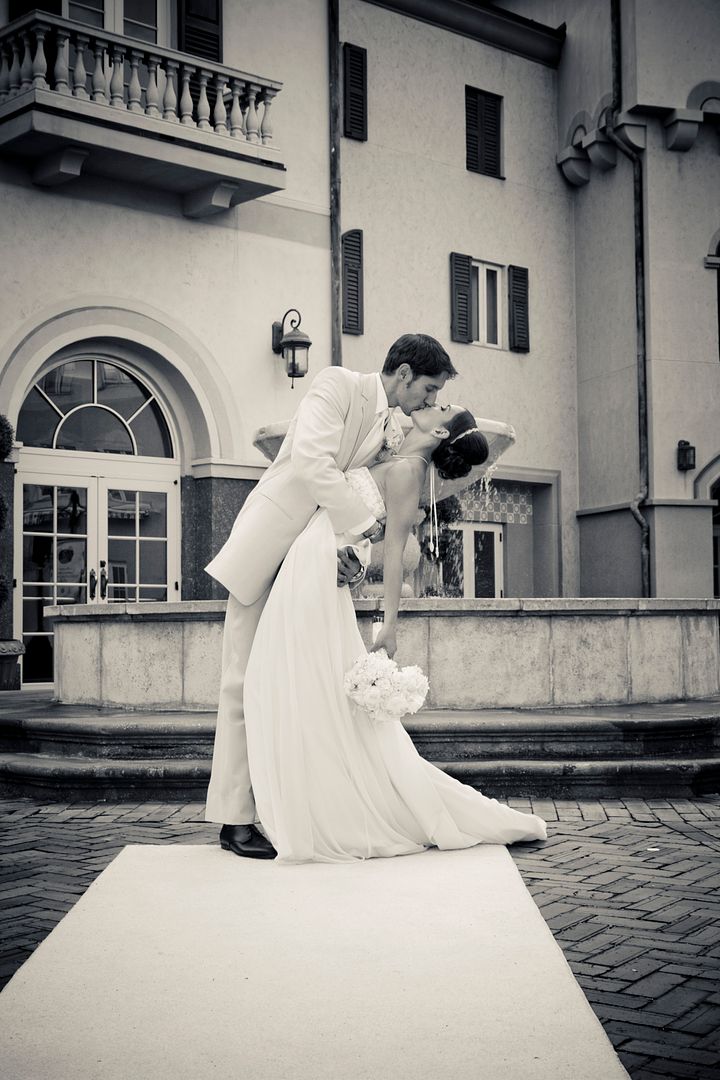
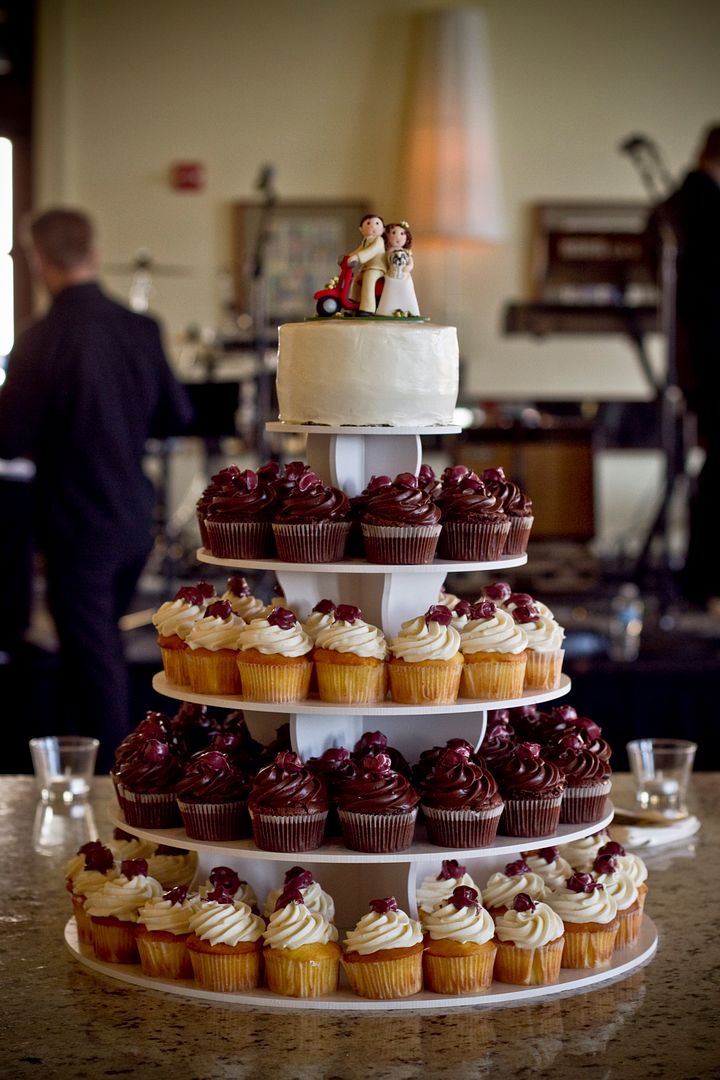
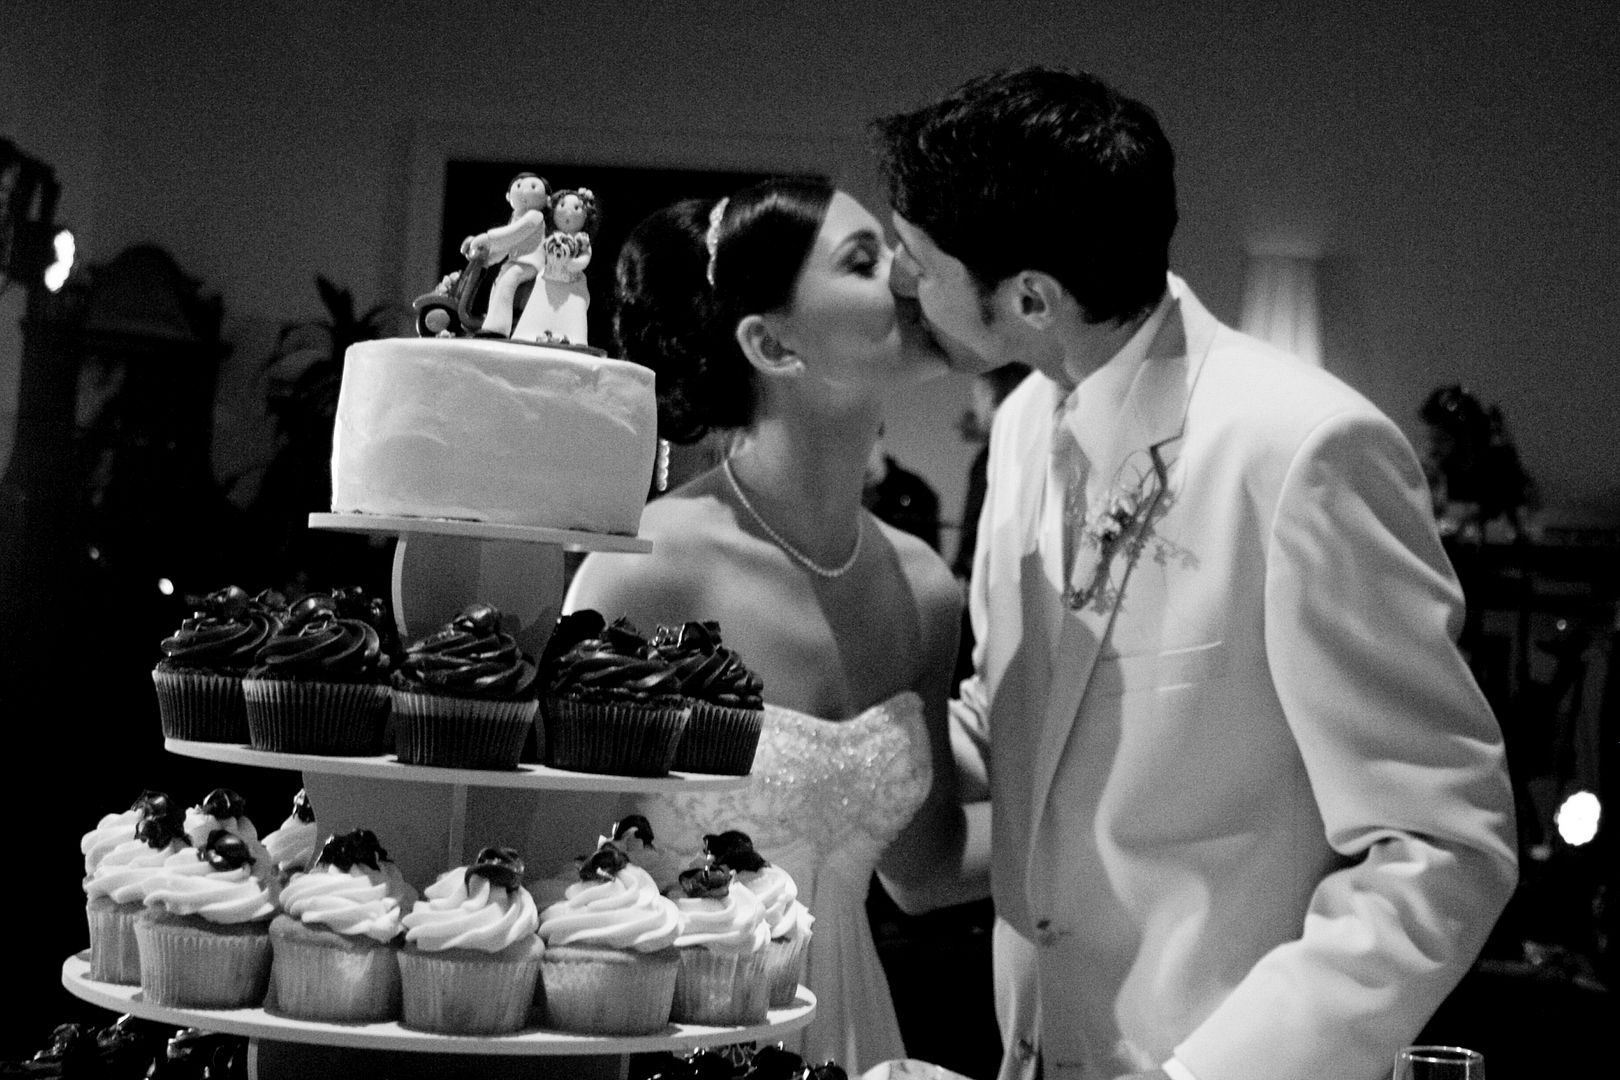
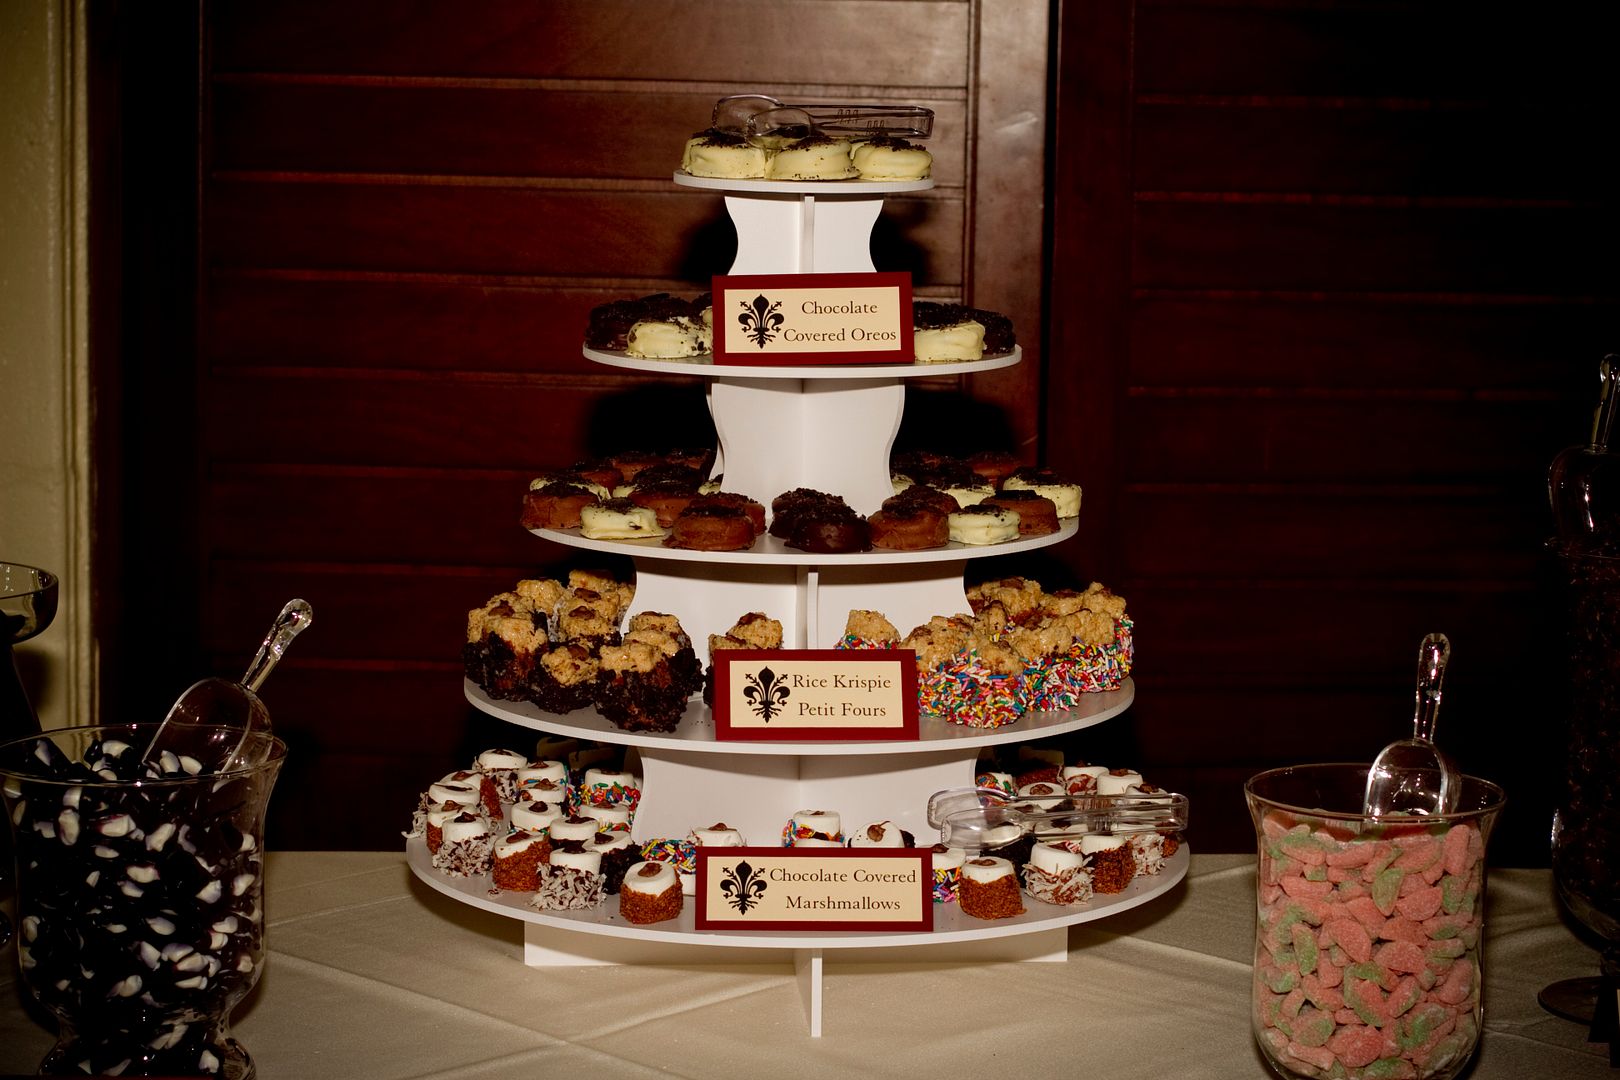
I wanted to share photos of my wedding "cake" with you all!  If you are reading this blog, you're likely as obsessed with desserts as I am, so I know you'll appreciate these. :)  And no, I did not wind up making my own cupcakes - as many people warned me not too!  I think it was a very wise decision.  The cupcake tower structure that the cupcakes are sitting on are our latest product on www.TheSmartBaker.com.  It worked wonderfully at the wedding!  We used it in our candy buffet, too for our hand-dipped chocolate covered items.  Yum!  Take a peek!!


Photobucket

Photobucket
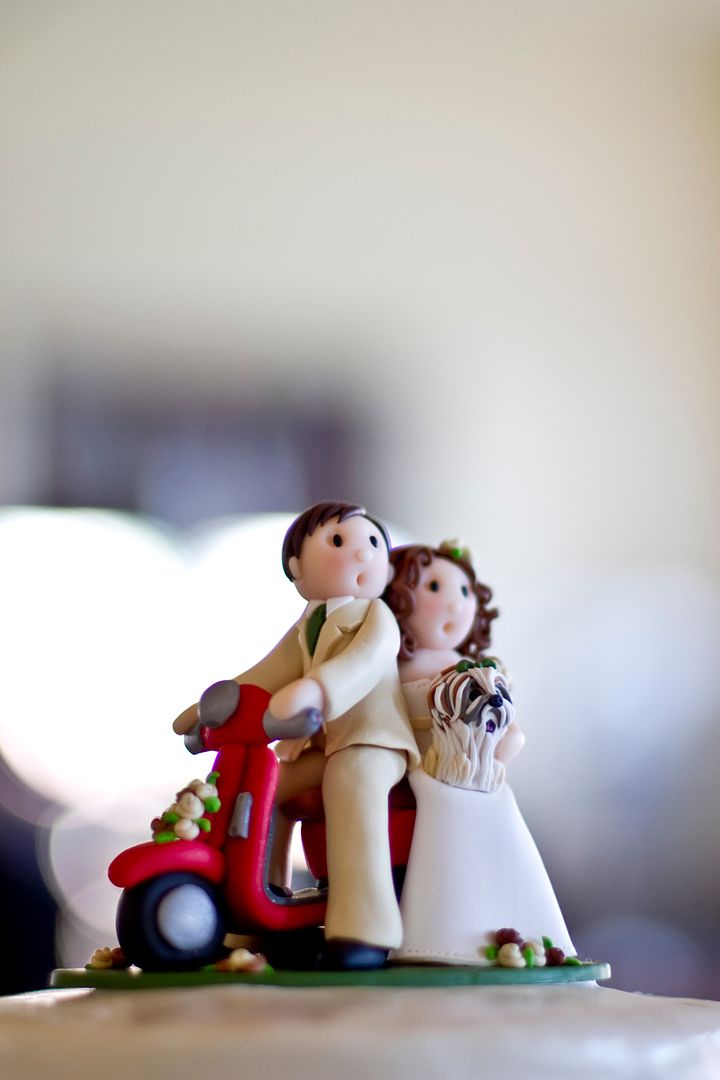
My cake topper!  Yep, thats my pup on it, too :)

Photobucket

Photobucket
Here is the tower for the candy buffet.  We had around 40 pounds of other candy, too - like sour watermelons, chocolate covered pretzels, yogurt pretzels, chocolate covered gummy bears, neon sour worms, mini gummy bears, jelly rings, sour belts, and peachy penguins.  Guests got to take home a box full of candy!  We got all of our candy from www.AJsCandyCastle.com


Sunday, November 7, 2010

SMS: Ginger Custard Pumpkin Pie

Photobucket

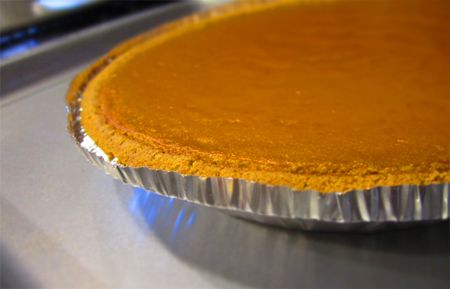
This weekend it began to feel like Fall in Florida.  Up until now, it was still a consistent high 80's - 90's.  But Friday morning started off chilly and it has been long-sleeves weather ever since.  It is definitely a nice change!  And what better way to make it feel extra Fall-ish than to make a Pumpkin Pie.  

LinkWithin

Related Posts with Thumbnails