And now, for the conclusion to the Tour d'Italia: Edizione Gastronomia. During our stay in Italy, we also made a day trip to the beautiful town of Siena. We got to climb the tower to get the most impressive view of the countryside you can imagine, visit the spectacular Civic Museum with some amazing Simone Martini paintings that was spectacular to see in real life, and we even got to see St. Catherine's head. Yes, St. Catherine's head. It is encased and displayed as a holy relic in the basilica of San Domenico, and we got to see it. After we had worked our appetites up thusly (sarcasm, I hope you caught that), we went to Nannini's.
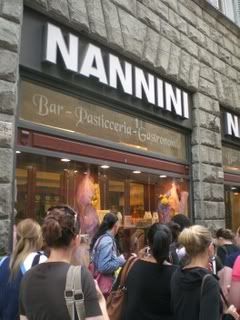
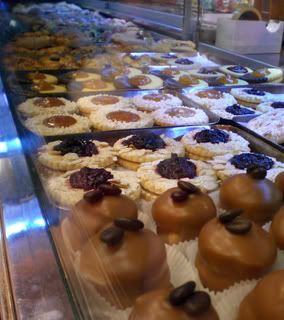
I googled it, and its on all the lists of "Things to do when visiting Siena". It was great. The interior was so beautiful and classy in that old-timey way, and their famous Ricciarelli cookies (below) were no less beautiful and classy.
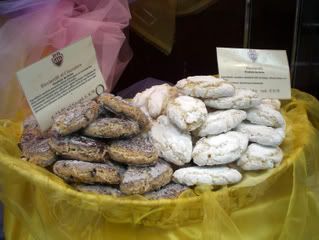
In fact, they were outrageous. The cocoa ones were not as good as the straight up, traditional, white almondy ones. They look hard, but inside that powdered sugary coating was a soft, flaky buttery inside that was absolutely to do for. I
need to get my hands on a good recipe for these [(if anyone has one, I'd
love it! :)]
Our day in Siena was wonderful, and was followed by a lunch at a vineyard called
San Donato. Unfortunately, I don't have any pictures, but if you happen to be around the Siena area and you are looking for a tasty, tasty easy to drink white wine, stop by and pick up a bottle. It is one of the very few wines in the world that I would buy for myself (we are not big wine drinkers... or anything drinkers for that matter). Their Vernaccia was delicious enough for me to buy a bottle, and add its fragile self to my already too heavy suitcase.
Back in Florence, there is one place we went for a quick snack quite often. If I had to sum up Florence in one bite, I'd do it here. Of course, there are a gajillion places in Florence called "Forno," it basically just meant bakery or bread shop. But there is ONE forno that is above all the rest. Its located right outside of the San Lorenzo Central Market. I know there are many different ways to get in and out of the San Lorenzo market, but one of these entrances leads to the block this Forno is on. Actually, its located right by Mario's restaurant that I talked about in the first post. So, if you're in Florence (which I hope you are), and you are on line waiting for a table at Mario's but you are too hungry to wait, leave someone on line waiting for your table and take the few short steps to this Forno:
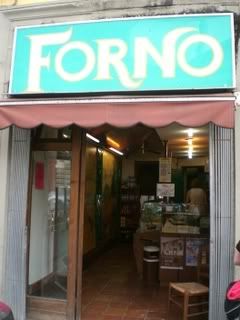
If you see that sign, take a step in. If you then see a picture of Brad Pitt hanging by the doorway that leads to the back, you'll know you're in the right forno (the owner, one of the Innocenti, has an adorable crush on him). If you find yourself in the right forno, order a piece of Schiacciata:
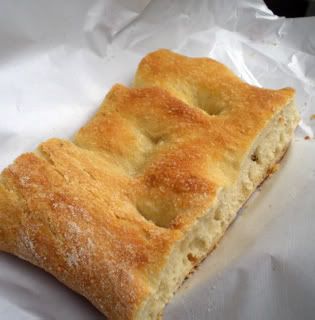
That little piece of bread might not look that exciting, but I implore you, take a bite before you judge it by its humble appearance. Here, they charge you by weight. The small piece I usually got for breakfast was about this size, and ran 70 euro cents, and it is more than enough to hold you over. And no, it is not just a piece of bread. Its about an inch thick, with a crunchy crust exterior and a doughy beautiful fragrant soft interior. It is drizzled with their high quality tasty olive oil, and thats it, these simple flavors alone make it the best tasting piece of bread in Florence. I suppose it has something to do with the ingredients they have over there that we just don't have here (eggs that aren't from chicken-fed chicken so that have a gorgeous deep almost orangey color, the authentic olive oil, the un-over-processed and bleached flour, etc), but I know for sure that if I had 5 minutes to give someone a taste of Florence, I'd take them to Forno...not Vivoli for gelato, not Mario's for lunch, but here for a 3 inch by 4 inch piece of bread. Oh, how I miss it.
Finally, our stay in Florence was over. On Sunday morning, we packed up all our belongings and jumped on a bus to Roma, where we stayed for 8 days. After the approximately 3 hour bus ride there, we wheeled all of our luggaged down the cobble stone, pedestrian only street only mere minutes from the Vatican to our apartment on Borgo Pio. We helped each other lug our bags (newly heavy with italian leather pocketbooks, red wines and jewelry) up the stairs, dumped the stuff on our beds, and we were out the door. The weather was the best we could possibly hope for: warm, sunny, clear... the perfect atmosphere for a walking tour introduction to the city of Rome. We walked all over: past the Vatican, to the Piazza Navona where Bernini's Fountain of the Four Rivers is, past the pantheon and its busy piazza, through several other piazzas with more buildings I had been studying and oggling through textbooks for years. It was like a dream, honestly...too much to take in, in a good way. Finally, all 16 of us were hungry, and our knowledgeable professor and guide knew exactly where to take us:
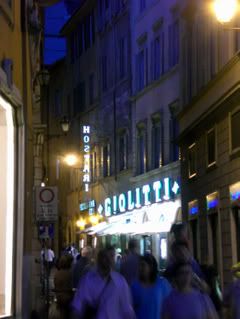
where else, but
Giolitti. Just thinking about it makes me want to weep, its been too long.
It was another old-timey, classy, beautiful establishment with a variety of pastries, granitas, coffee and espresso, and... wait for it wait for it... Gelato. And I mean that with a capital G. After my 26 days in Italy, I can say with a certain assuredness that Giolitti offers Italy's best Gelato. The last three days of our trip, me and two other girls vowed to come here for Gelato twice a day to get our fill before we left. Well, we fulfilled that promise to ourselves (in fact, they got both gelato
and granita each time).
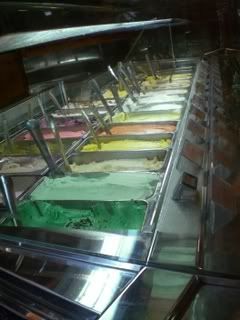
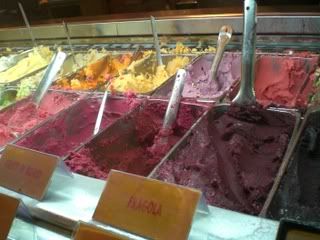
 Some other offerings from Giolitti.
From my variety of flavor combinations, I found two to be the winners:
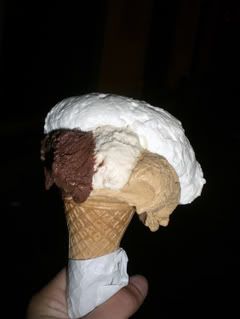
Cioccolato (chocolate), Mandorla (almond) and Nocciola (hazelnut) con panna. And:
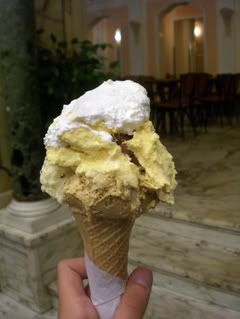
Biscotti (Yes. Circle bites of crunchy chocolate biscotti mixed in), Nocciolato (chocolate hazelnut) and Cannolo Siciliano (cannoli) con panna, of course.
Ahhh, delicious. Our next exciting culinary adventure was when a few of us took a trip to the
Jewish Ghetto for the signature fried artichokes. The restaurant we chose was one my professor recommended:
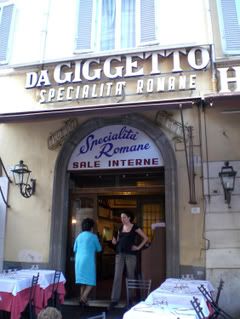 Da Giggetto
.
And the famous artichoke?:
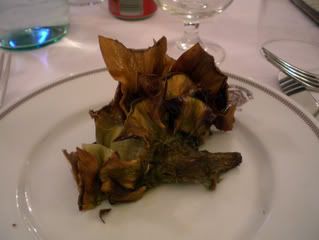
This is actually half an artichoke, but you can get the picture. It was delicious: crispy at the ends of the leaves and a bit of a soft center where the actual meat of the artichoke was. Very good. Different, but good.
For my meal, I had my first experience with Spaghetti alla Carbonara:

I had no idea what I was in for. For some reason, I thought that carbonara involved a red tomato based sauce, but boy was I wrong. It was the heaviest thing ever: combine creamy, thick, cheese, pasta, eggs, and pancetta... well, I couldn't even finish half of the thing, it was a monster. It was absolutely delicious, but fatal. I was happy, though, to have my first carbonara in the city that invented it.
Our nearly month long stay in Italy was nearly over. For our finale meal, we went to
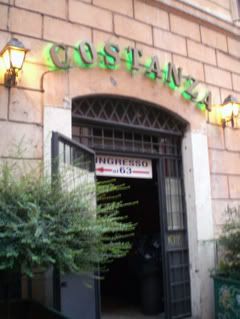 Hostaria Costanza
. Its located in what remains of the theatre of Pompey, and legend has it, this is where Julius Caesar was assassinated. We had a nice big table that sat all 16 of us students, my professor, and our tour guide from Florence. I took tons of pictures, partially because I was a little sad that it was all over, the whole trip was coming to an end. And also because the food was
that good, and really pretty.
For the first course, I had this ridiculous dish:
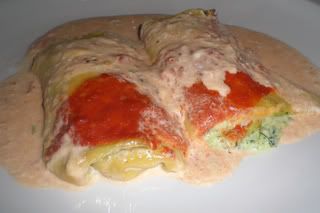
I had never heard of it: Scarpelle. Its like a big manicotti, except made of crepe not pasta which is filled with ricotta and spinach and covered with some sort of tasty orangish/redish sauce. I can't even express how good this was.
Next up, secondo piatto:
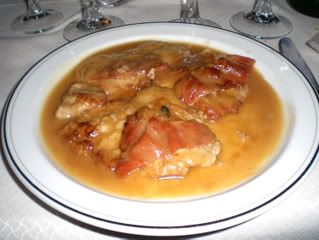
Veal Saltimbocca. I normally don't eat veal for moral reasons that have been instilled in me since I was young, but the other options for second choice were not very appealing. Though morally unsound, this dish was
quite the palette pleaser.
And for dessert (before walking to our final giolitti gelato of course):
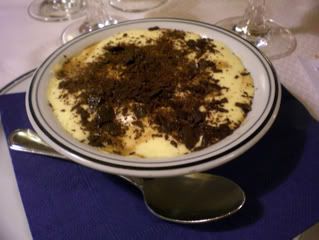
Tiramisu, yeah, be jealous.
The final culinary thing I'd like to show you from Italy is terrific. I know a really witty caption would be perfect here, but... I'm at a loss.
These...
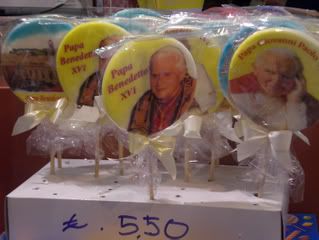
...are
lollipopes.
Finally, the end of my culinary coverage of my Italian voyage is here. Its a bit sad. I had an amazing time, but I suppose I'm glad to be back in the states. Hopefully, I'll find myself back in Italy someday so I can enjoy everything all over again.
Mini Tarts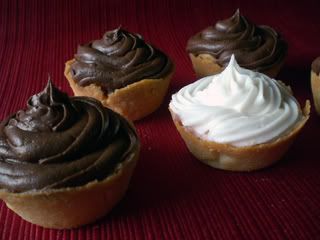
Back in America, I've been doing a little bit of baking. I've decided I'm going to make small batches of things for the most part from now on. I always scale recipes down, but I think perhaps I'll do it even more so. First, there are only two of us here. If I bake less, we can try little samples of things to see if we even like them before I commit to a whole 9X9 of it. Then, if there is less quantity, less will be wasted if its a total disaster. And if its good, it'll go semi quickly and I can bake something else. :)
The first thing I baked in this small quantity was inspired by something I saw on FoodGawker, the new site that has come to fill the whole left by Tastespotting. I loved the way
these shortbread tartlets looked over on Velvet Lava Cafe's blog. They were so cute, and I have loved the recipes of Ina Garten's that I have tried so far that I was dying to try something like this out.
The urge to make something in this vein was advanced even further by a problem I have. Yes, I have a confession, I have a certain problem in the kitchen. You see, I'm really not a fan of throwing food away. If I have a half eaten container of ricotta in the frig that is about to go bad, I will go out of my way to find a recipe that calls for just that. If I have a little bit of heavy cream left that is approaching its expiration date, I will bake something that requires it so that I don't have to throw it away. Its not the worst problem in the world, I know, but since Dan had purchased and used half of a container of pre-made frosting while I was away, I felt compelled to use it in something so it would not go to waste. Since pre-made frosting would never find a home on my homemade cupcakes in a million years (sorry, I'm a baking elitist) I thought this would be the perfect opportunity to use it up. But first, the crust. I halved Ina's recipe that was listed on Velvet's blog as such:
5 Tblspn butter
1/5 Tblspn sugar
1/2 of 1 egg
1/8 Tsp vanilla
.5 C + 1 Tblspn flour
1/16 tsp baking powder
Sprinkle of salt
Preheat to 350.
In one bowl, whisk flour, baking powder and salt together, and set aside.
In a different bowl, beat butter and sugar together until light and fluffy. Add eggs and vanilla. Mix dry mix into the wet mix, and stir until just combined.
Take small spoonfuls of the sticky, sticky dough and place it into the wells in an ungreased non-stick mini-cupcake tin. With floured fingers, pretty down the center as best you can. With a spoon, spread the dough to go up the sides and try to create the best crust-shape you can, with a depression in the center. Mine were very thin on the sides and done very sloppily, and still came out of the tin ok. My half batch made 11.
Bake for ~14 minutes until they start to get golden-brown. Place tin on rack, and take a knife to see if the tarts are loose from the edges of the wells (mine were just fine, surprisingly!). Let cool.
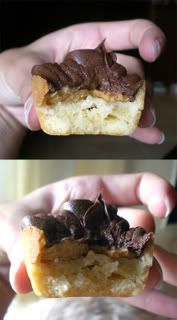
I got a little ambitious and wanted to make a surprise filling in between the shortbread tart and the frosting. For 4 of them, I spread a thin layer of peanut butter. In 3 of them, I spread some strawberry jam that I had melted down.
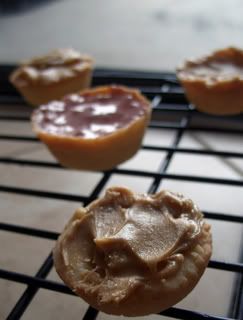
Some filling poking out!
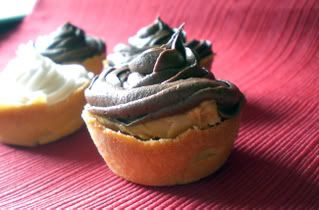
In the last four of them... well... I got very ambitious.
I wanted to do a twix-ish thing, with the tart as my nougat, the frosting as my chocolate, and
this dulce de leche as my caramel.
Well, this was a pain in the butt. Some of the pain may be due to the super super small batch I made. I scaled it down so much that the original recipe went from 4 cups milk to only 1/4 C. It came together way quicker than the recipe said, probably owing some to the reduced quantity. But it was still a pain. It tasted OK, but nothing special. After taken off the heat, it got hard and unworkable
real fast. And I didn't have a thick enough layer on the tarts to really taste significantly against the overwhelming chocolate frosting flavor.
Oh well! This particular recipe for dulce de leche is not something I'd try again.
For the frosting, I blobbed some of that pre-made stuff, added a teaspoon of espresso powder, and broke out the handheld electric mixer to make it a little softer, lighter and fluffier.
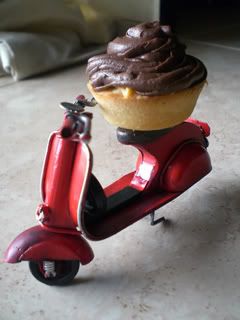
These were not spectacular. The shortbread crusts were quite good and crumbly, I'd try this again in another application. Thats all for now in this longest blog post ever!


